|
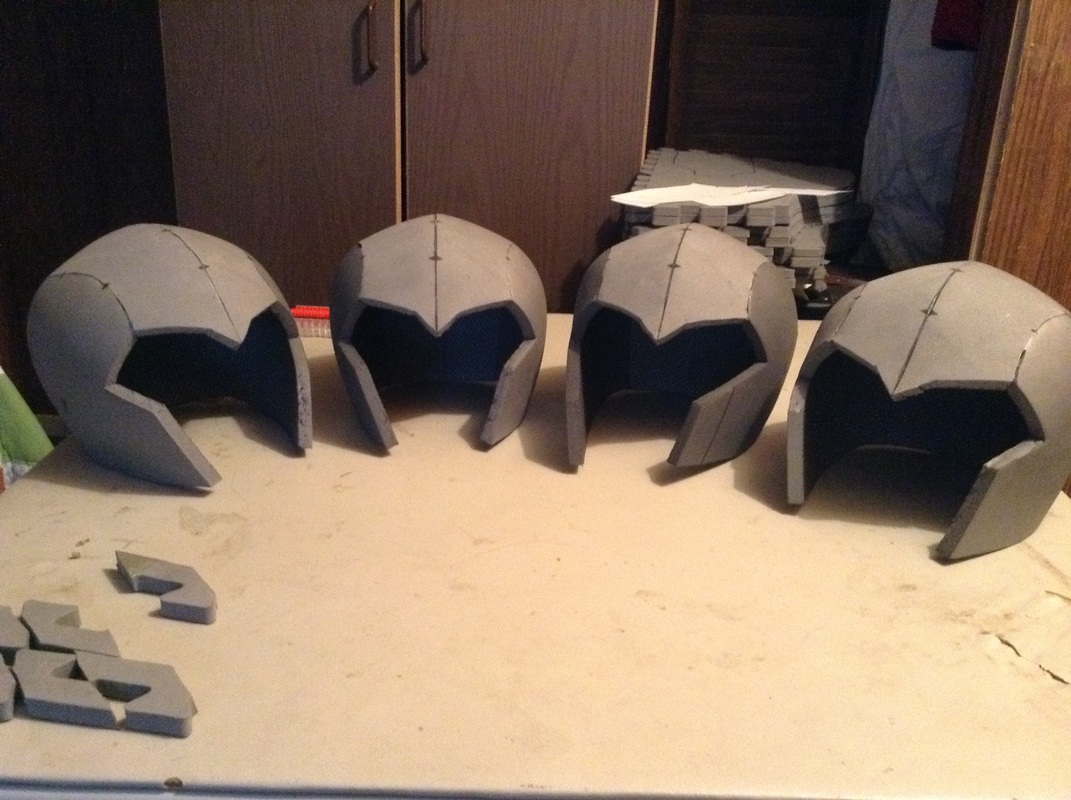
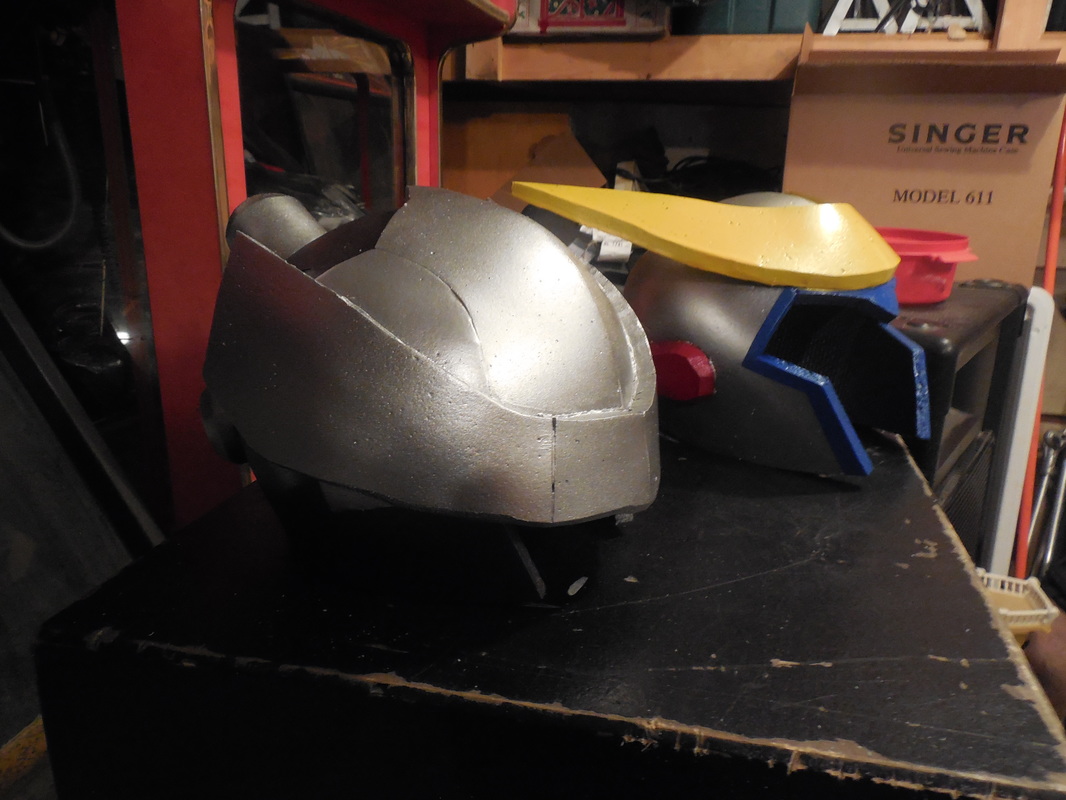
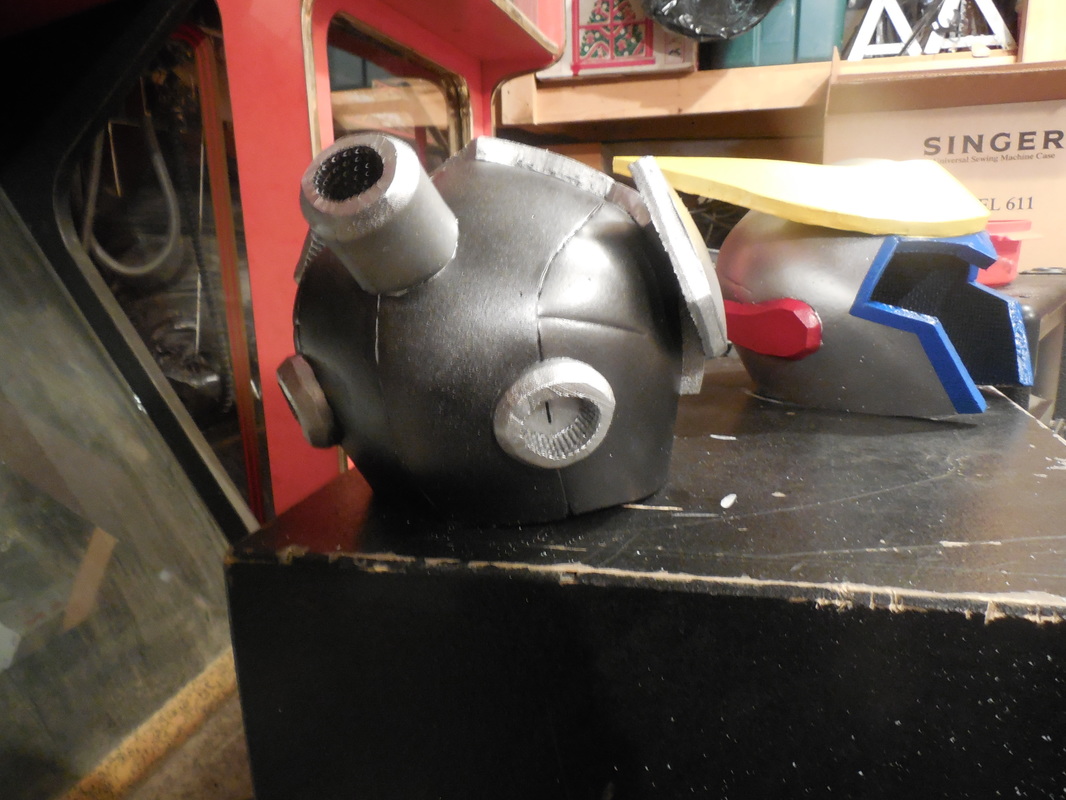
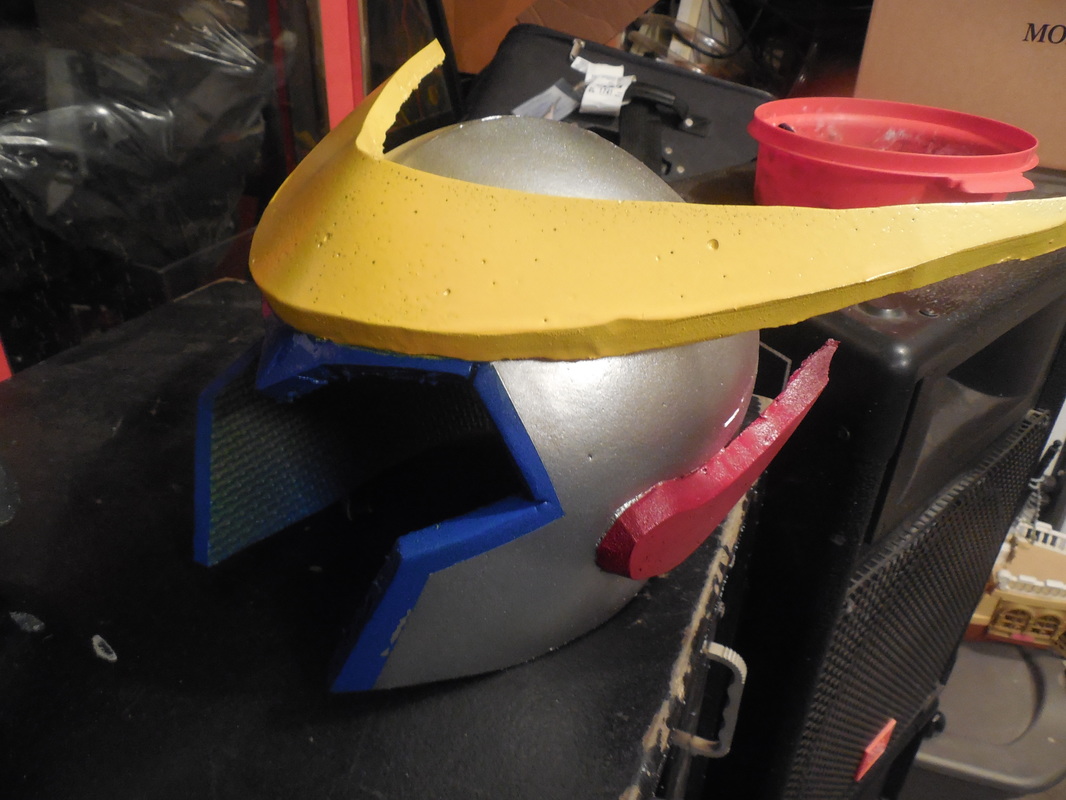
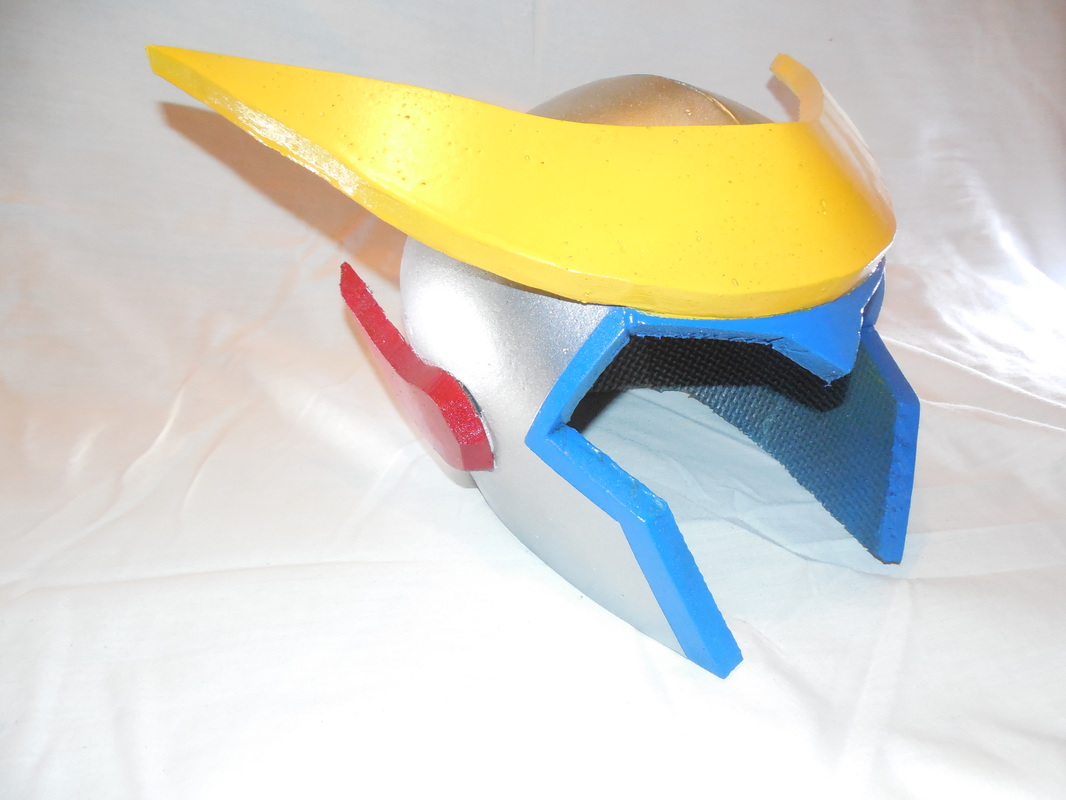
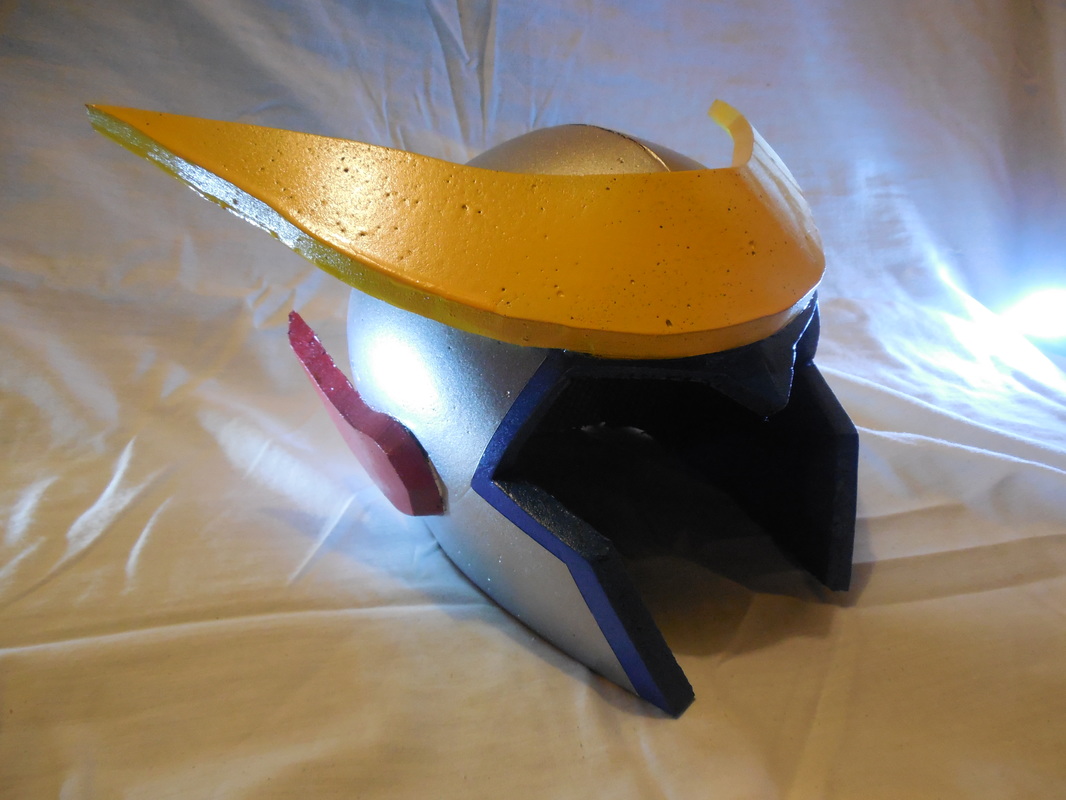
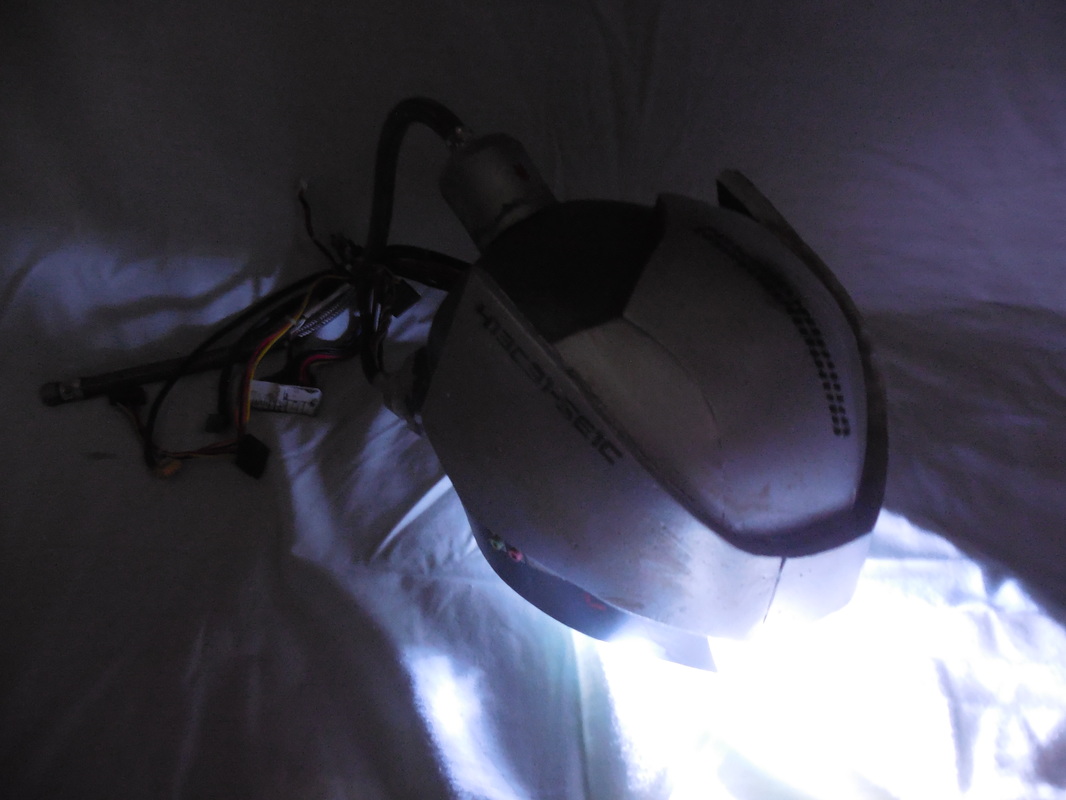
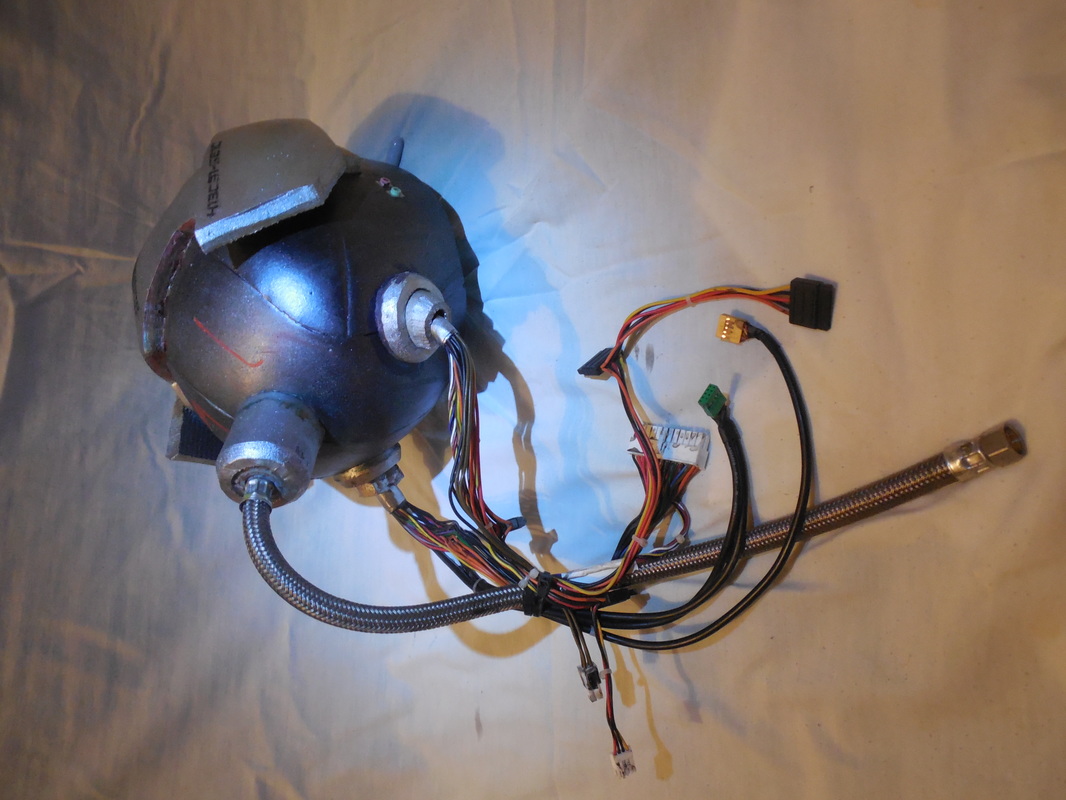
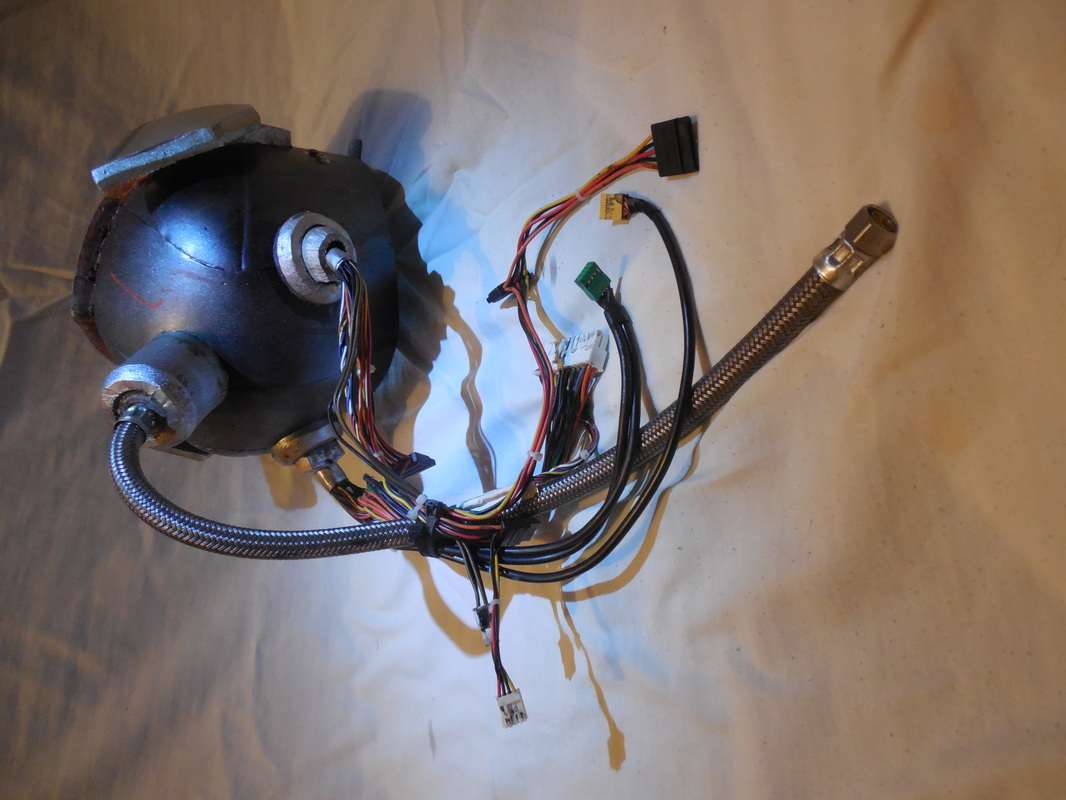
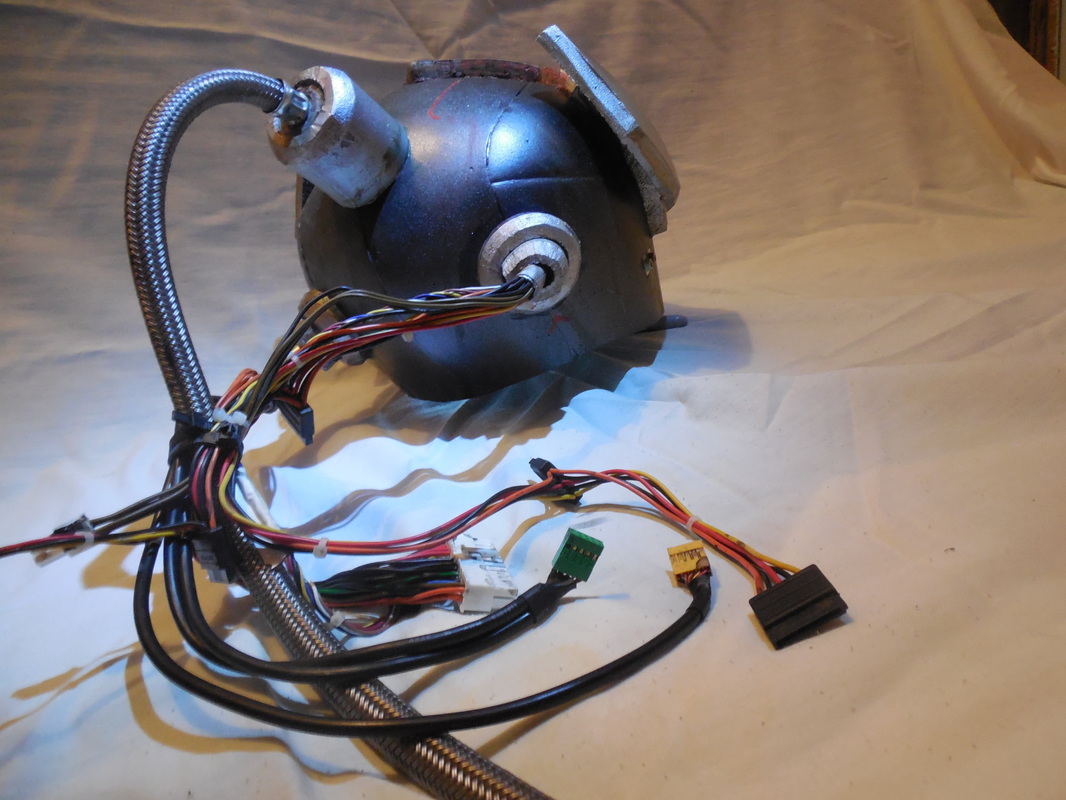
Before I moved back to Utah, I got a hankering to make my own helmet design. Lo and behold, the amazing Evil Ted Smith came out with a video series on how to make foam armor and costumes, and the first series he put out focused on helmets! You guys may remember the end results of that. Well, a good friend of mine invited me to help her out at her booth at Anime Banzai, and in return offered to display a few of my things for sale. I didn't have anything made at the time, having just moved back here, but I figured why not make a few more helmets? So, it being an anime themed convention, I decided to go generic space anime helmet! Nice, simple, same-old same-old foam floor mats. I used the same pattern I made in the previous build (which is up for sale in the Store if you want to make your own), and prepped the base to 4 helmets. I grabbed the first, and put the other three aside for later! Now, just so you don't get confused, this one is extremely simple and doesn't really have a lot of photos. I also did a lot of the next helmet - the Cyberpunk one - at the same time, so a lot of the pics will overlap. On with the show! 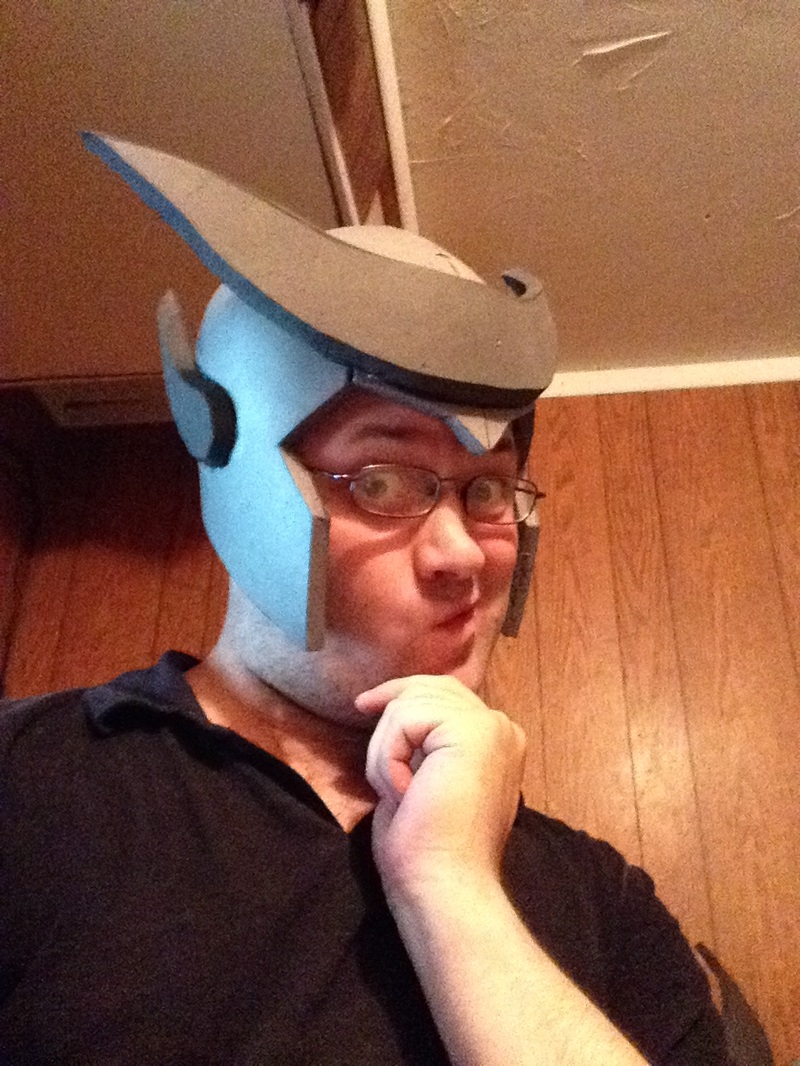 I opted for a super basic helmet, keeping it recognizable as an anime style, but not as any one specific series. The ears and horn were completely freehanded, and I beveled the ears inward with my dremel. Once that was done, I grabbed the next helmet, then ended up grabbing the third helmet and chopping it to pieces. 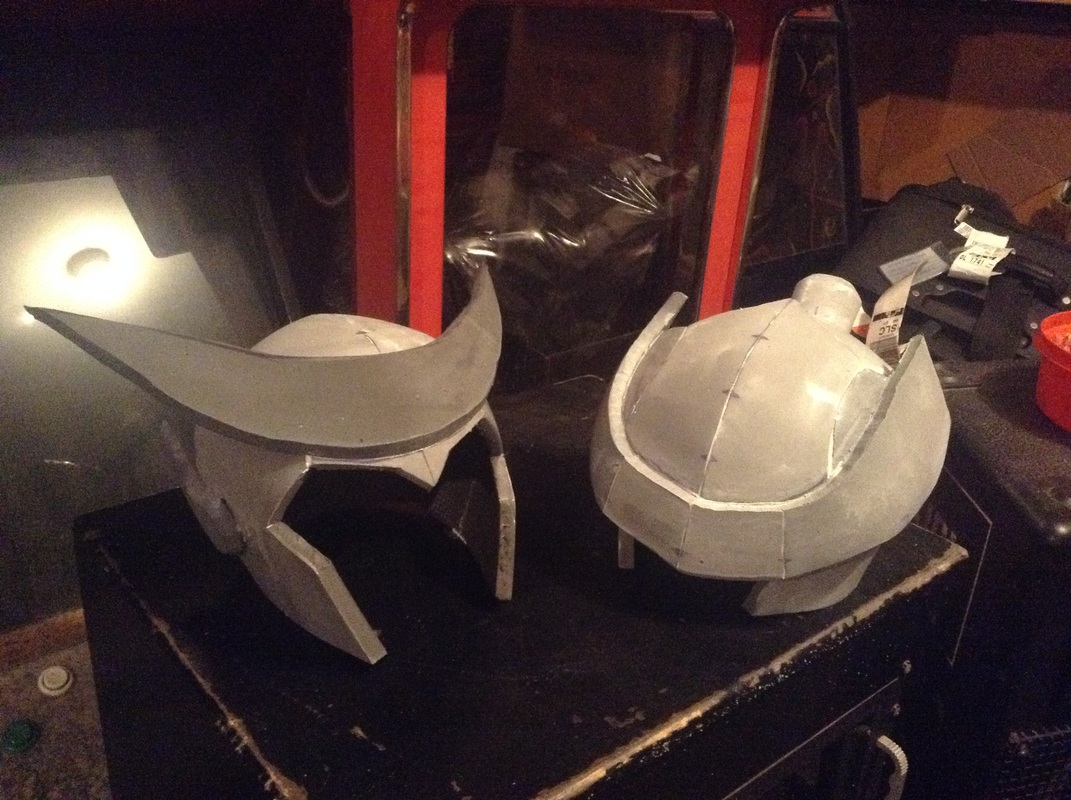 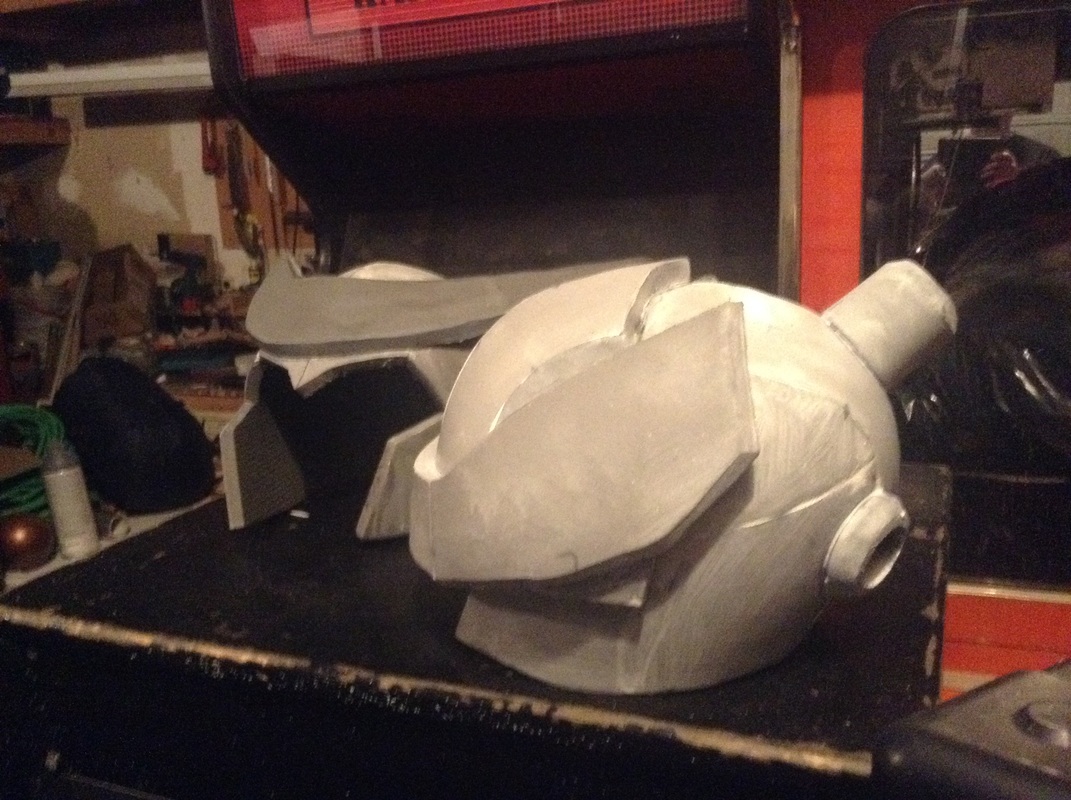 Kind of hard to tell, but I cut the third helmet in half horizontally, turned it backwards, and attached it to the front. Then I took the bottom half, turned it backwards AND upside down, then stuck it on top of that. The goal here was to make a sort of visor screen thing that covered the eyes entirely. Also made some tubes and stuck them to the back for the wires and tubes and things. Tried something new with the caulk from before. Was suggested to me to thin it with water and paint a few coats onto the foam - told it would fill the seams and work about as well as the Plasti Dip. I wasn't as successful with that method, so from now on I'll just be doing it the same way I used to. Anyway, on to paint! The anime one was simple: paint the upper horn yellow, tape it off, then paint the ears red and tape those off. Once that was done, I also painted the front of the helmet blue (don't worry, it'll make sense in a minute). The Cyberpunk helmet I painted a metallic black, then the upper visor and wire tube things silver.  After that I taped off the front of the anime style one, then painted everything else silver. Tape came off, and I got to see firsthand how terribly the new sealing method worked. Can you see all the bubbles on the yellow horn? Not terrible, but not up to par. You can also see all the seams, though I wasn't too worried as it kind of accented the look of the Cyberpunk one. Anyway, sprayed a little, light bit of orange on the horns and a darker red on the ears, to give it a bit of a gradient look. I wasn't weathering it at all, so that added a bit more depth to it and made it look a bit better. Anime helmet done! (Final shot pre-gradient) 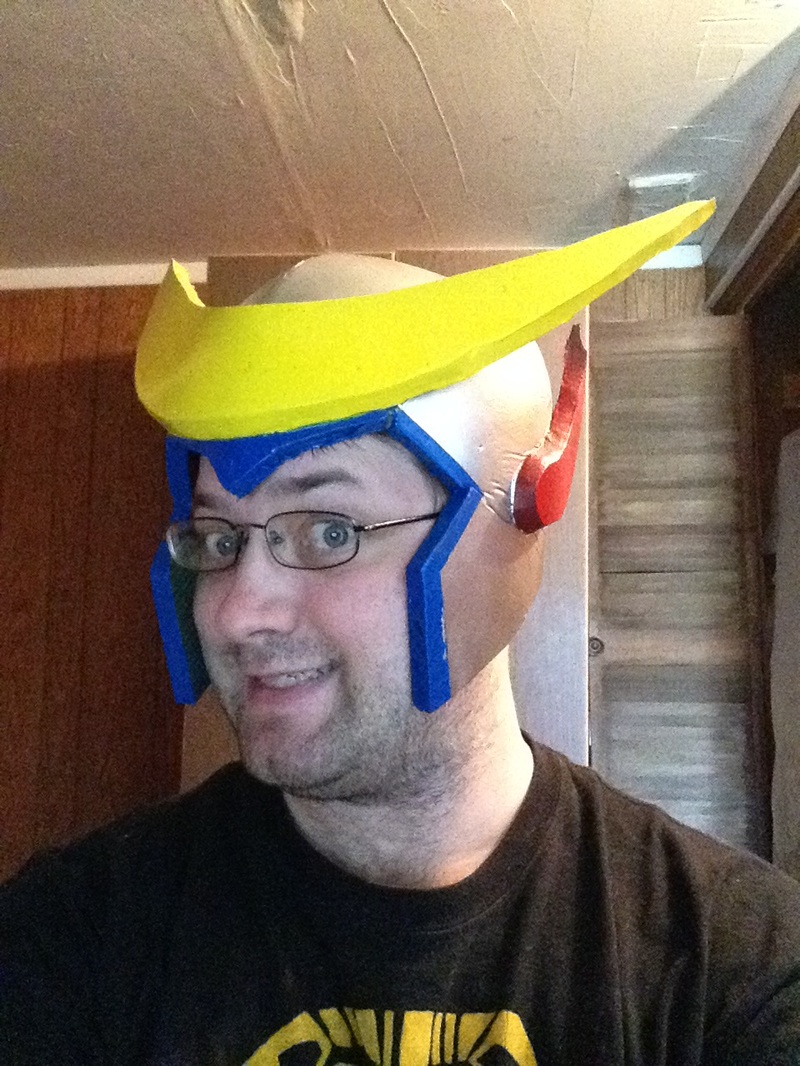 To finish off the Cyberpunk helmet, I used a method of stenciling I learned from Punished Props: print a stencil, lay it on some painter's tape, cut it out with a hobby knife, lay it in place, then paint it on! This was a lot of fun to add, though definitely time consuming. I will absolutely admit to some of those splotches being on purpose! Fit the look anyway, even on the accidents, so I was happy with it. Test fit: 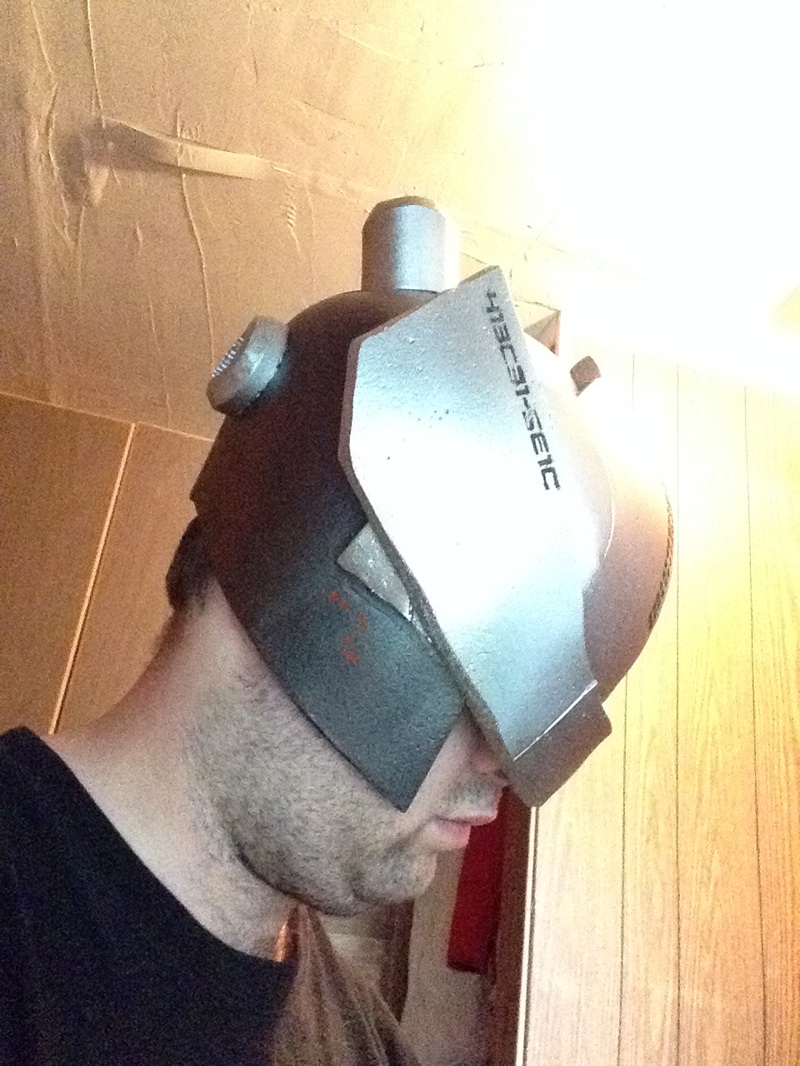 Hooray for craptacular selfies when you can't see! Time for some tubes and random wires. A good friend of mine, Keelah Monster Cosplay, sent me a ton of random computer parts and wires, so I put them all to good use! Also snagged a random plumbing tube from Walmart, then arranged them all and hot glued them in place. Tied 'em all up with a zip tie so they weren't bouncing around loosely and bashing the wearer painfully, called it good, and took another silly selfie! 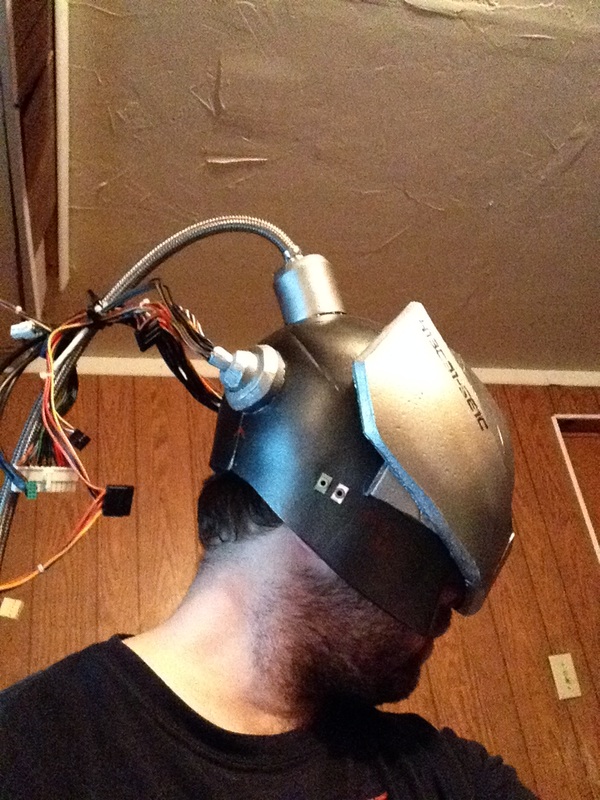 After that I had a ton of fun messing around with acrylic washes, drybrushing, and actual painting. I messed around with a bunch of different colors of paint, giving it a really nice, rusted, dirty grungy look. Hope you had as much fun reading about these two helmets as I did making them. They were a big hit at the convention, and even though neither of them sold, I got a lot of compliments on them! Here's some finished fancy shots to send you off with. If anyone is interested, the Anime style helmet has been purchased already but the Cyberpunk helmet is still available! You can find it here.
0 Comments
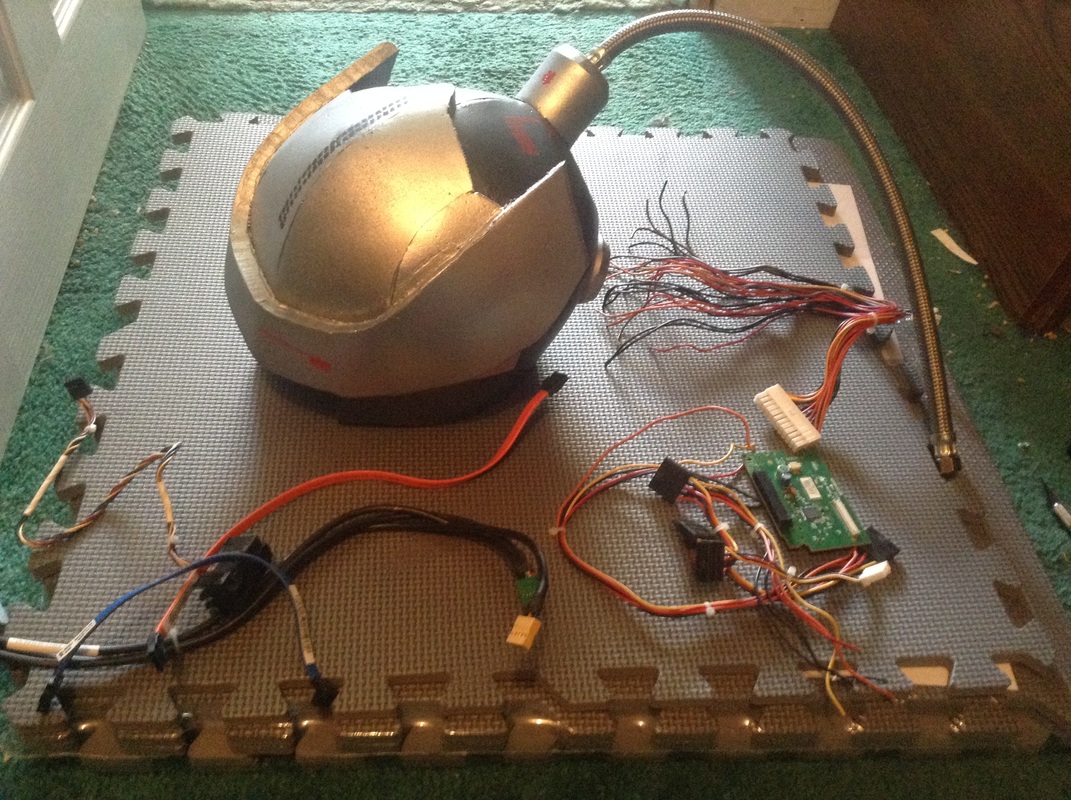
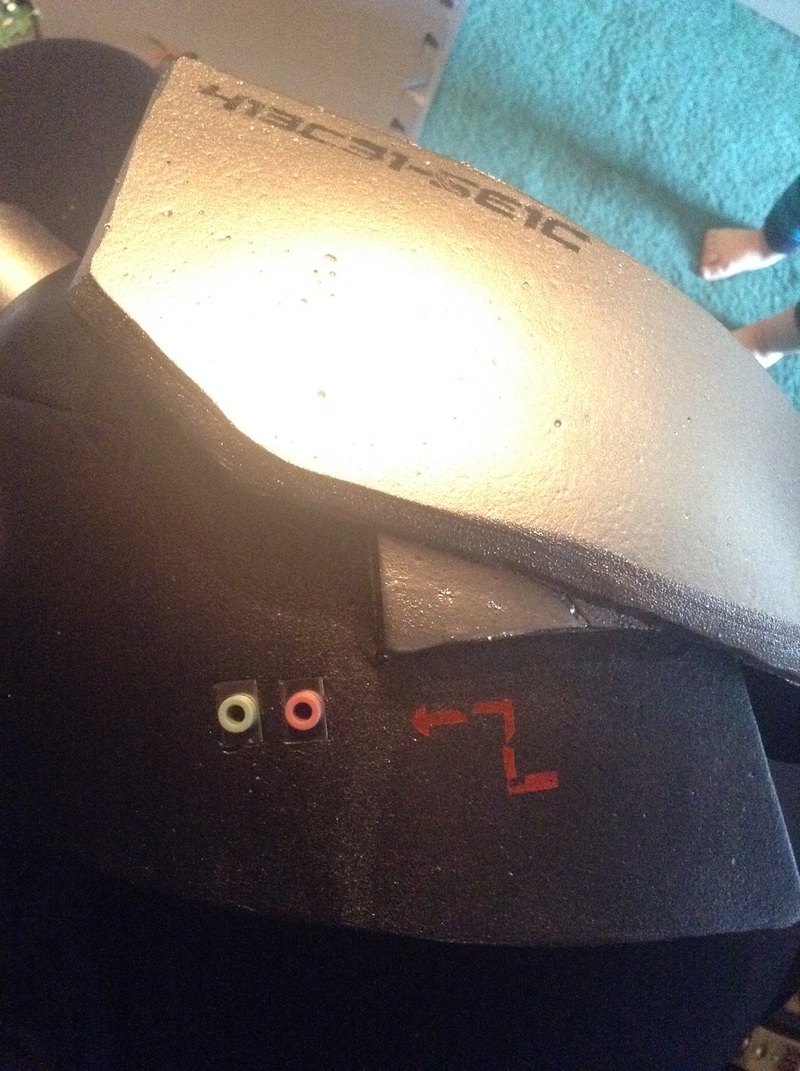
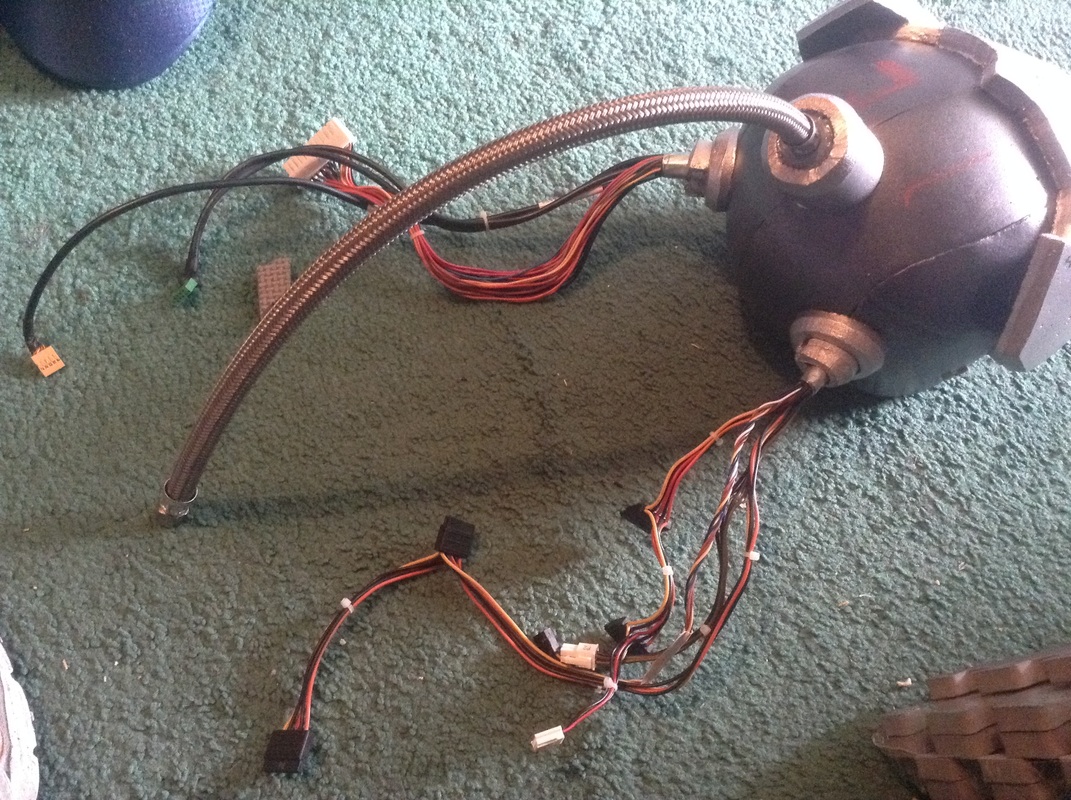
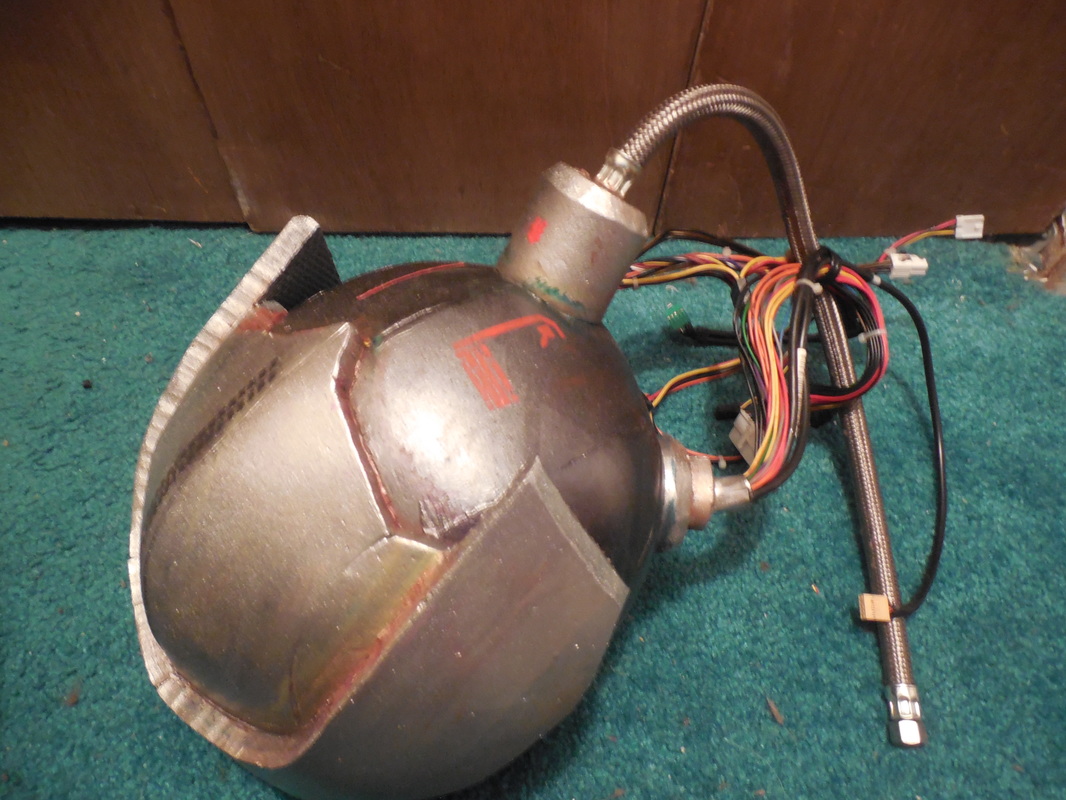
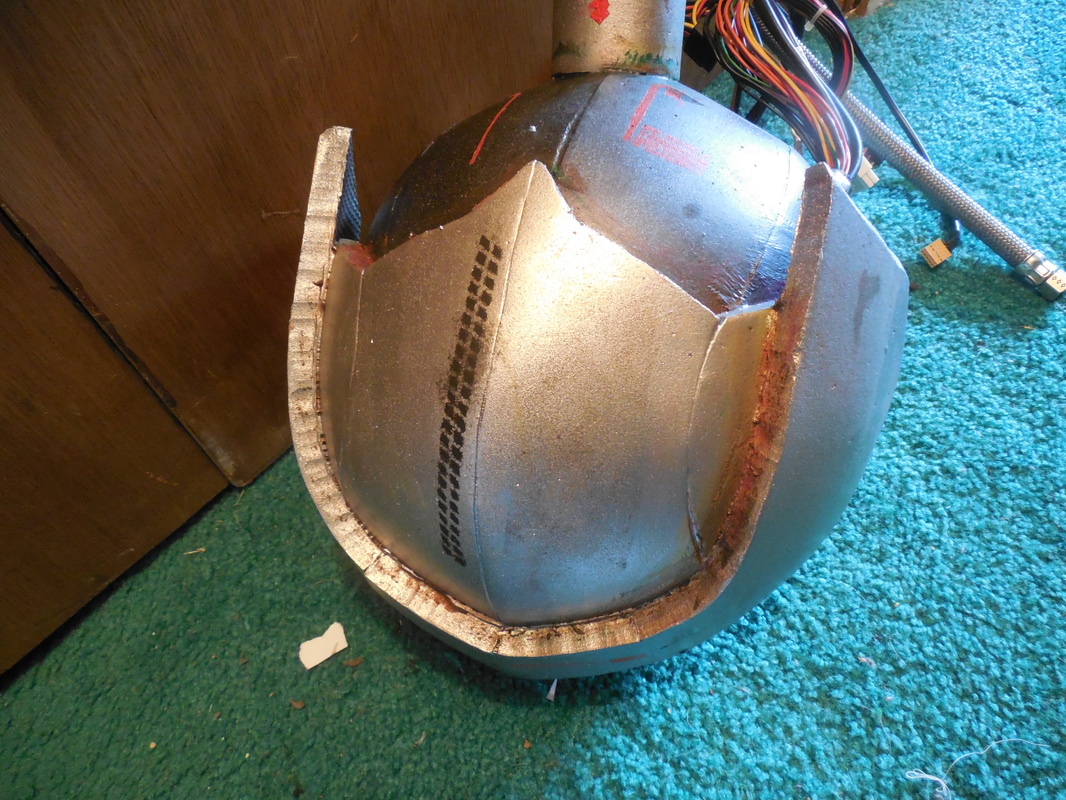
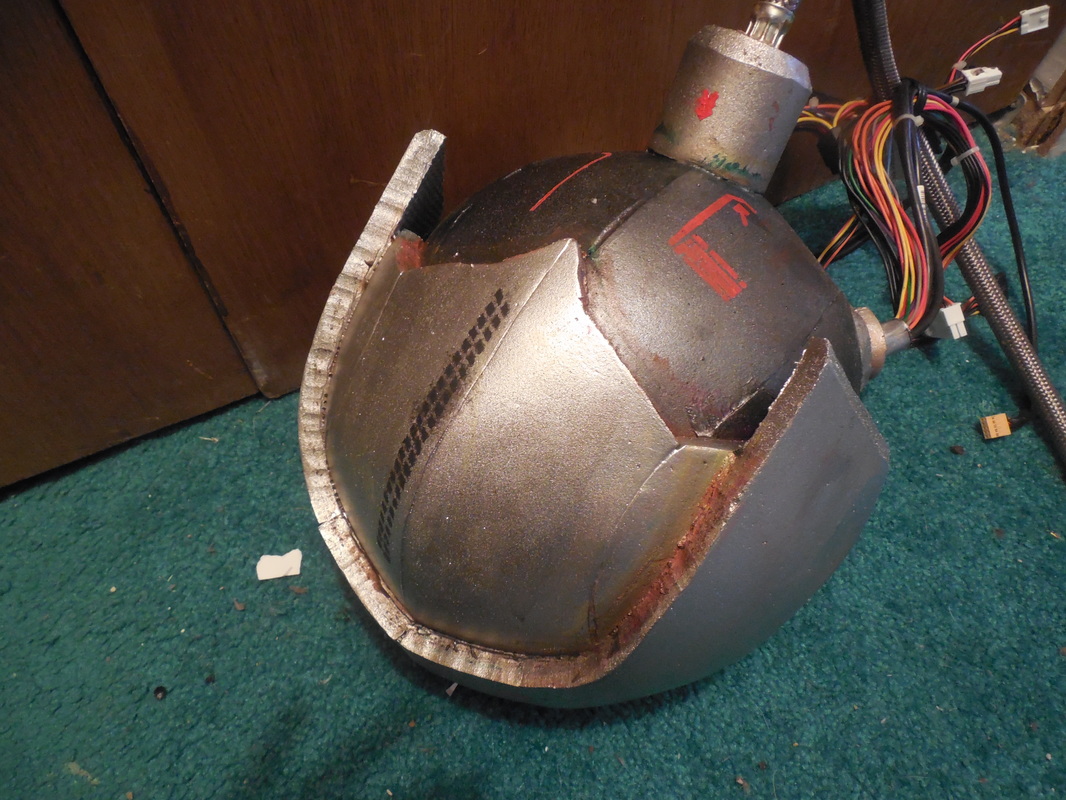
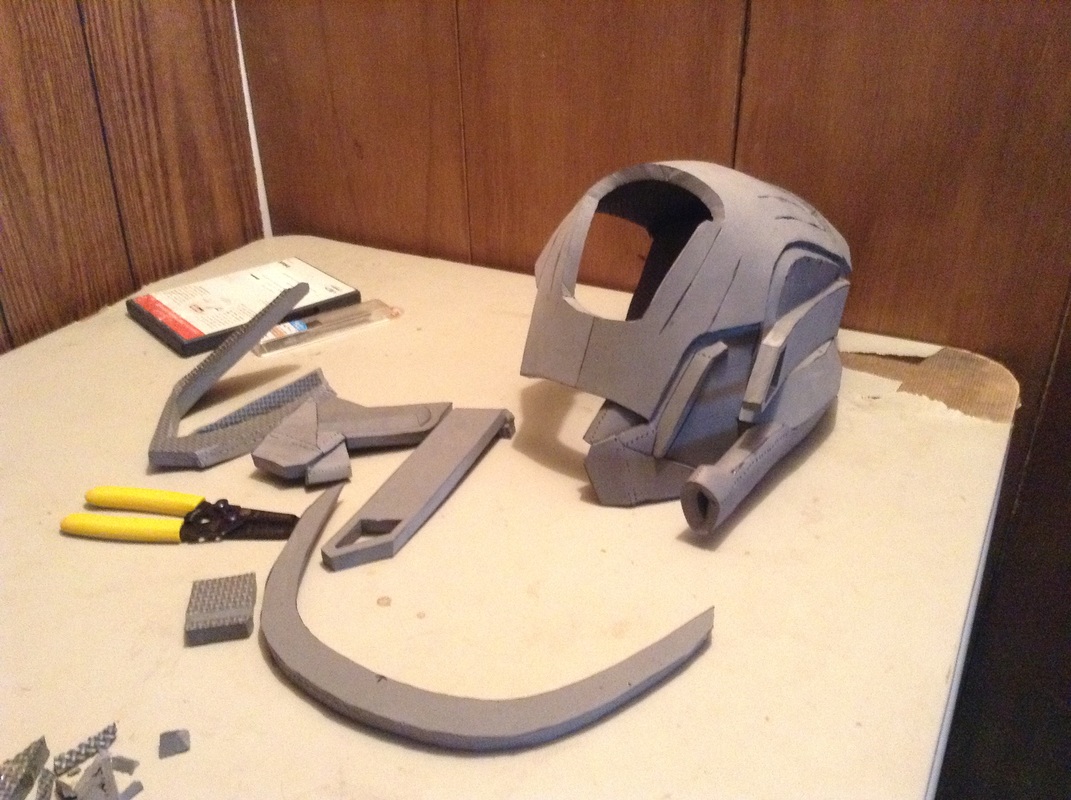
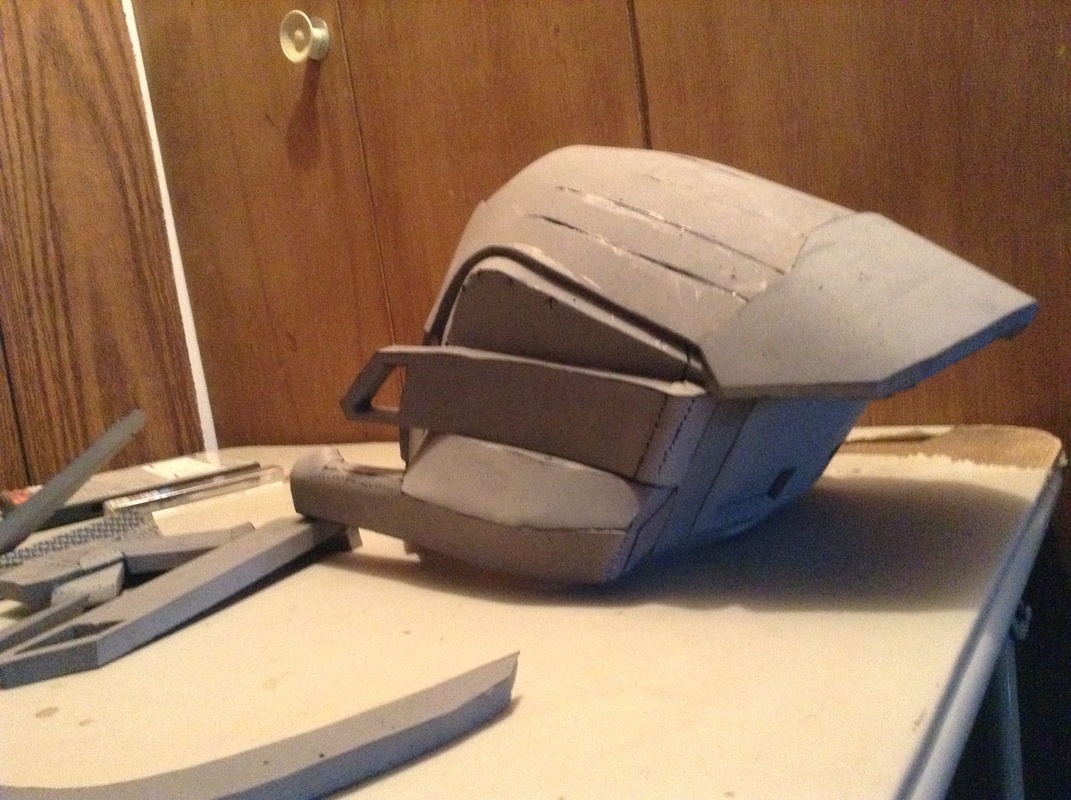
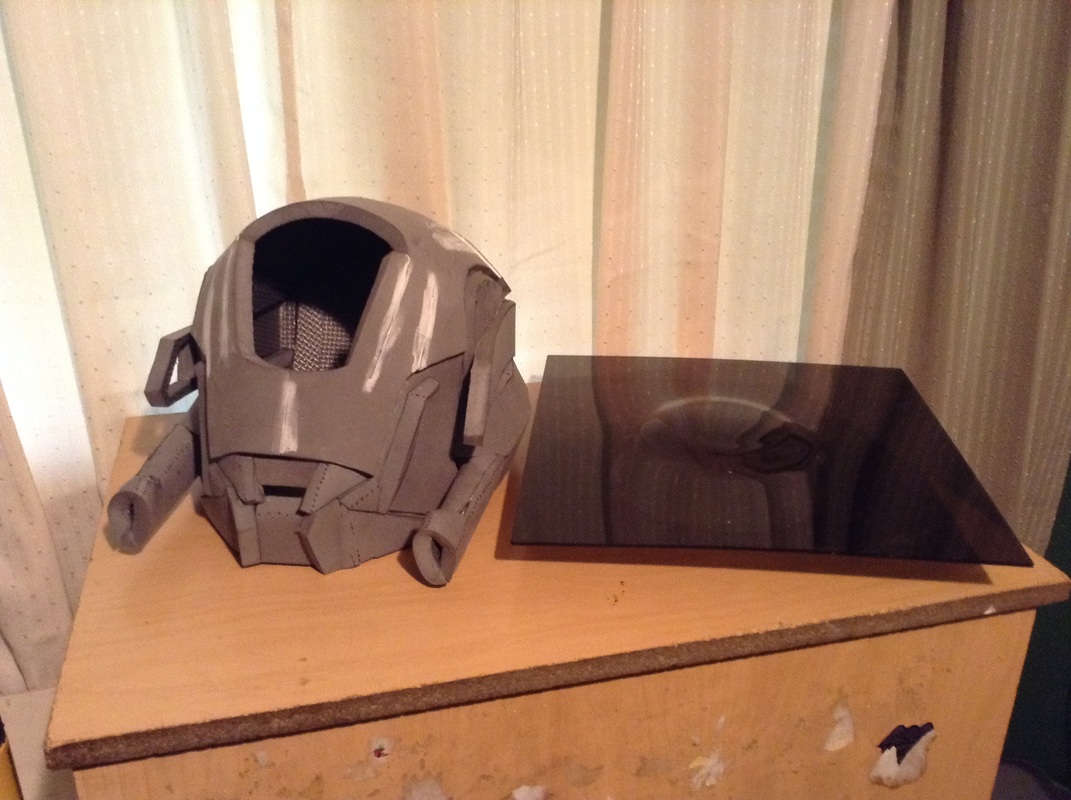
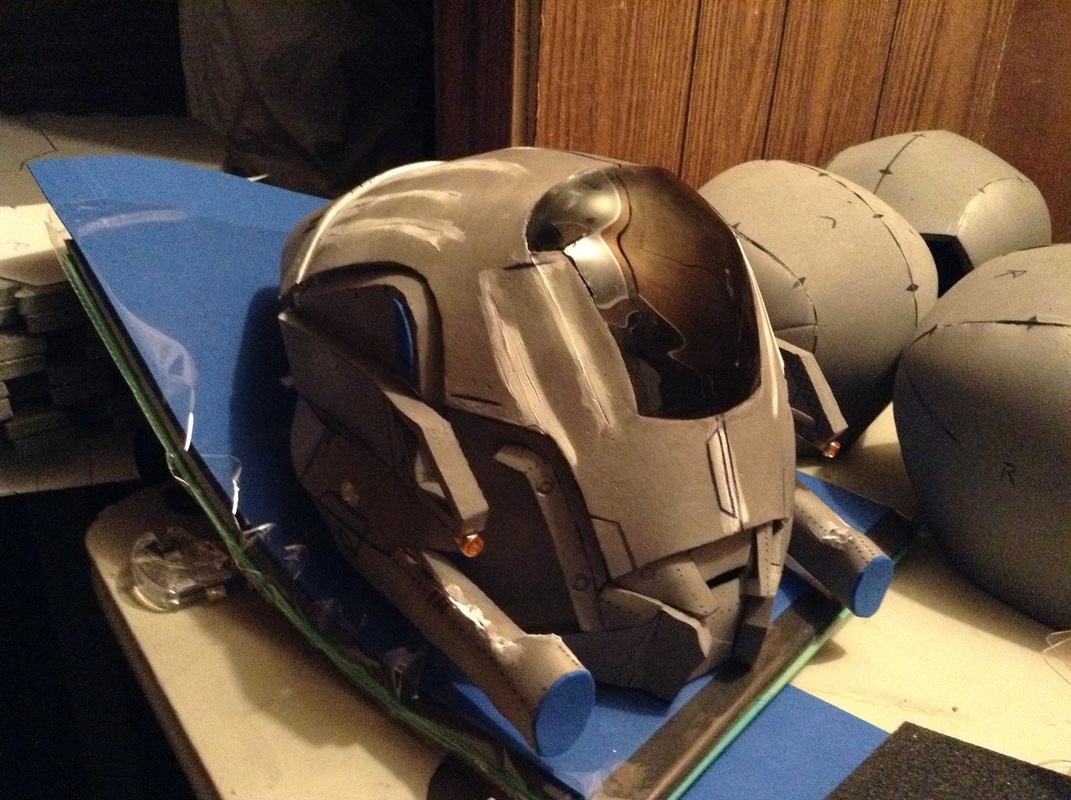
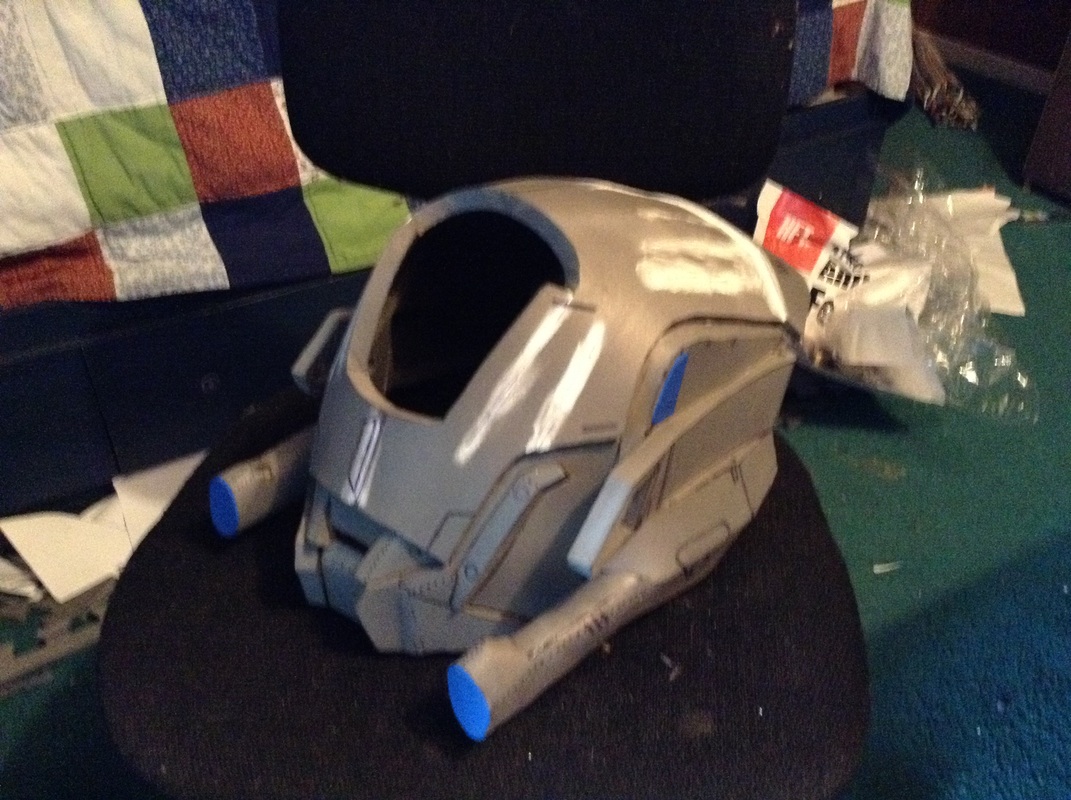
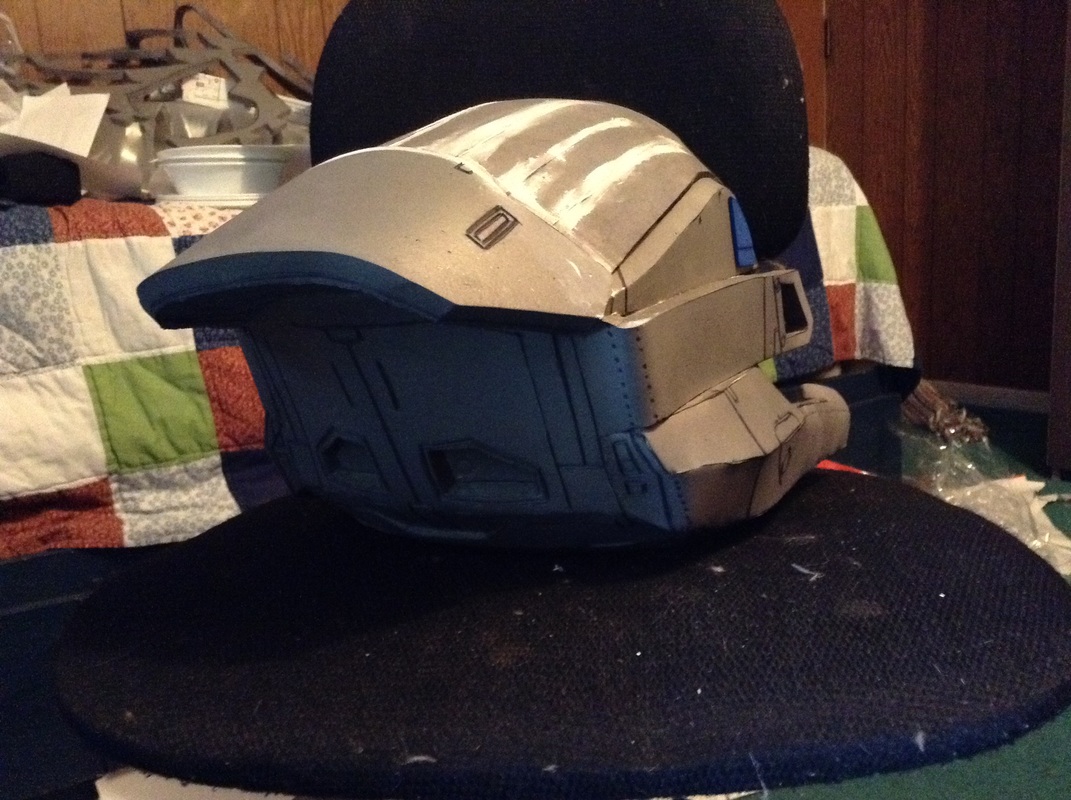
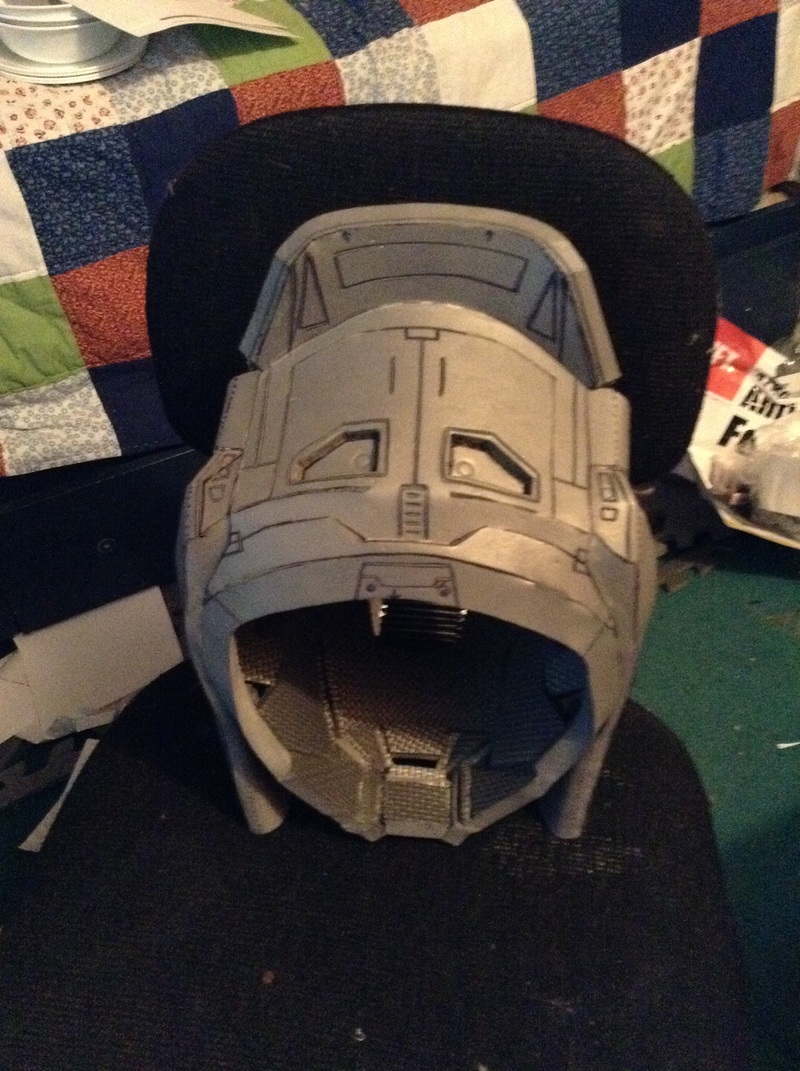
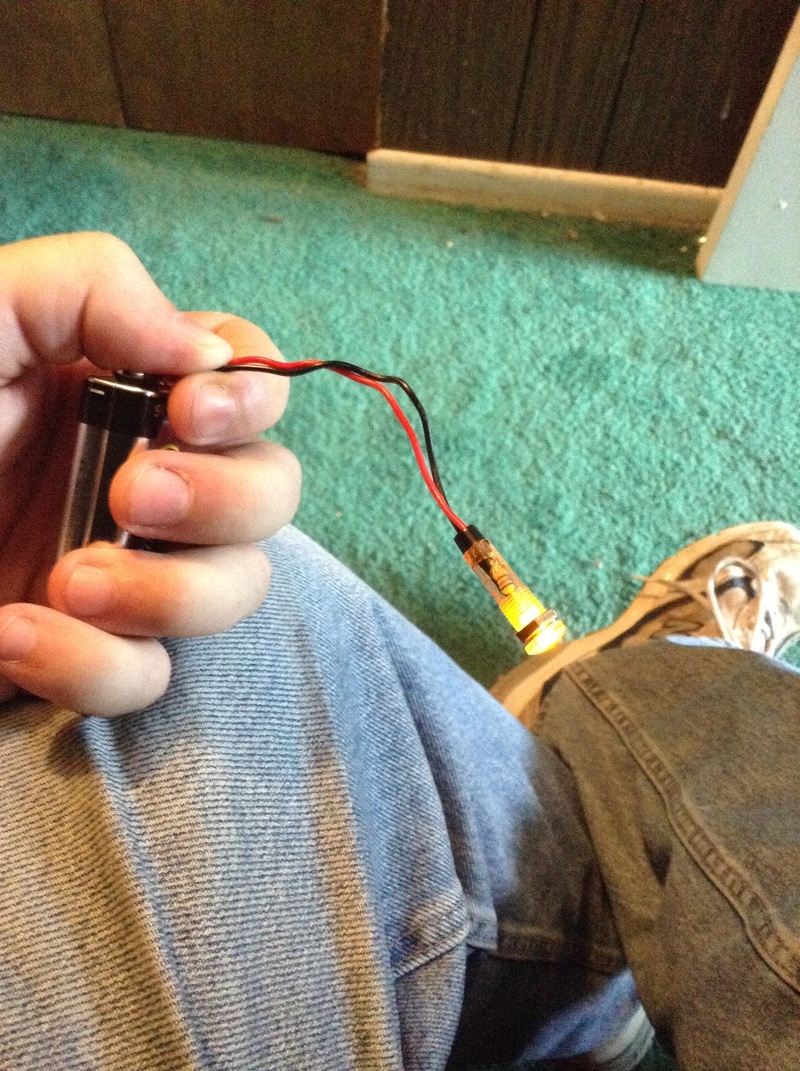
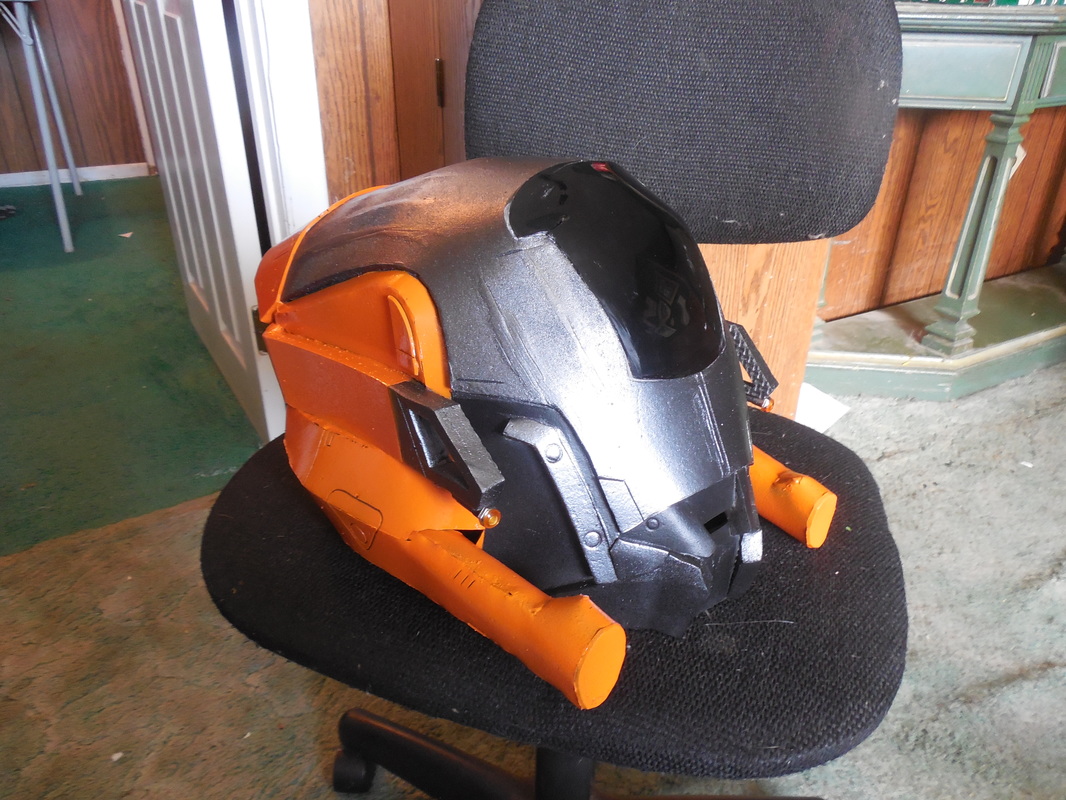
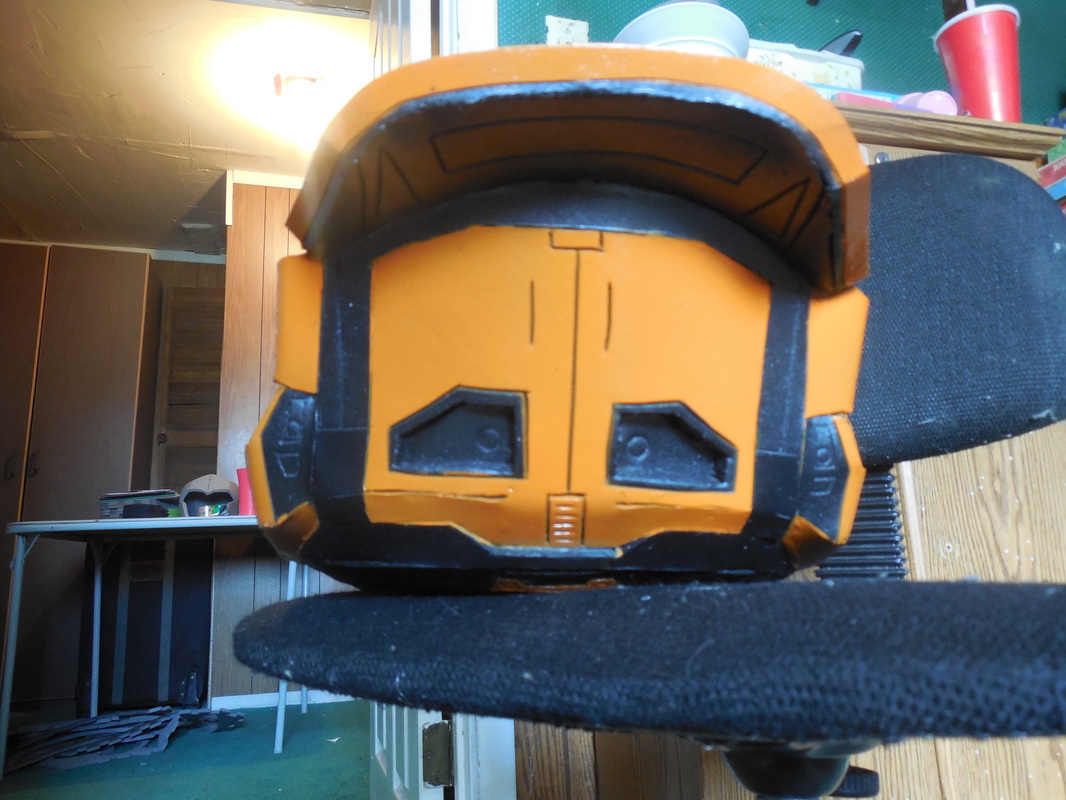
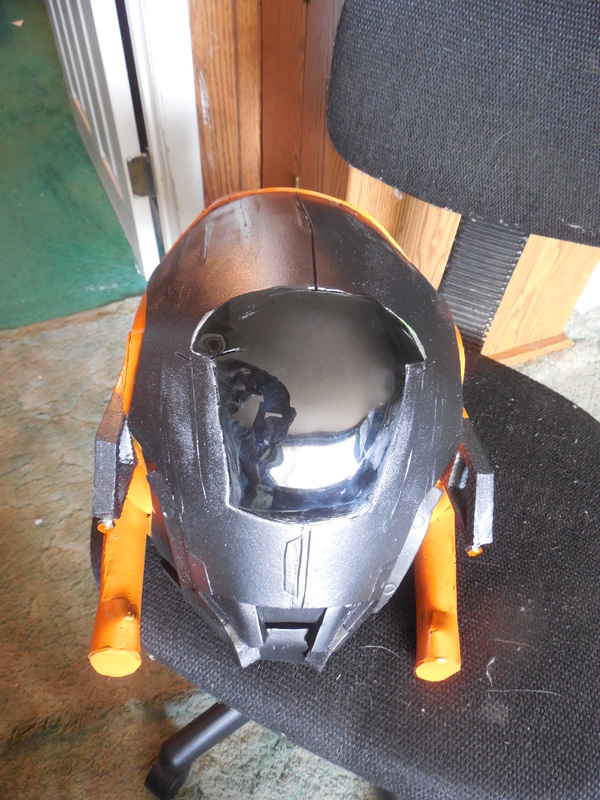
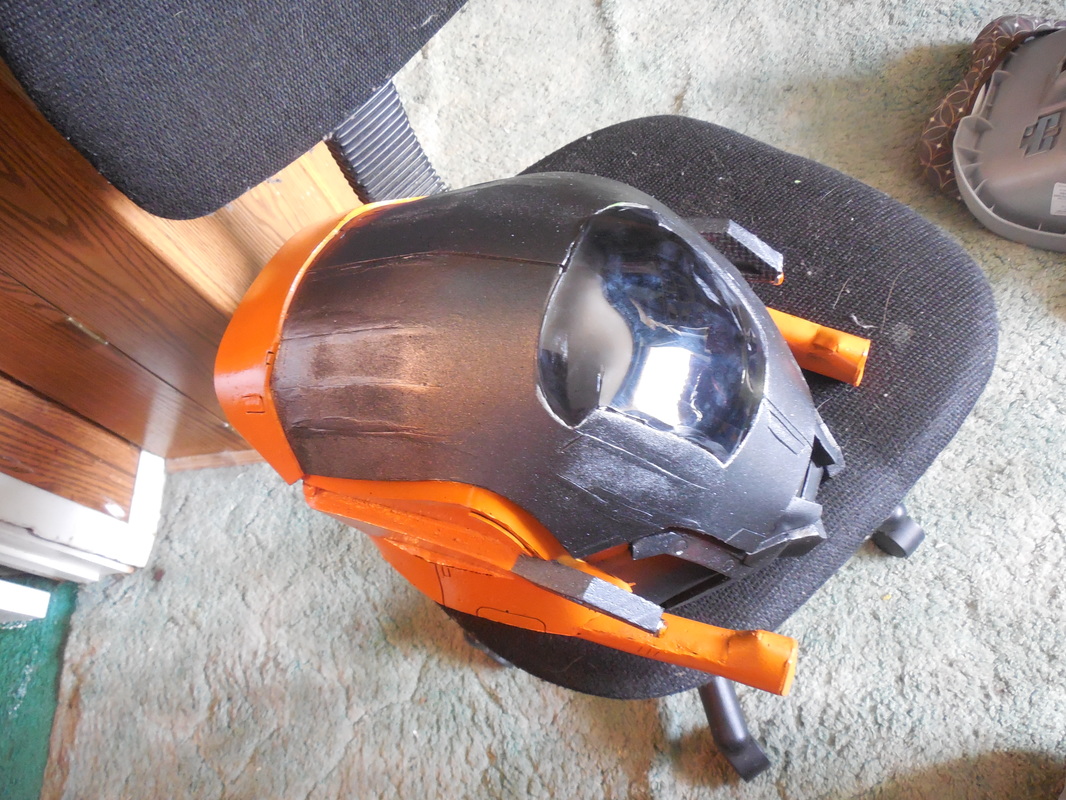
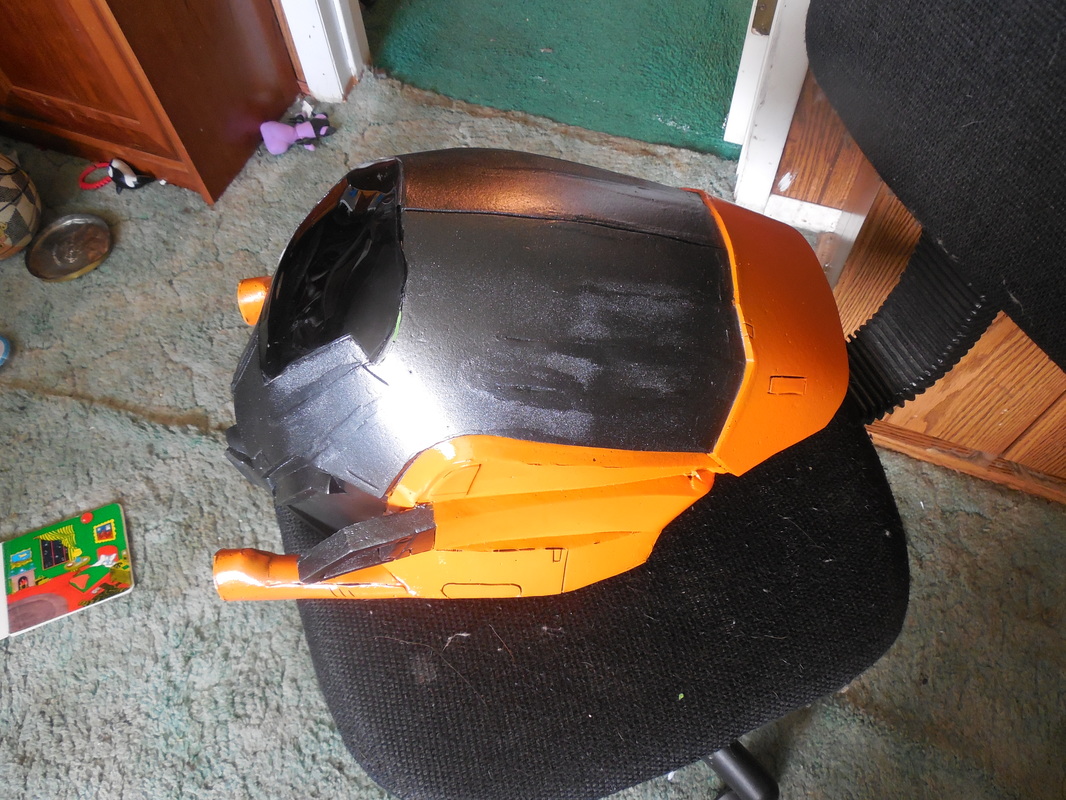
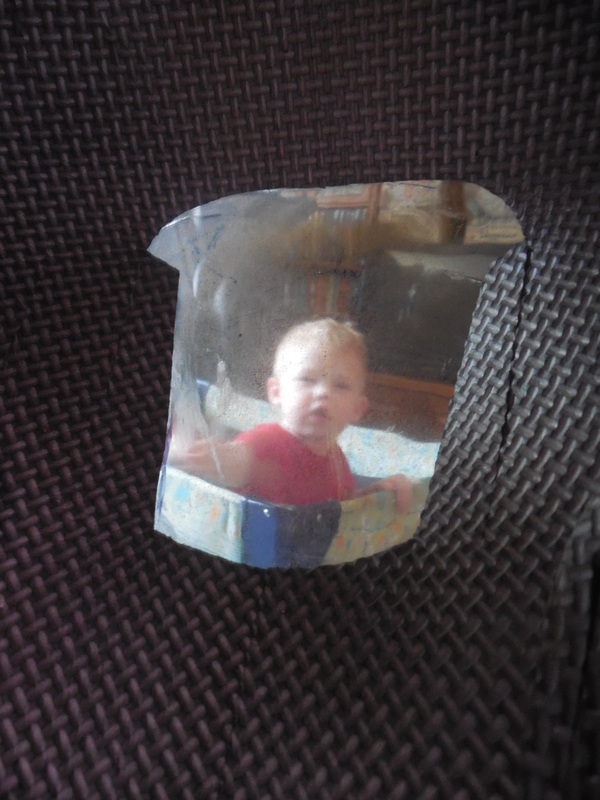
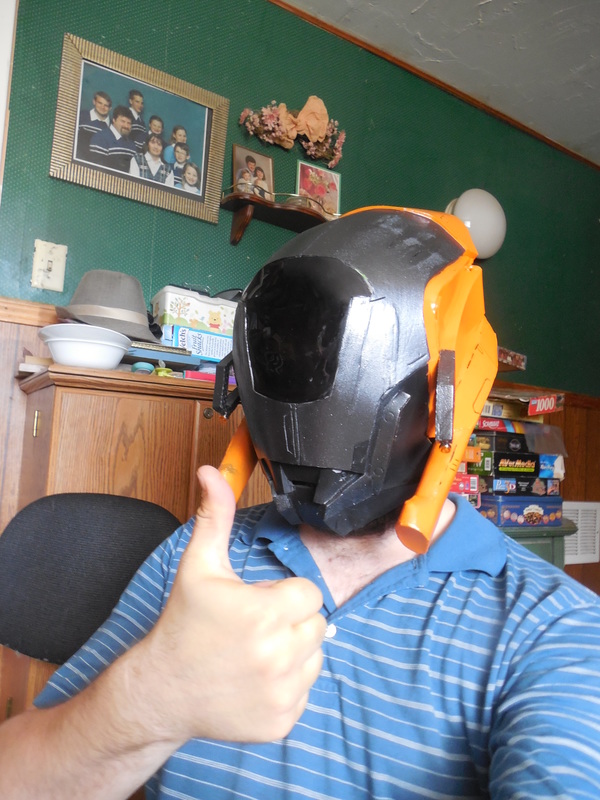
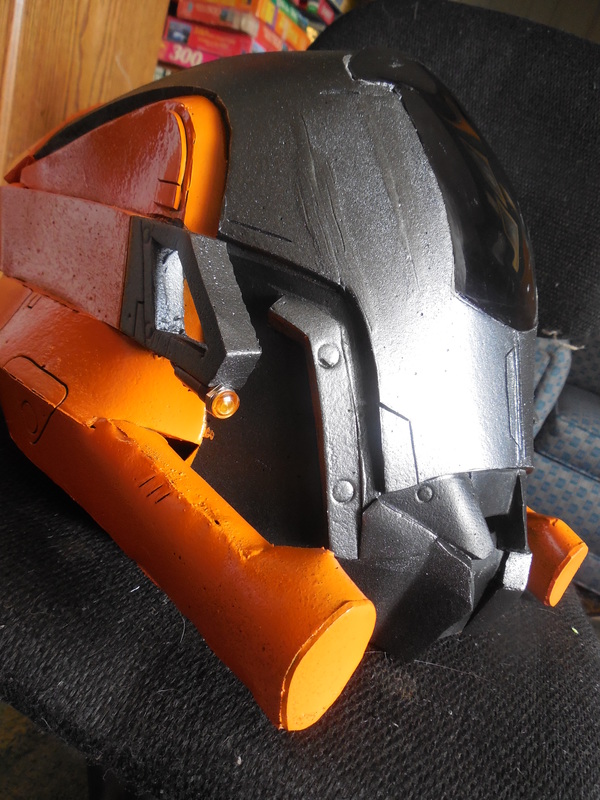
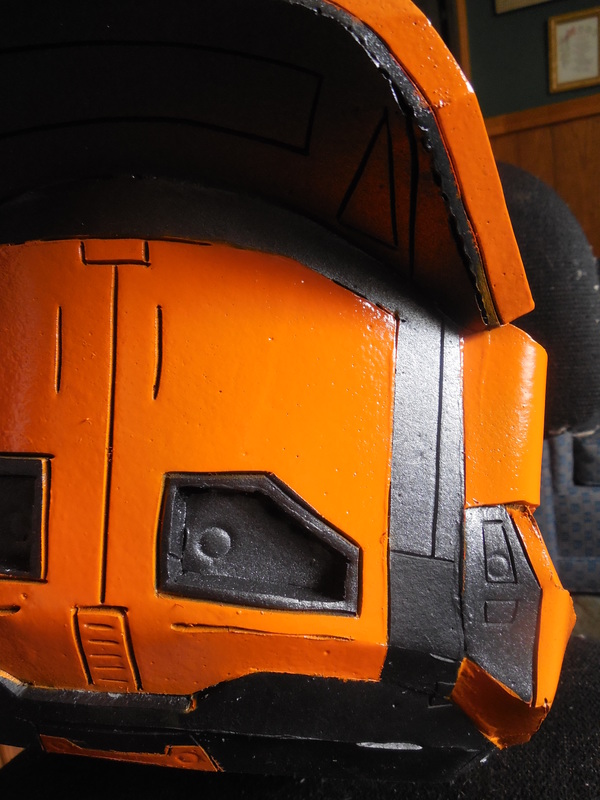
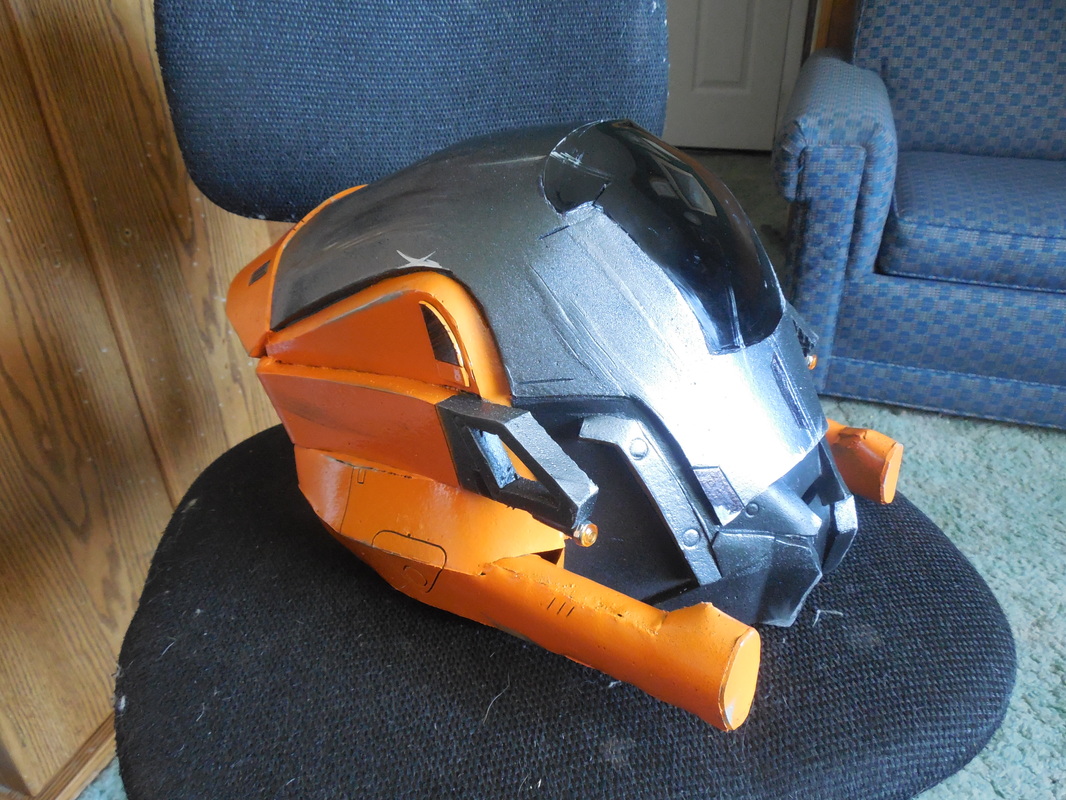
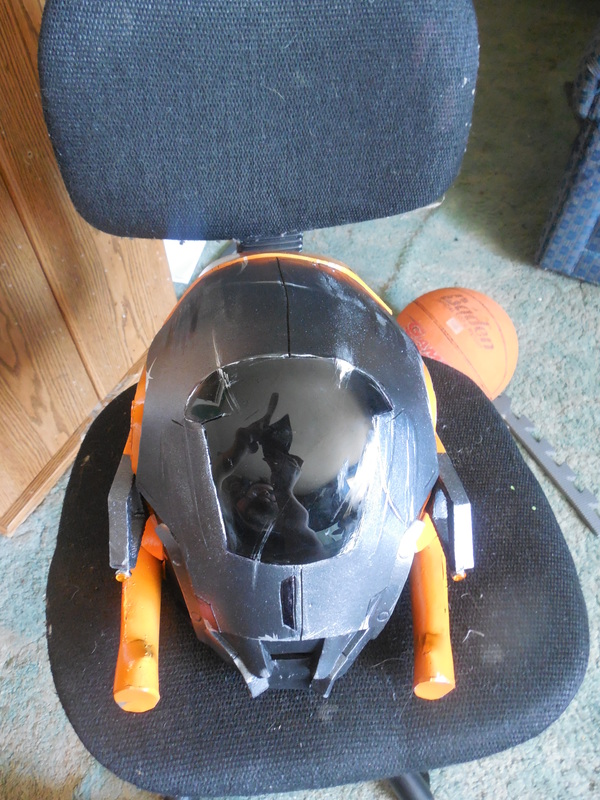
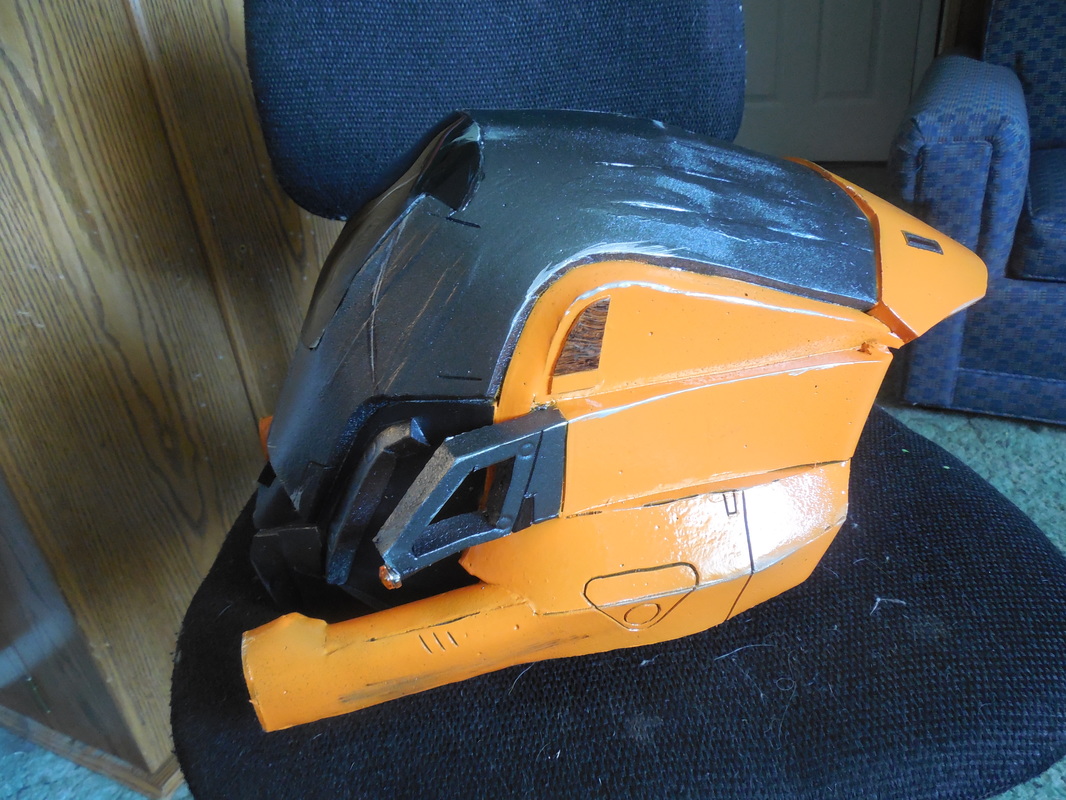
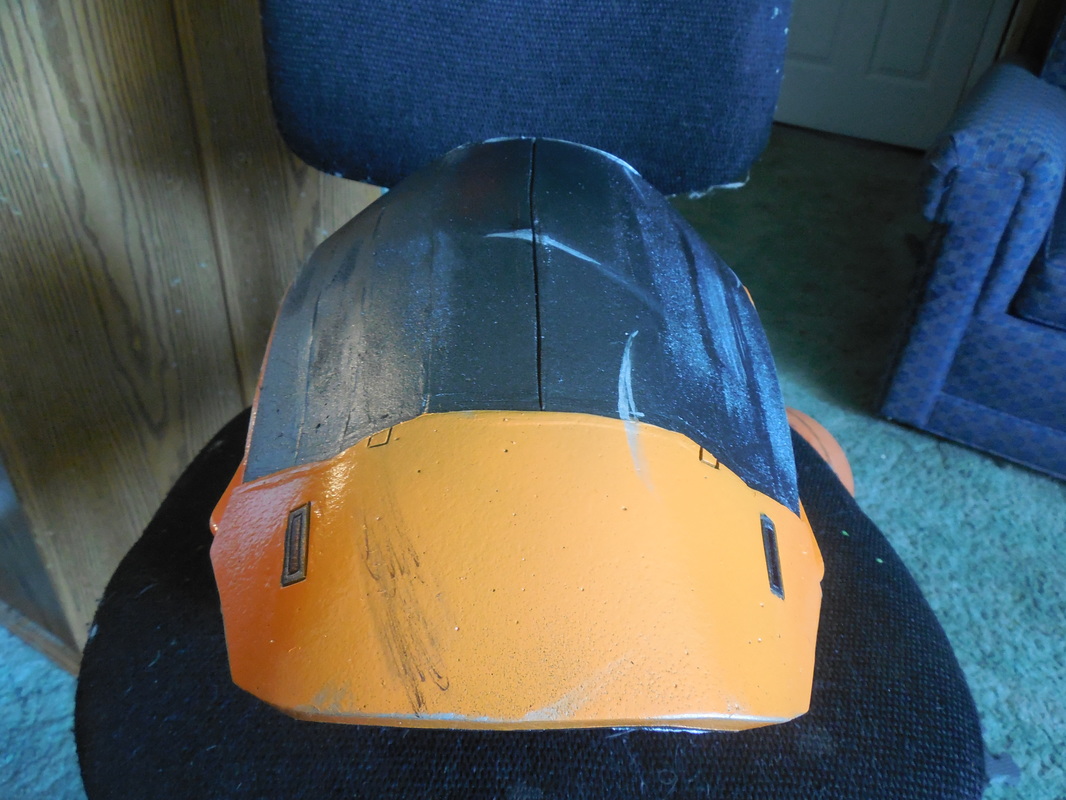
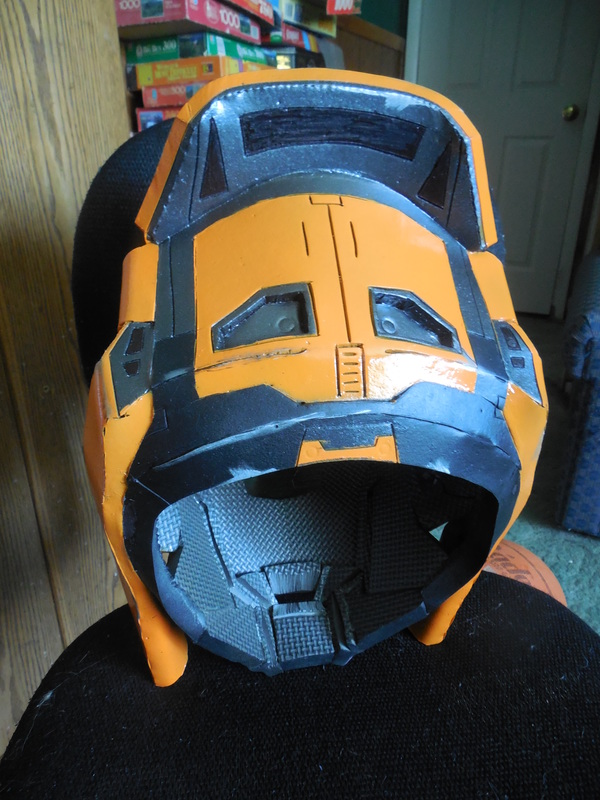
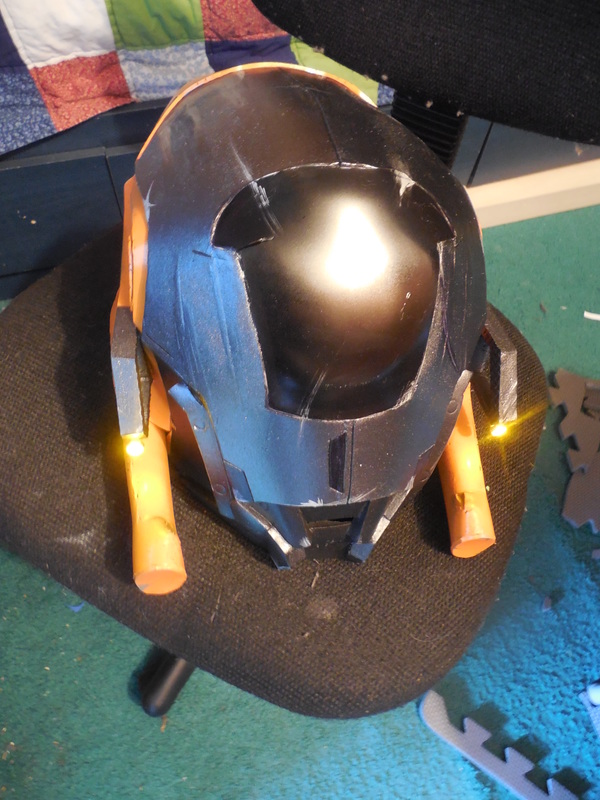
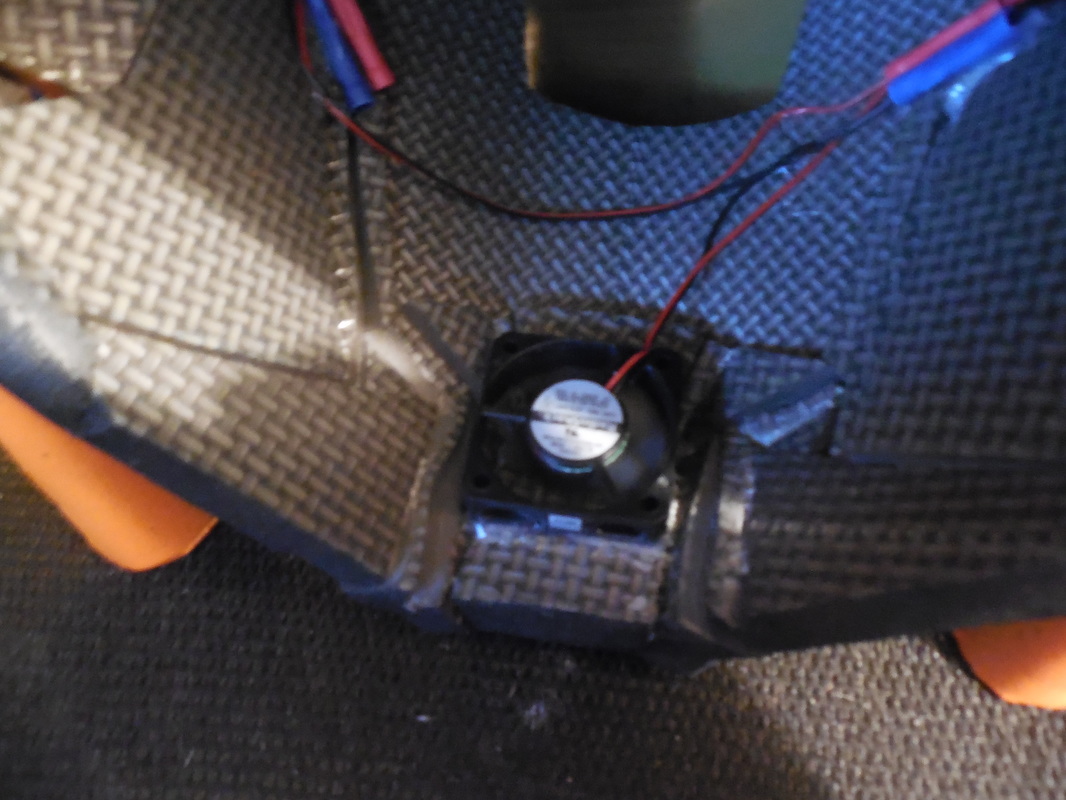
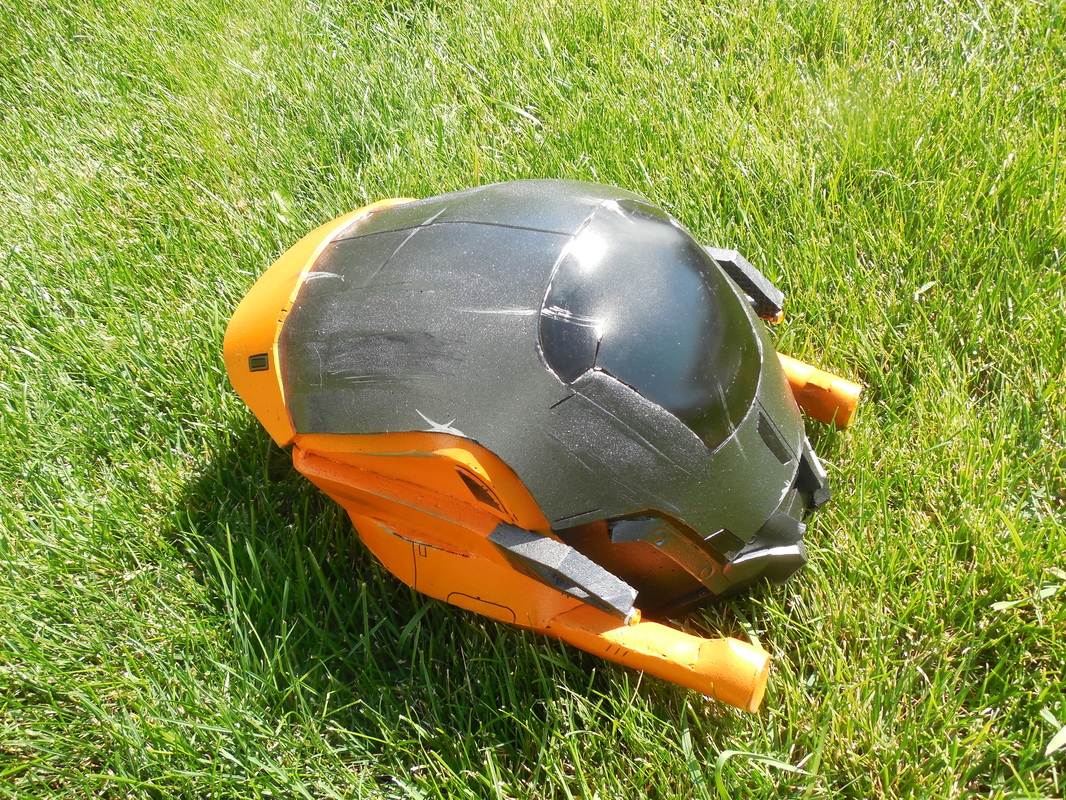
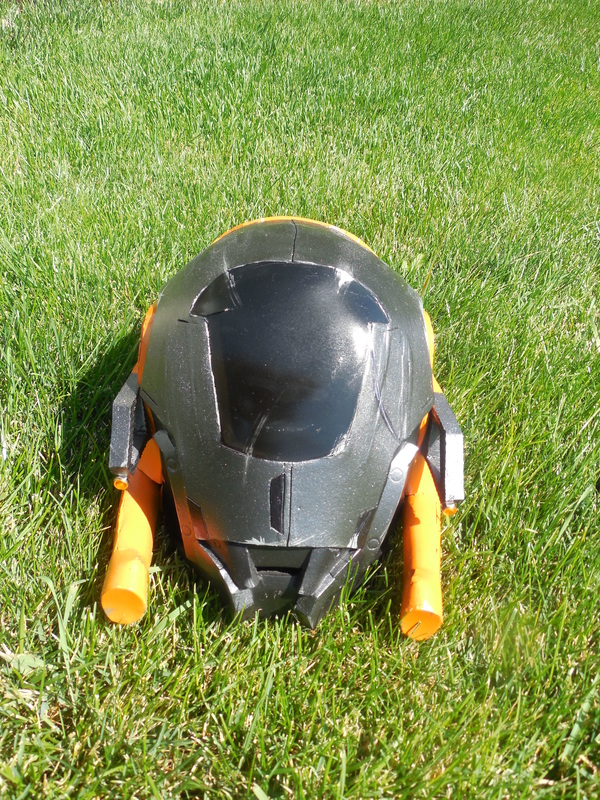
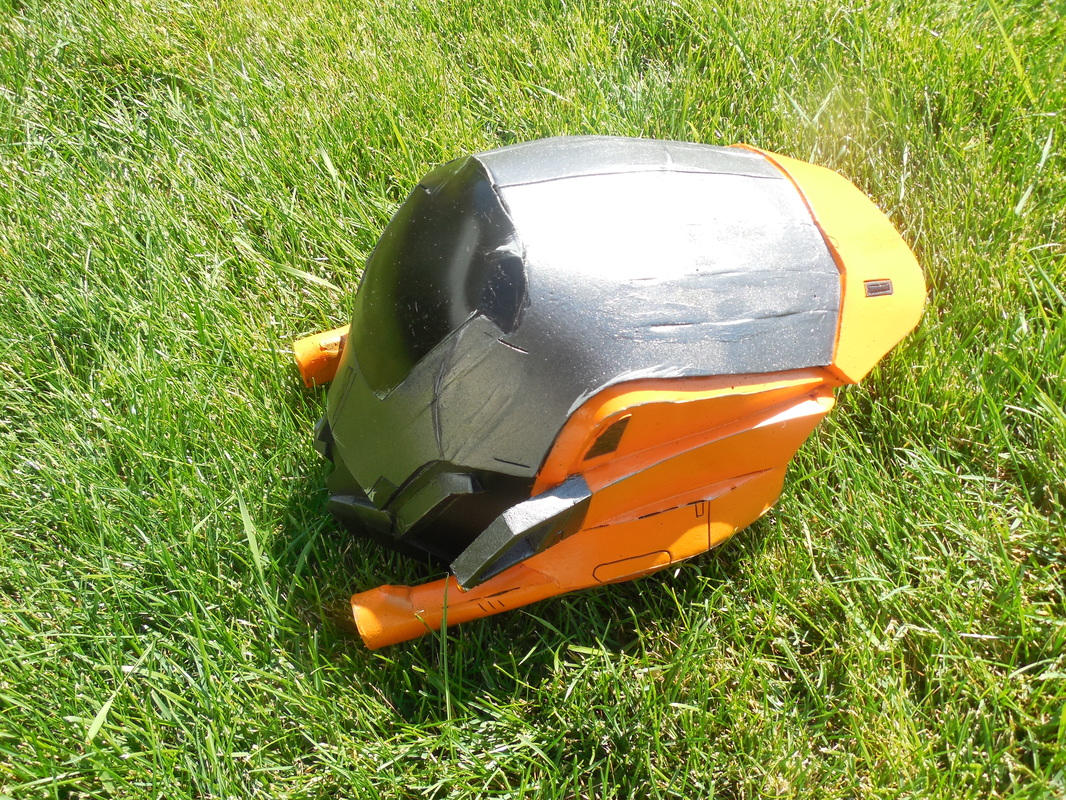
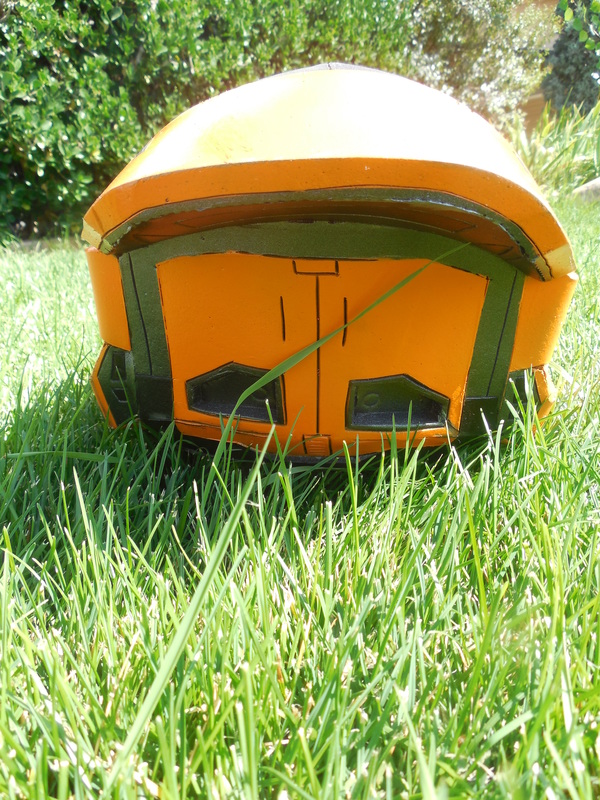
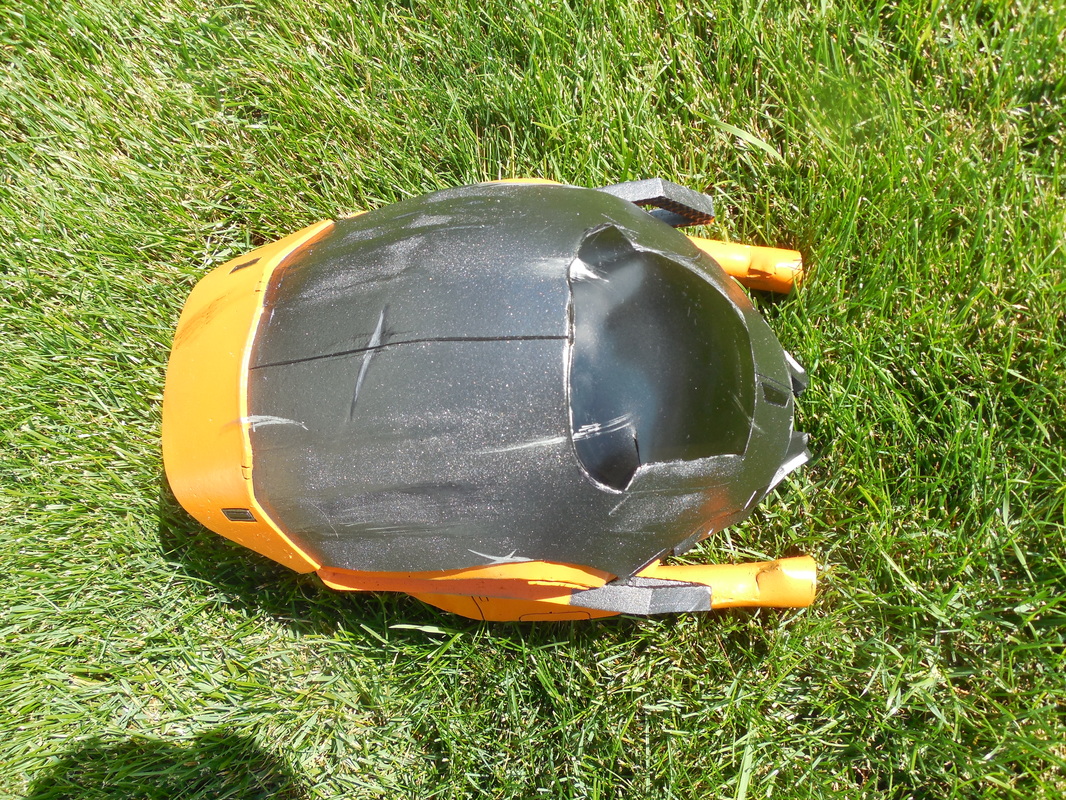
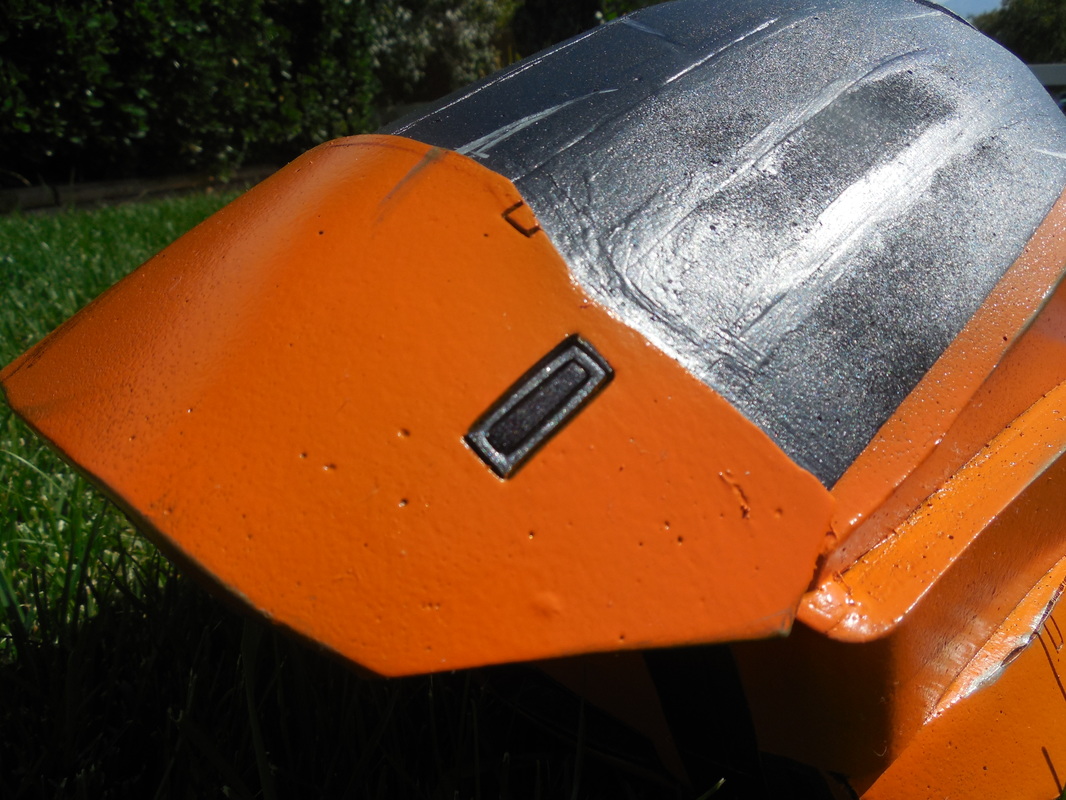
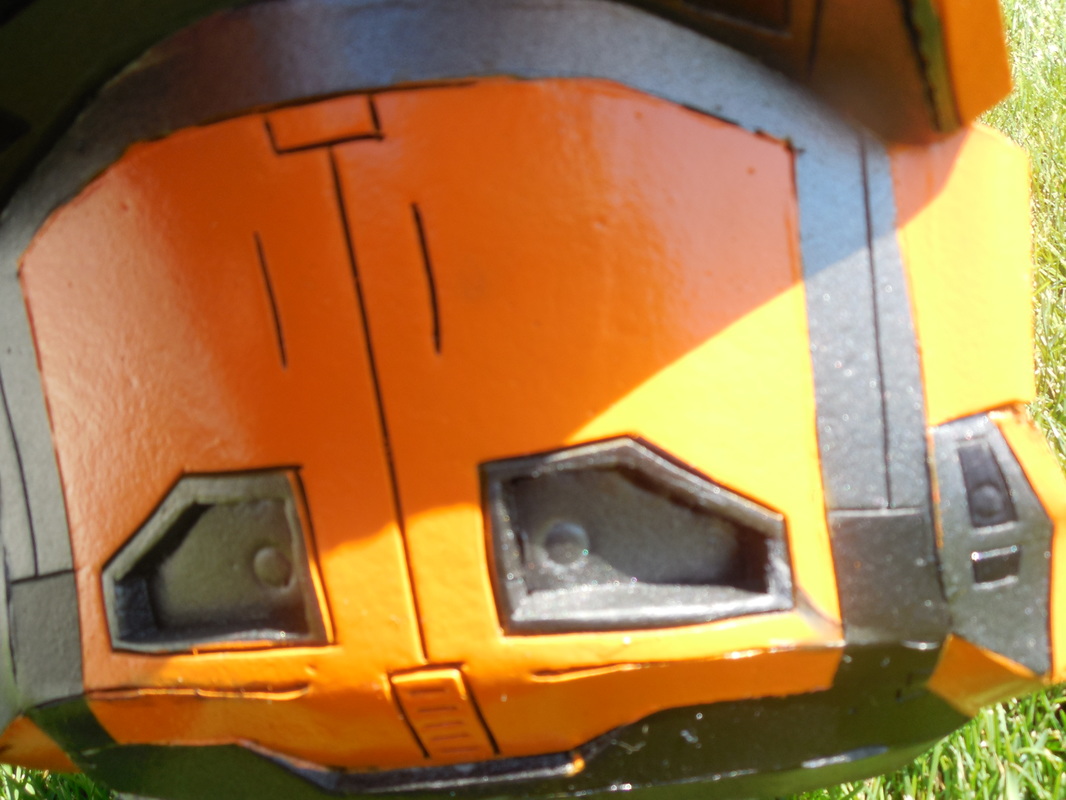
 Around the same time that I was working on the Sword of Ahrah, I was pumping out a bunch of different helmets. The first of these helmets was the Titan helmet from Destiny, for the awesome guys at Extra Life ATX. I opted to make it out of foam, like I do, but mostly because they wanted it light and durable since lots of people would end up wearing it at events and they wanted to cast games in it as well. This turned into a very interesting build, so let's get started! 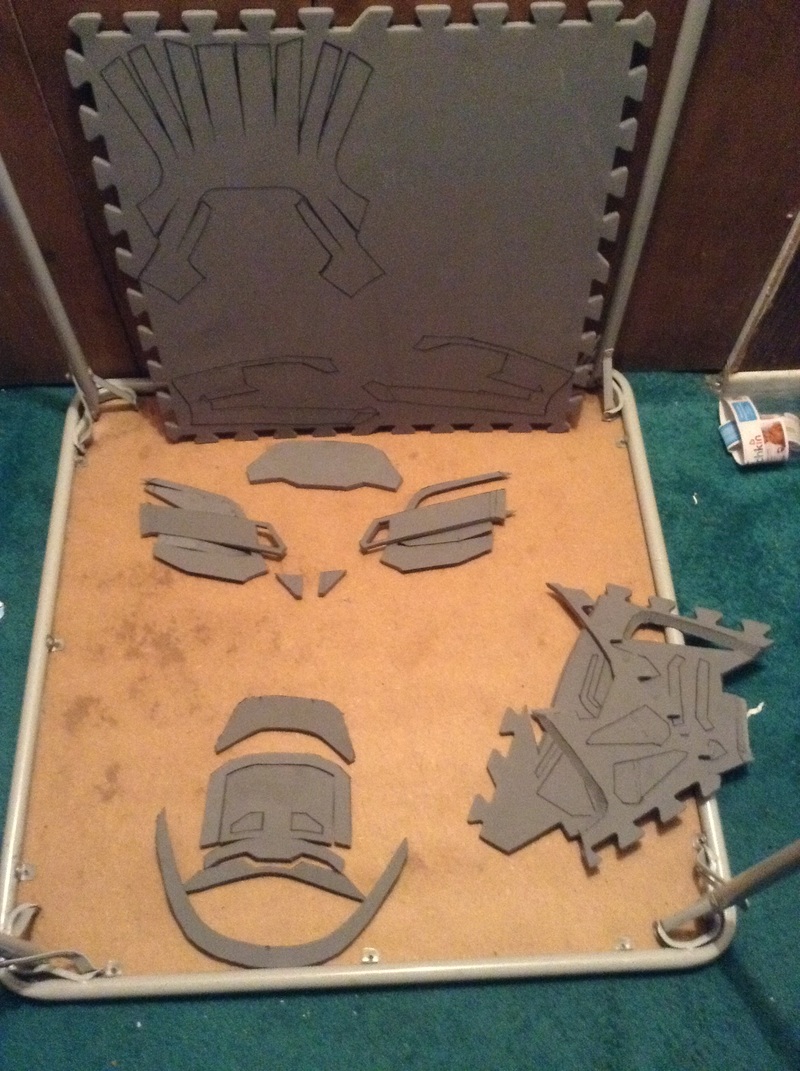 Started off as normal: prep the pieces, trace them to foam, cut them out, the glue them all up with contact cement. I had to do some major work on a few of the pieces, like the crest at the back. The underside piece needed a heavy angle cut, and the turkey legs (as I affectionately call them) needed huge trenches and grinding down to even fit together. Eventually, however, I prevailed! Got it all cleaned up, took it outside, and filled the seams as best I could with some sandable, paintable caulk. 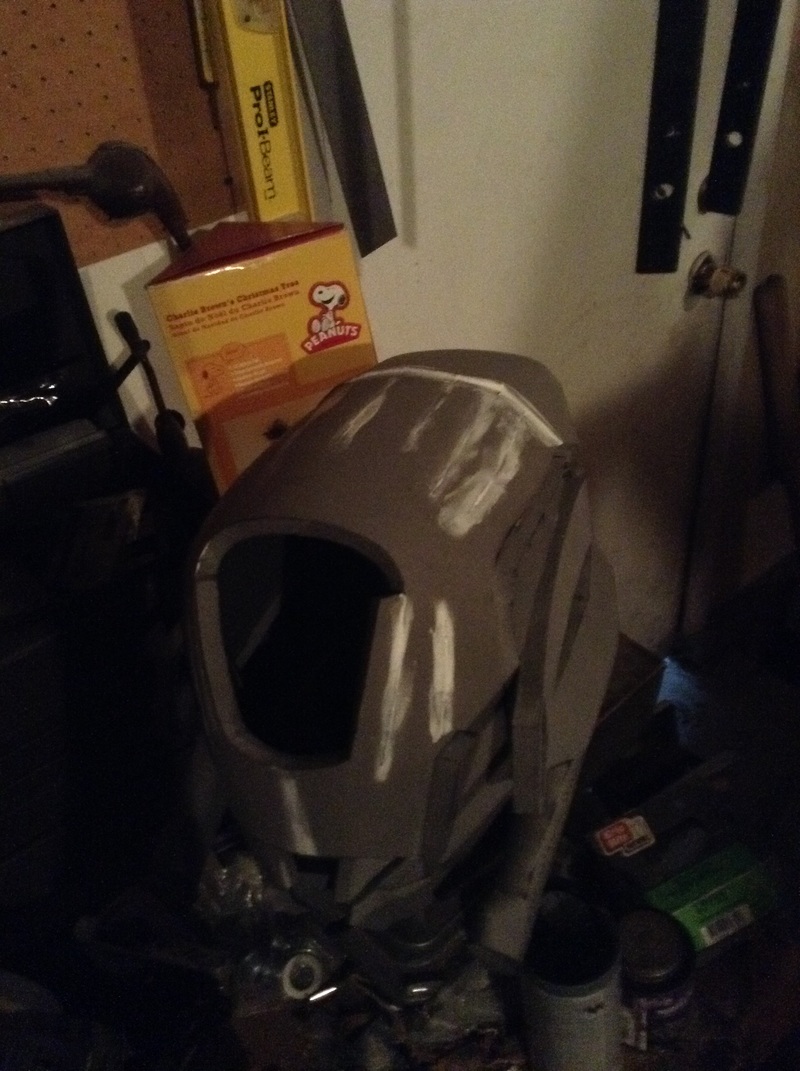 Once that set, I sanded it as smooth as I could, then brought it back in and used some craft foam to fill the front holes in the turkey legs. I also grabbed some smoke grey acrylic from my local supplier, used my heat gun over a ceramic bowl to stretch it to shape, and cut a visor out. I also used the xacto knife/heat gun trick to etch in all the detail lines. A light scoring and some quick passes make excellent and clean etchings! After that I grabbed a couple orange lights from my local Radio Shack (this was long before they closed down), and wired them up, along with a fan for later. Now it was time for paint! Wrapped up the fronts of the lights, leaving the back to be painted over. Also taped up the visor. Then, threw on my favorite foam sealer, Plasti Dip! 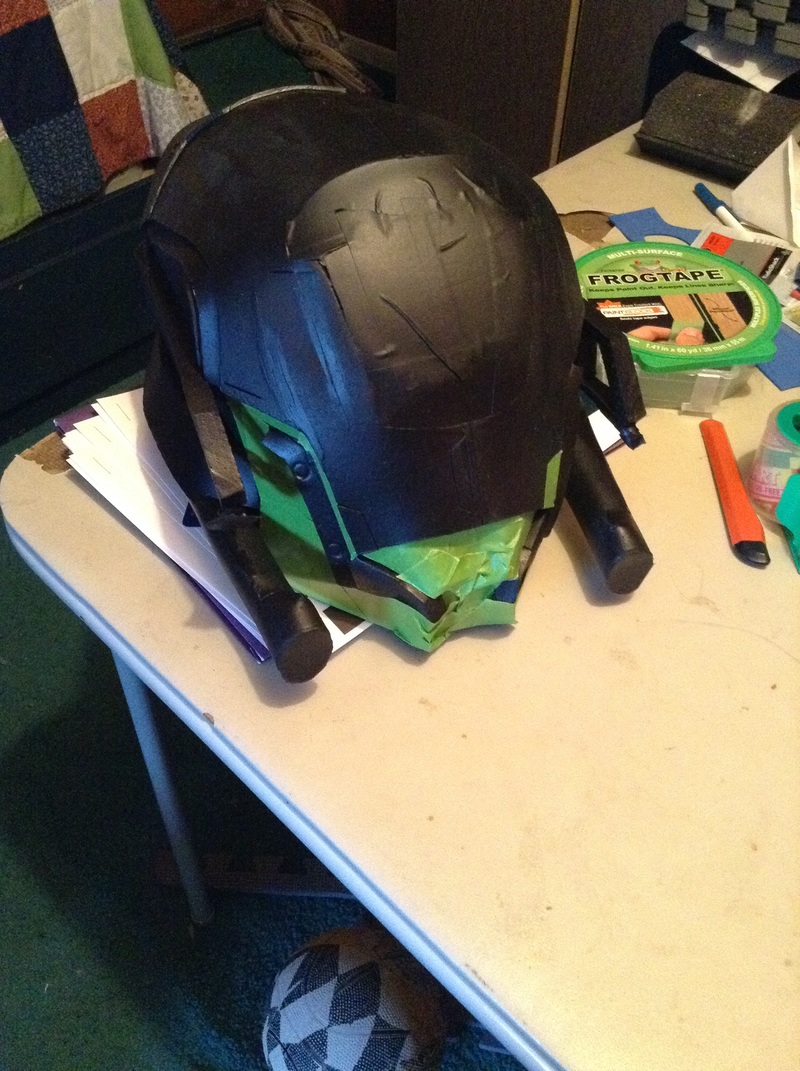 Taped up the areas I wanted to keep black, as you see above, then grabbed an automotive gunmetal grey and went to town. More tape, and then came the primary color: orange! Cameo of my son, as viewed from the inside of the helmet. Looking great so far! Next came everyone's favorite part, weathering! I did a variety of things, from dry brushing to a dark acrylic wash, and added some color to a few of the details to highlight them better. I also finished installing the fan behind the hole in the front, so that the wearer could have some better air circulation and keep the visor from fogging too much. Threw on a final clear coat to seal it all in, which was unfortunately my folly as I forgot to tape up the visor again. It ended up being really hard to see out of, but I was so excited to get it to them I didn't test it before I shipped it. Looks awesome, but I failed on the end result of them being able to stream games wearing it.... Still, they loved it, and I loved making it so much I decided to make another one! But that's a tale for another blog! Here's some final shots of the Titan helmet. Hope you enjoyed! 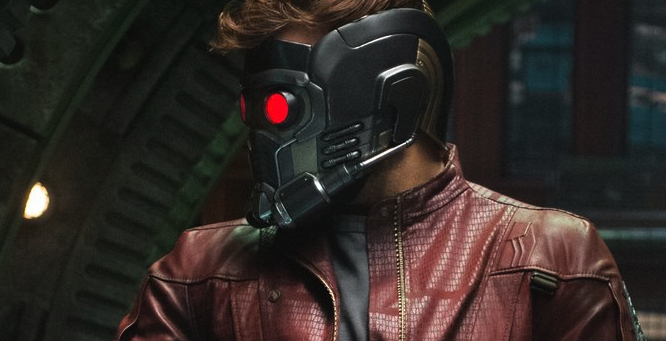
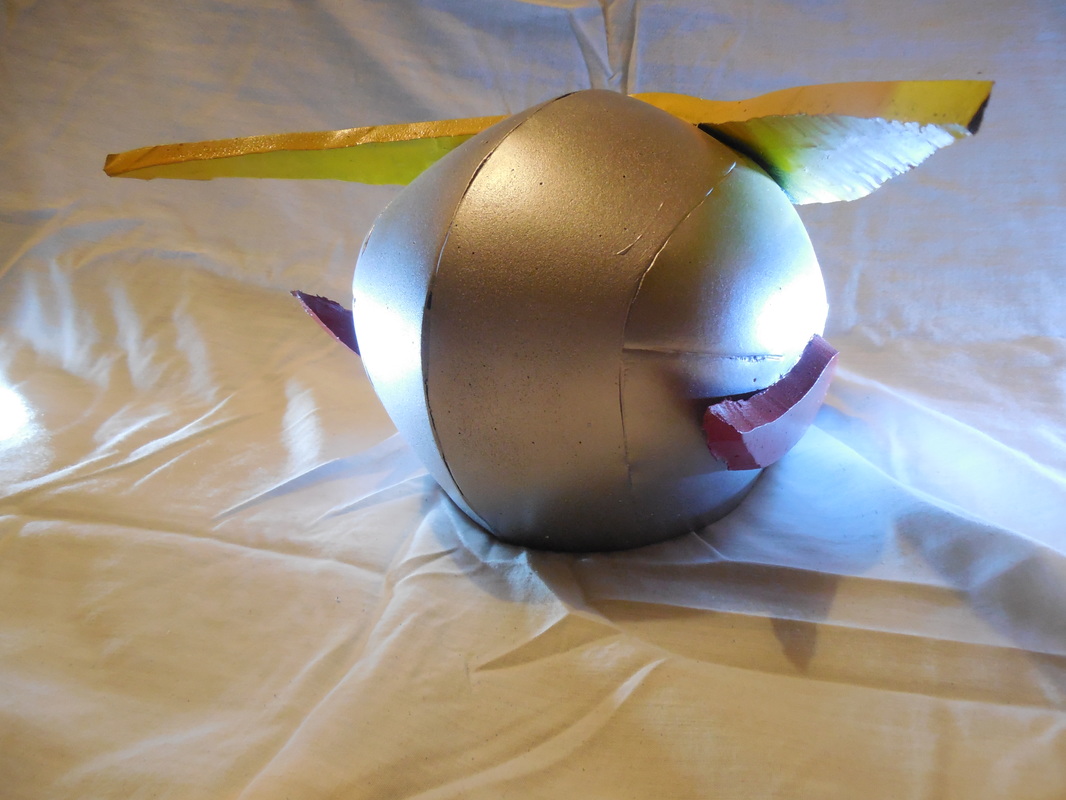
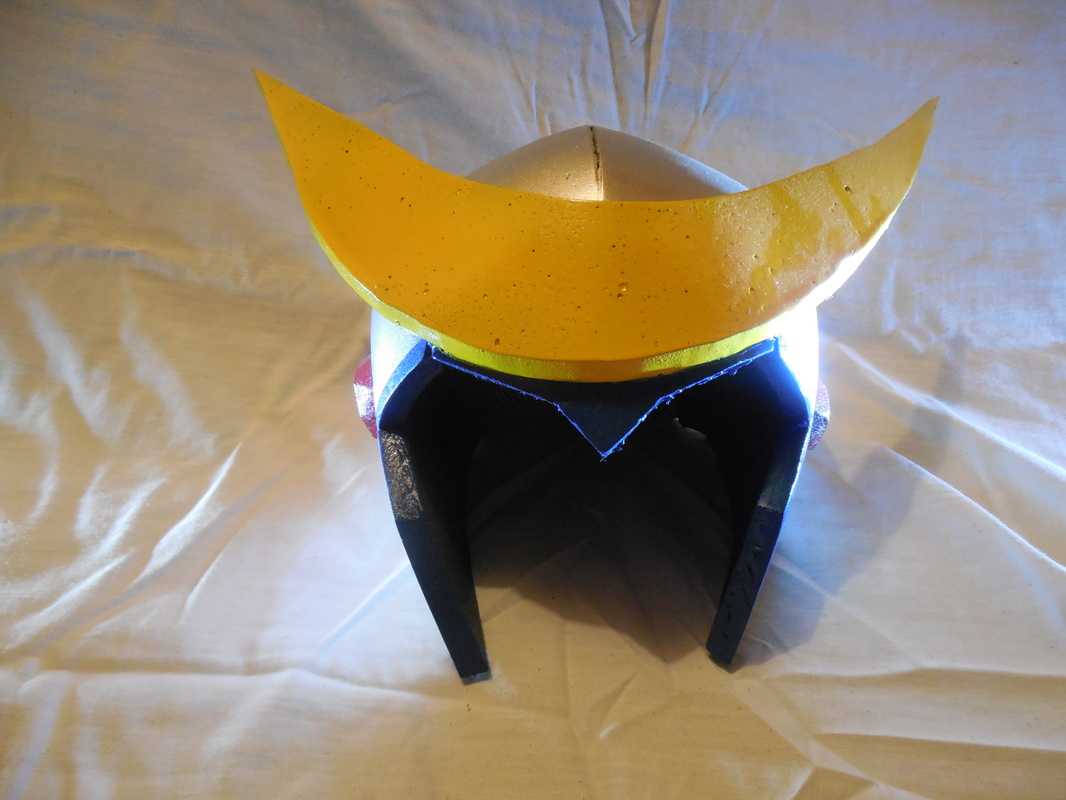
Okay, okay, so I couldn't just stop at the pistol. Everybody who was anybody was building this helmet for the upcoming Guardians of the Galaxy release, and when I found a great foam pep unfold on the RPF, I decided to join in. Why? 'Cause I can. ;) So, naturally, I printed all the parts after sizing it to me, cut out all the paper templates, then cut out all the foam. 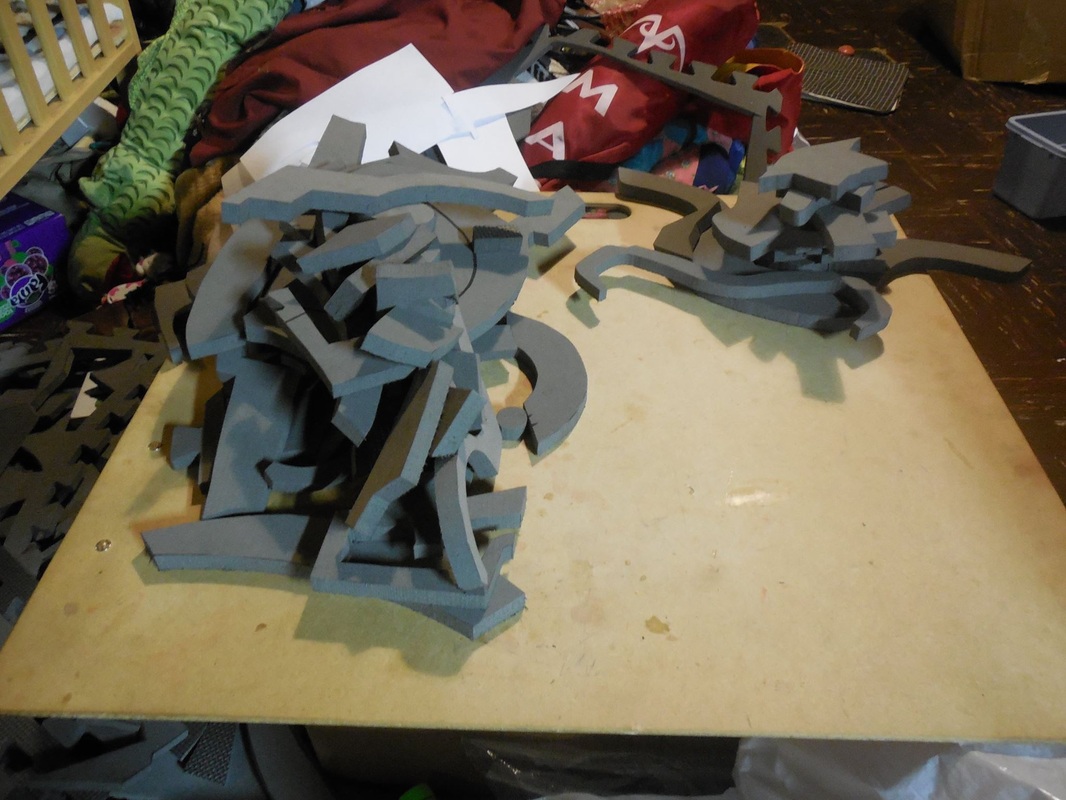
Just for a bit of perspective, on the left are all the pieces for an N7 breather helmet, and on the right are all the pieces for this one. Muuuuuch simpler overall, though obviously with its own difficulties. Organized all the cut out pieces, then started the assembly! 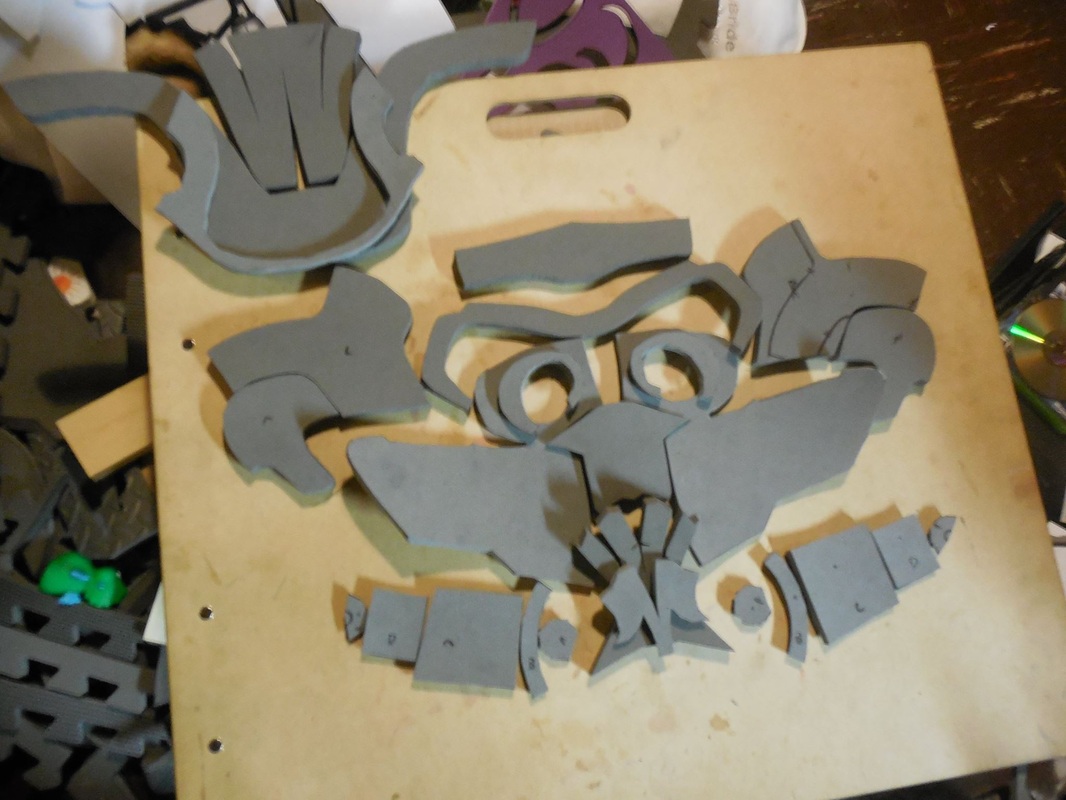
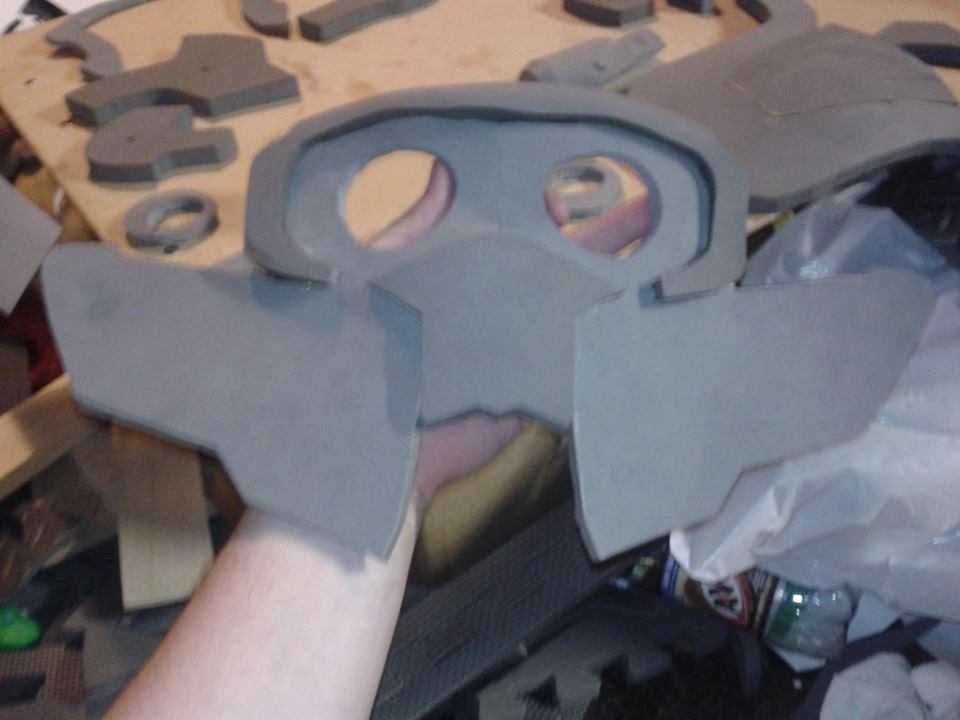
Totally laughed at this part, because it looked to me like an aviator platypus or penguin or something. XD 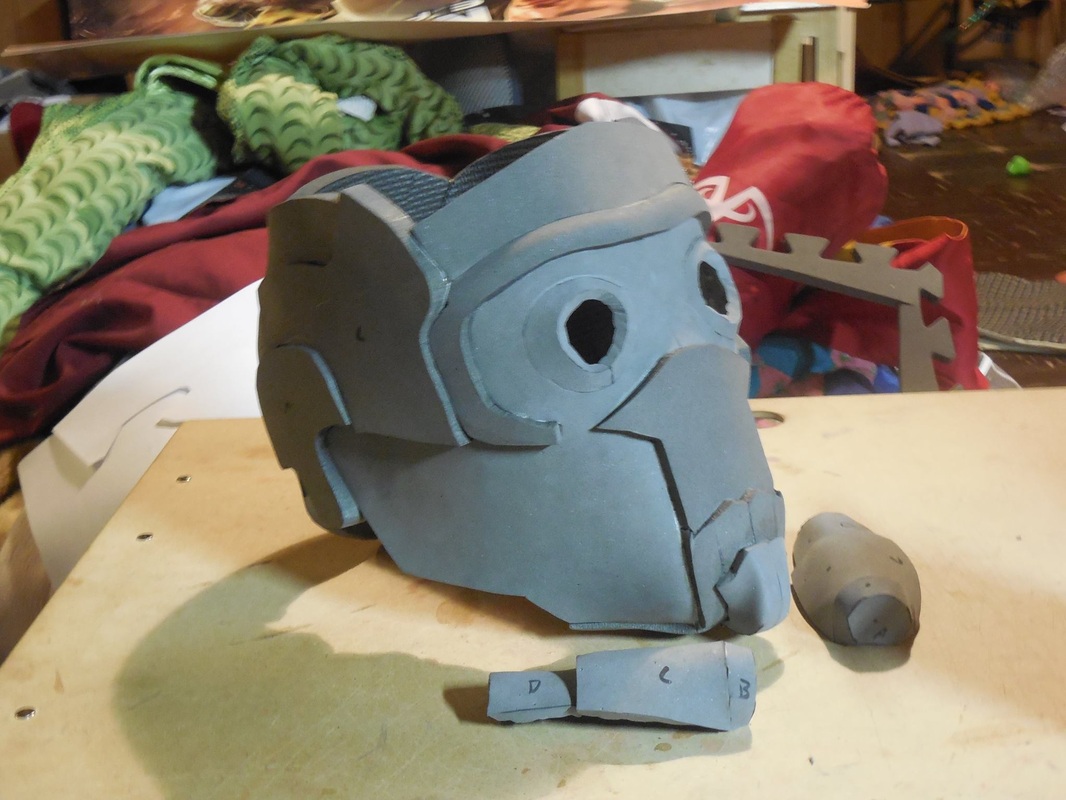
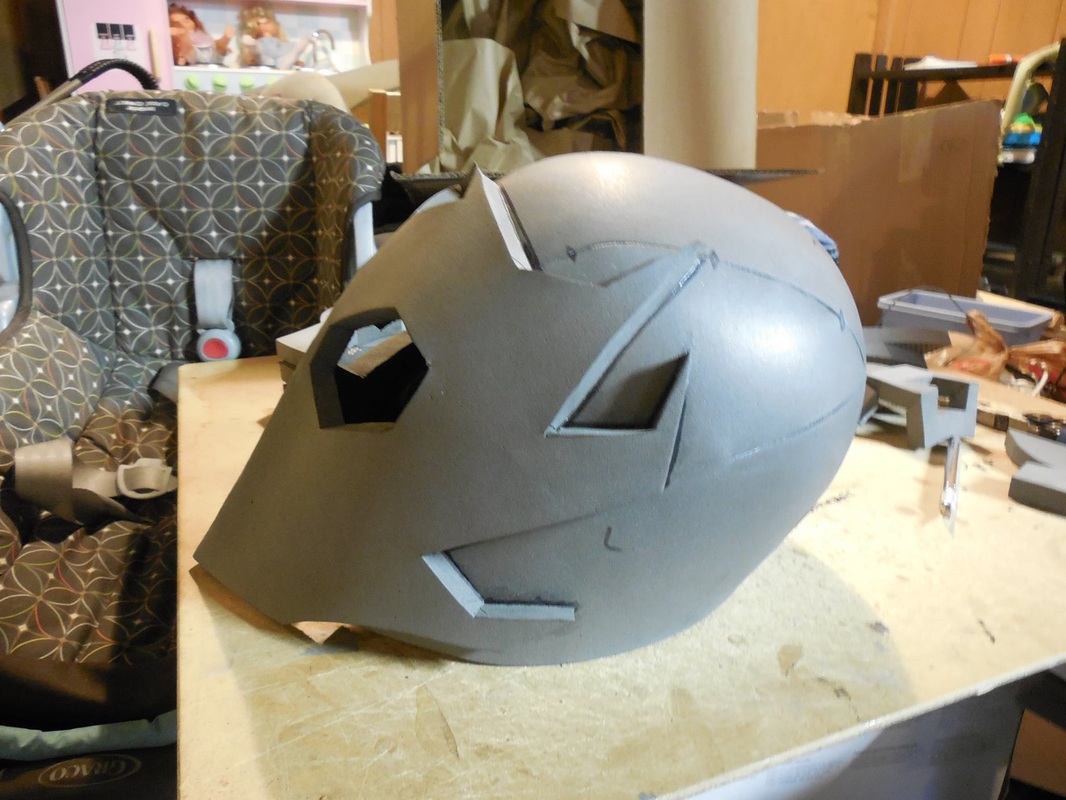
Got it all pretty much assembled, then put it aside for a bit while I finished off a couple other projects. This was for me, so other stuff came first! Once I was able to get back to it though, I etched in the lines with the xacto/heat gun combo. 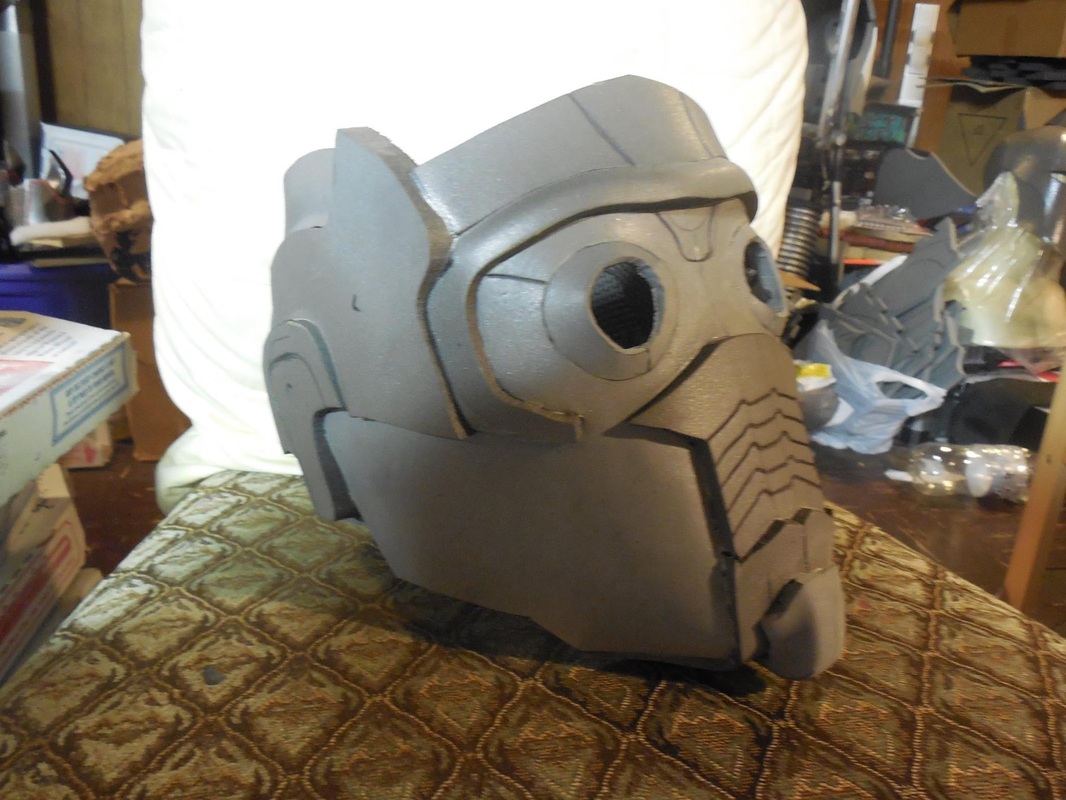
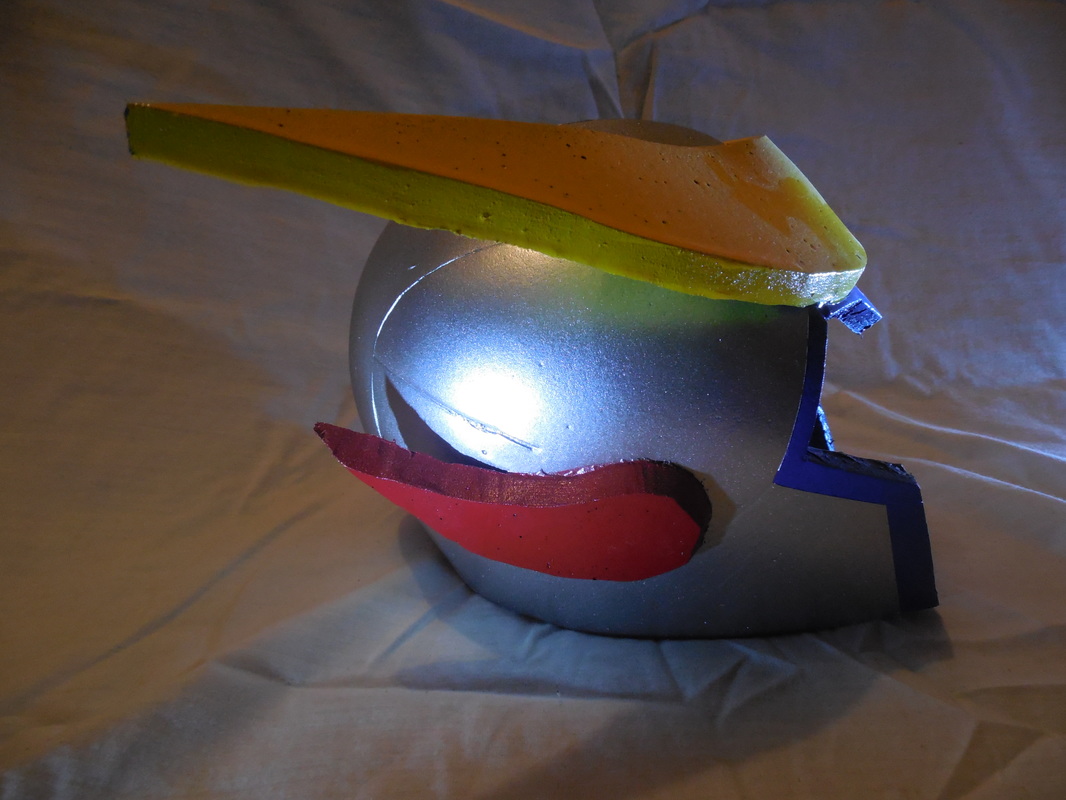
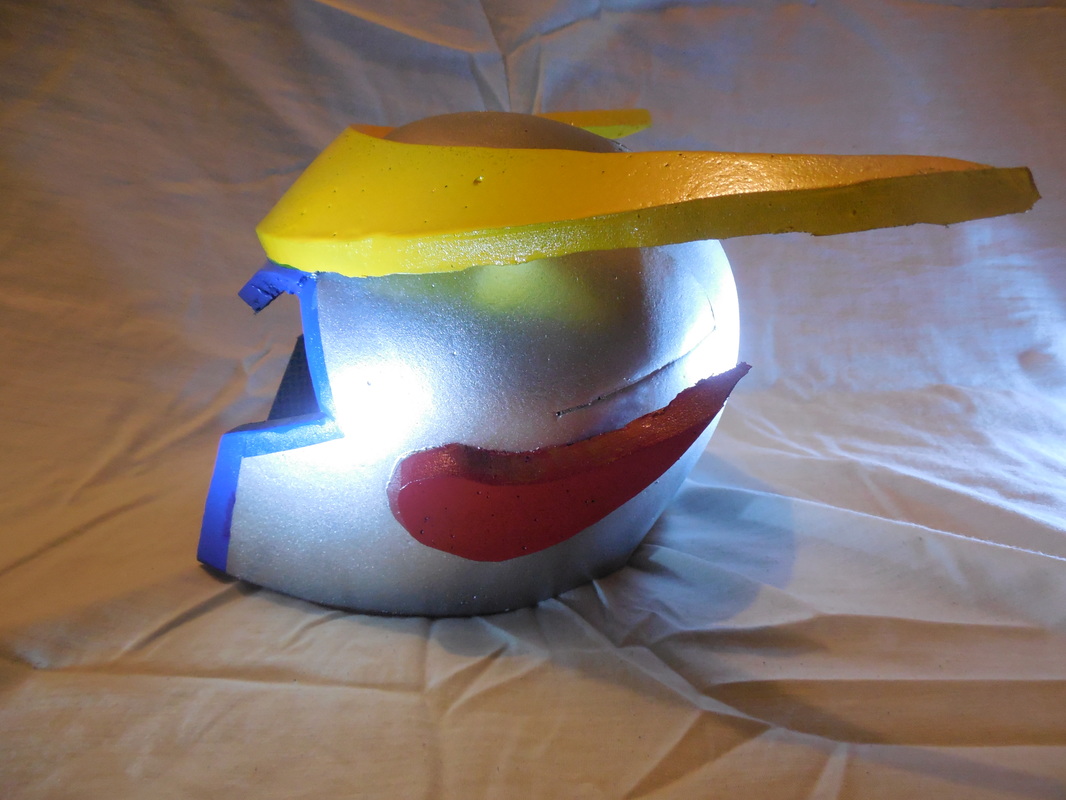
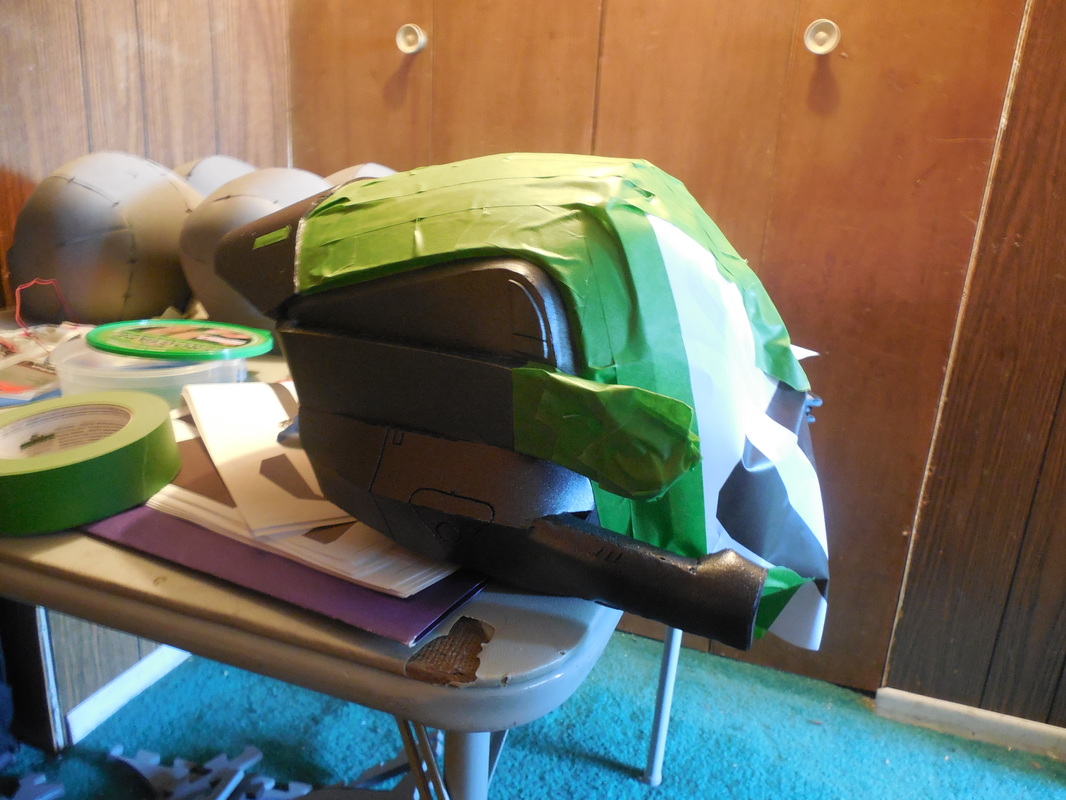
Starting to look more like it! Attached the breathing tube things on the sides, as well as simple craft foam bits on the cheeks. Nothing fancy or crazy about the build, just getting what I can done with little time to spare. 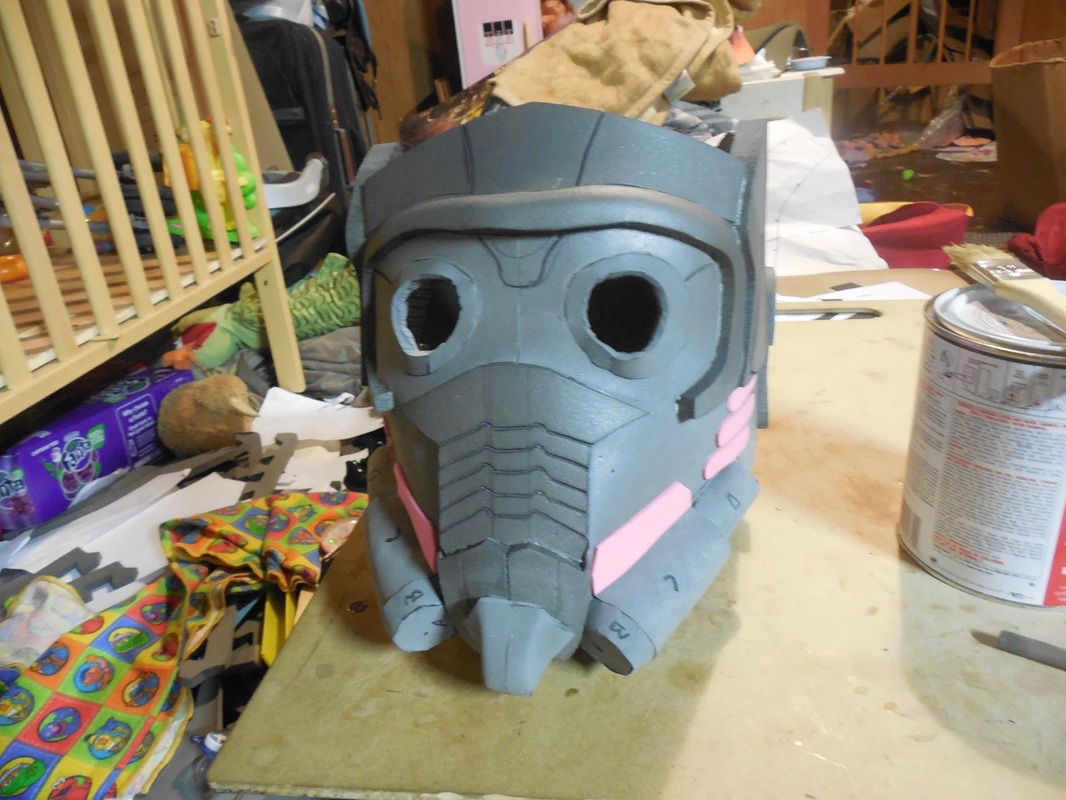
Tried to find some bendy straws, a trick I saw someone on the RPF do for the tubing, but I didn't have any. Instead I grabbed some old ethernet cable I had lying around and glued all that on. 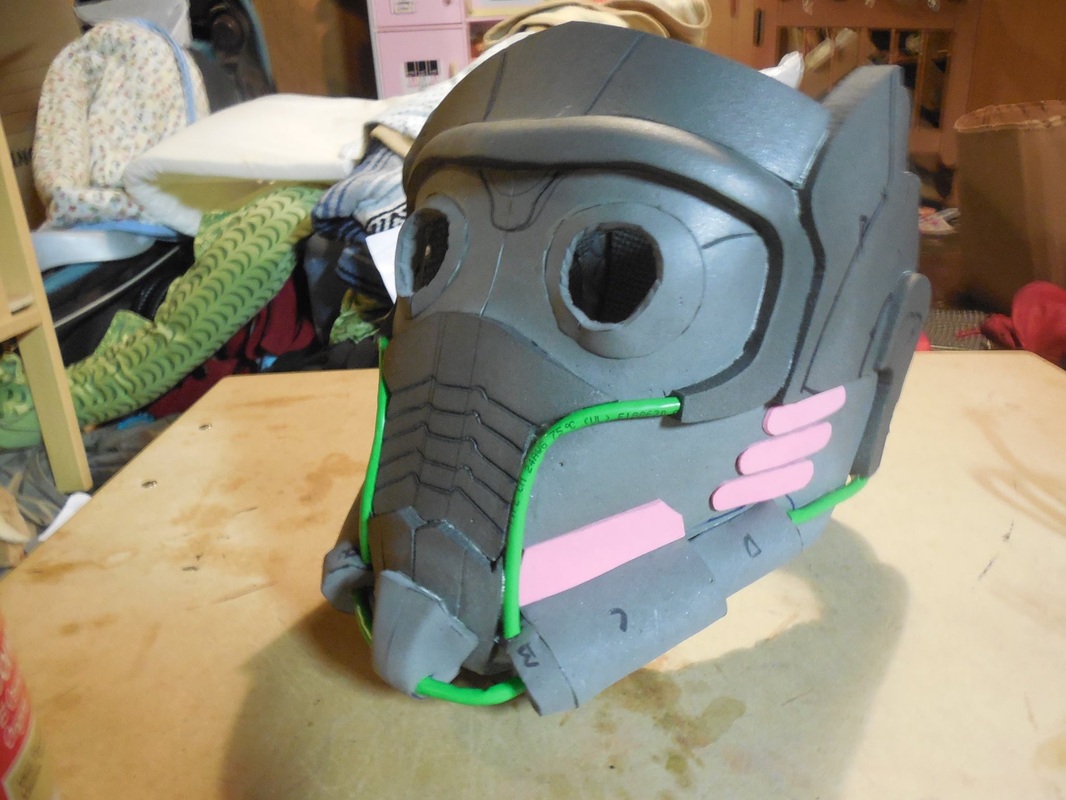
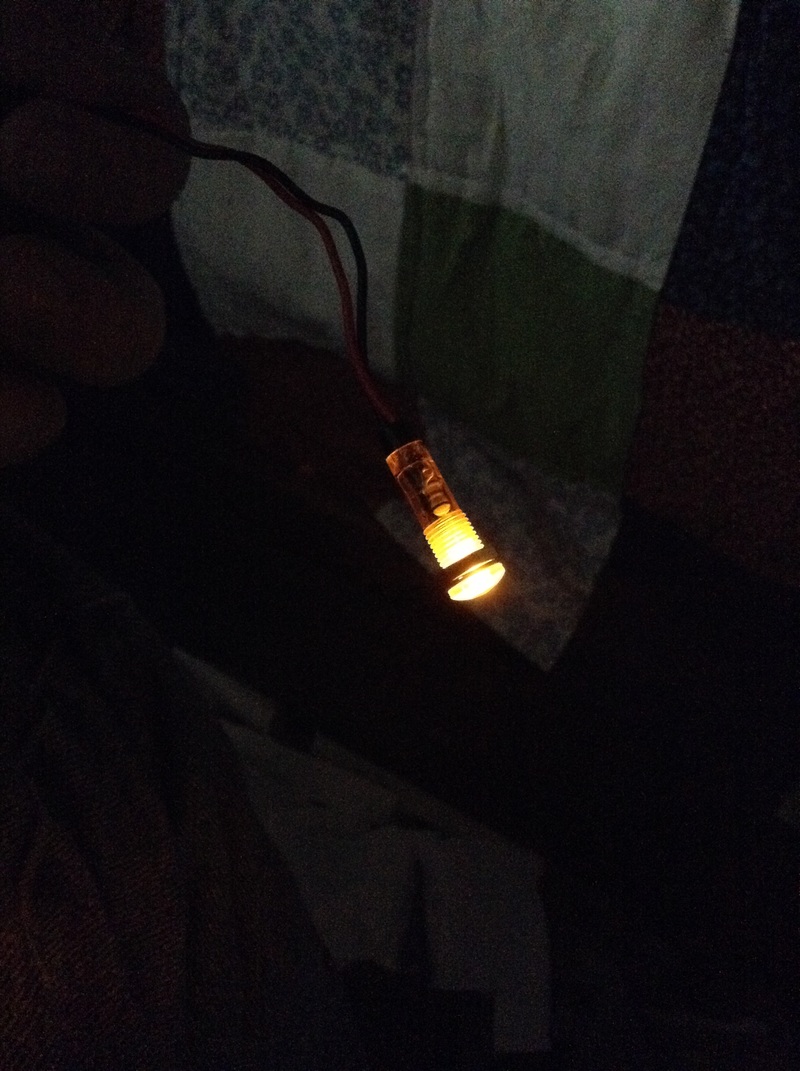
Sent that out for paint so quick (and rushing to get it done the day of the release) that I forgot to take pictures. Sorry! I did take a quick shot of the acrylic discs for the eyes, done with the same red acrylic I used on the Terminus helmet. 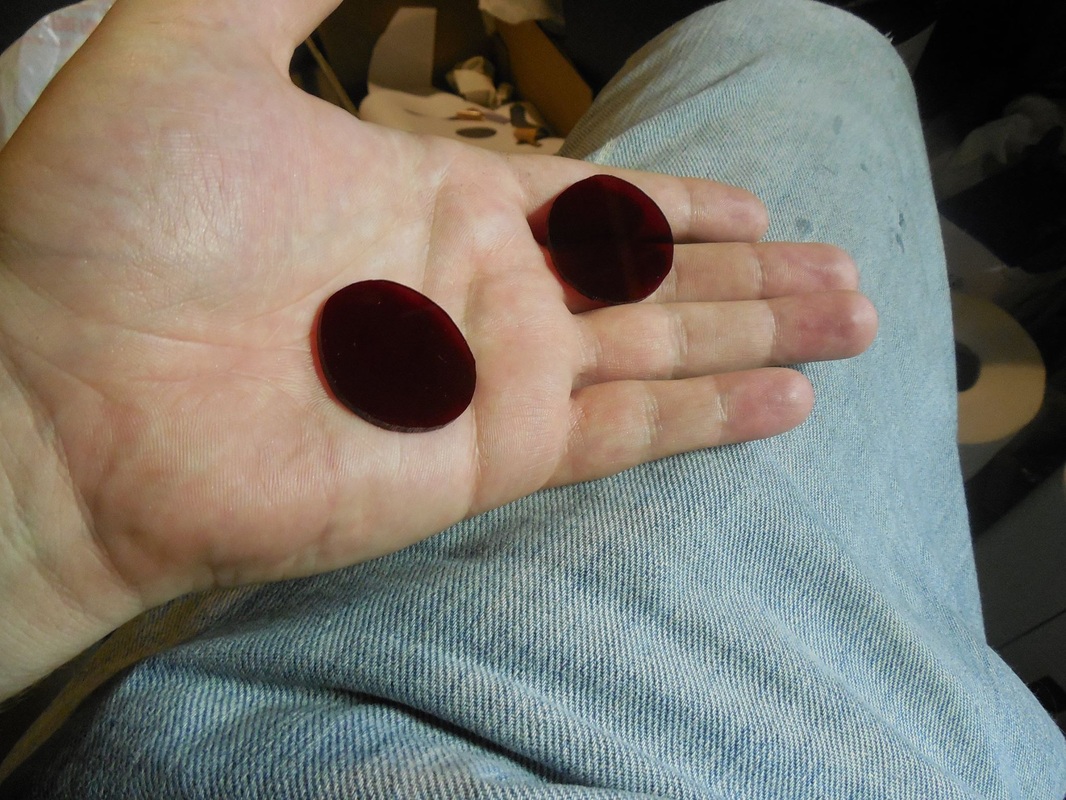
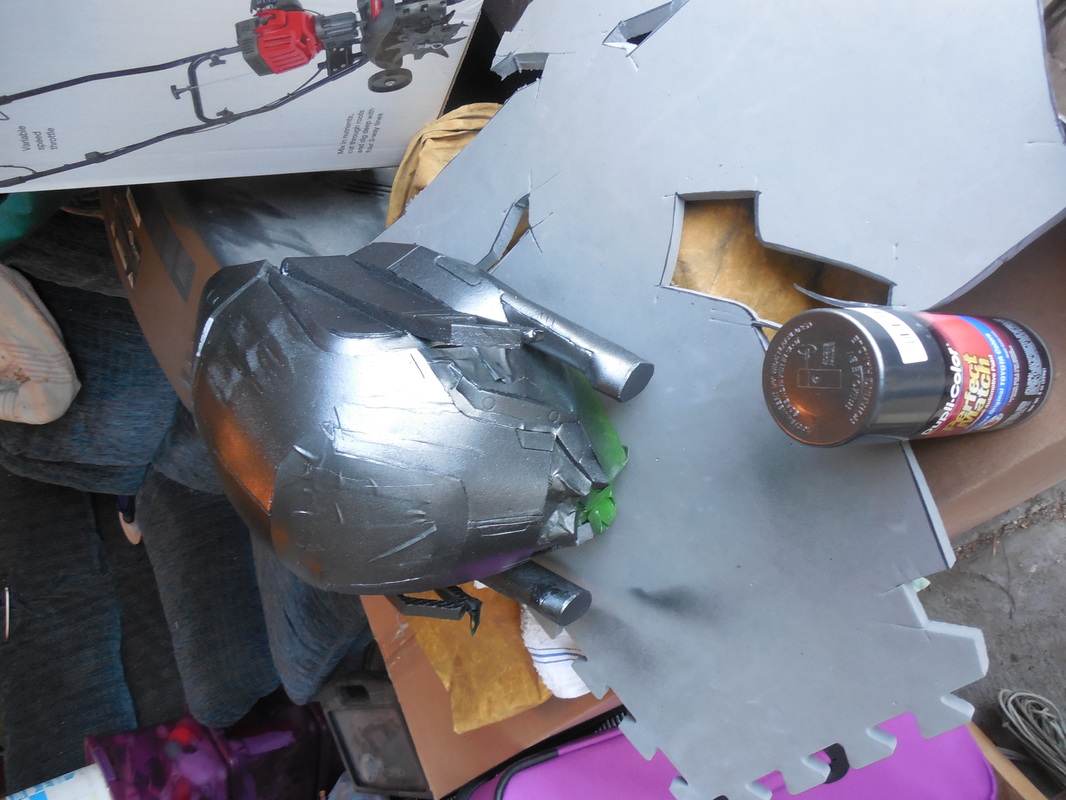
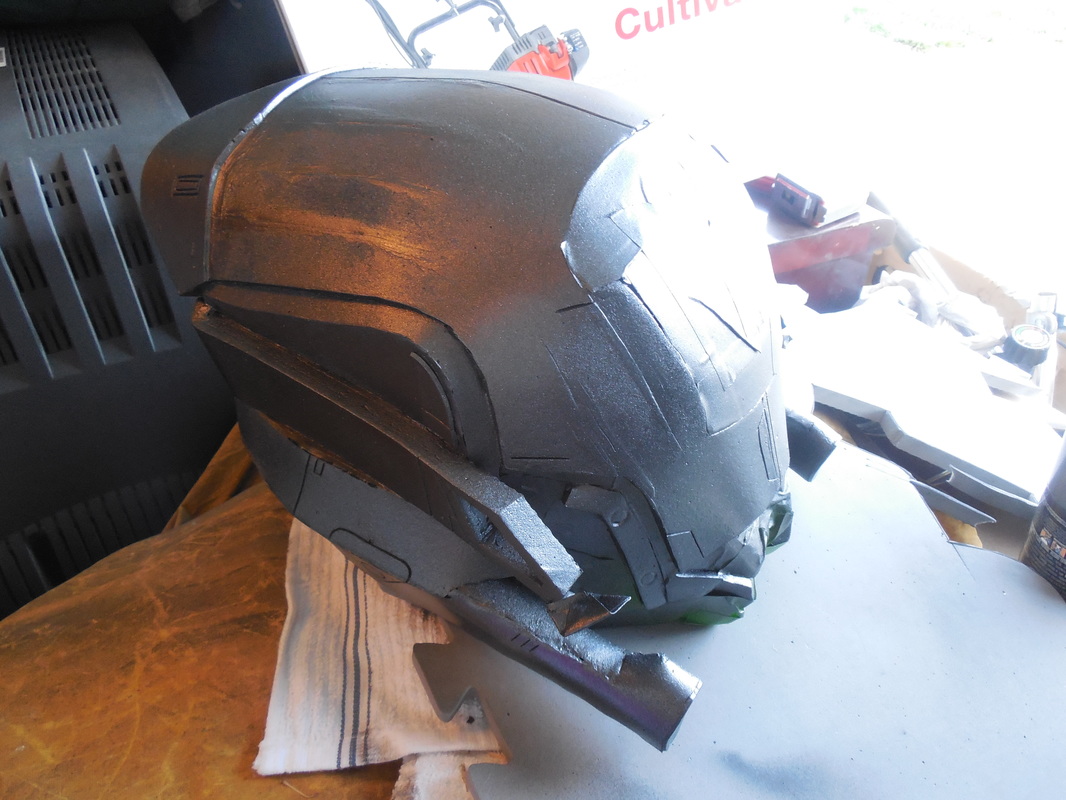
For the paint I used Plasti Dip (naturally), metallic gold, and a satin aluminum I had lying around. No weathering, no clear coat, and no gunmetal, since I didn't have any and we were out the door soon as the tape was off and the acrylic eyes installed. 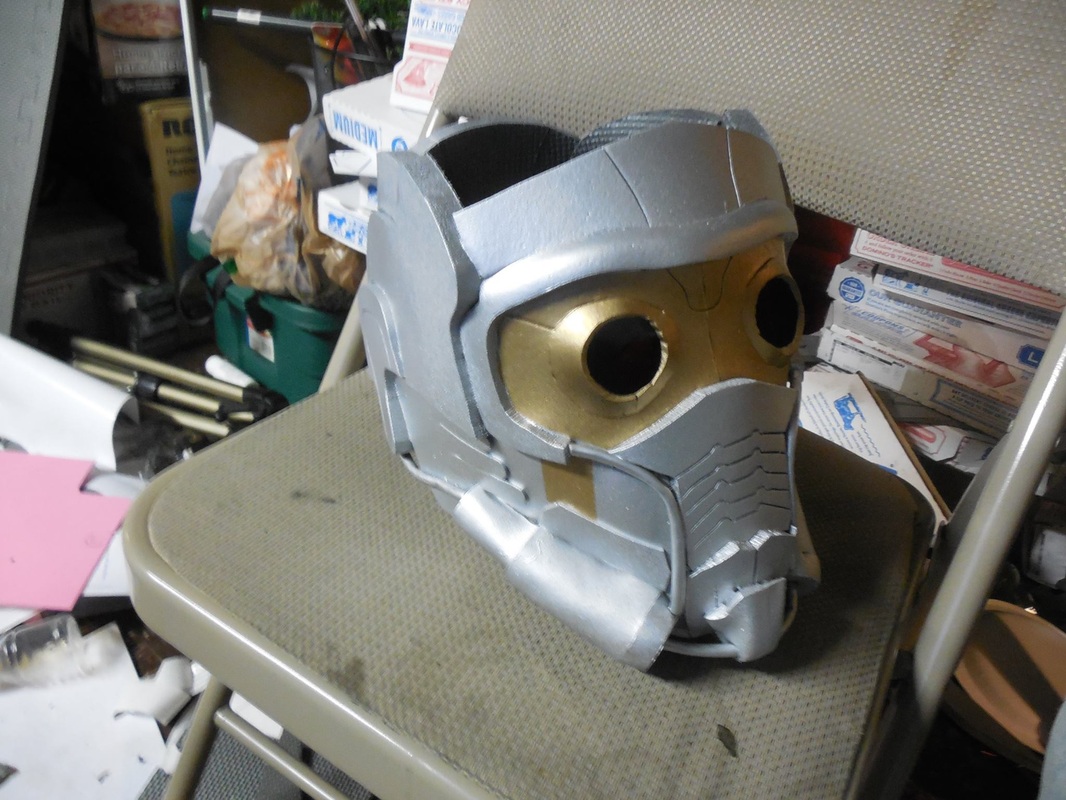
There's still a bunch of work I'd like to do on it, and some shots of me wearing it I'd like to get, but it currently sits in the state you see here, in a giant pod with all my tools and belongings, in Pennsylvania. While I sit here in Utah.
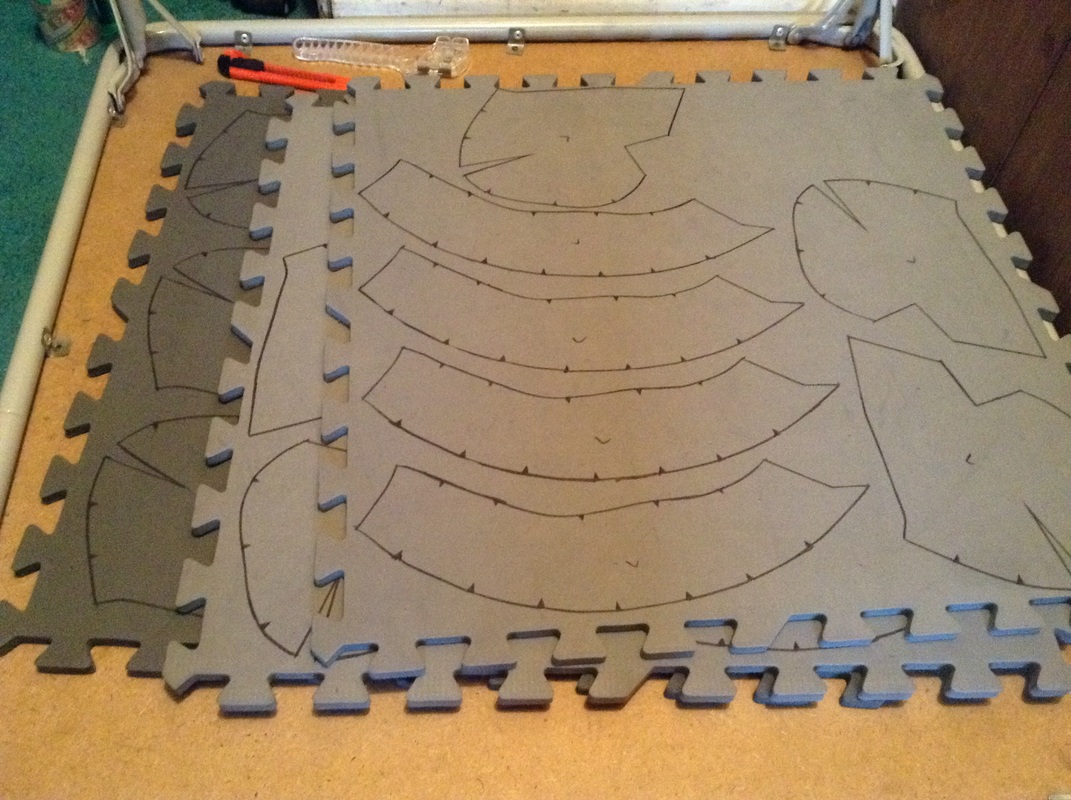
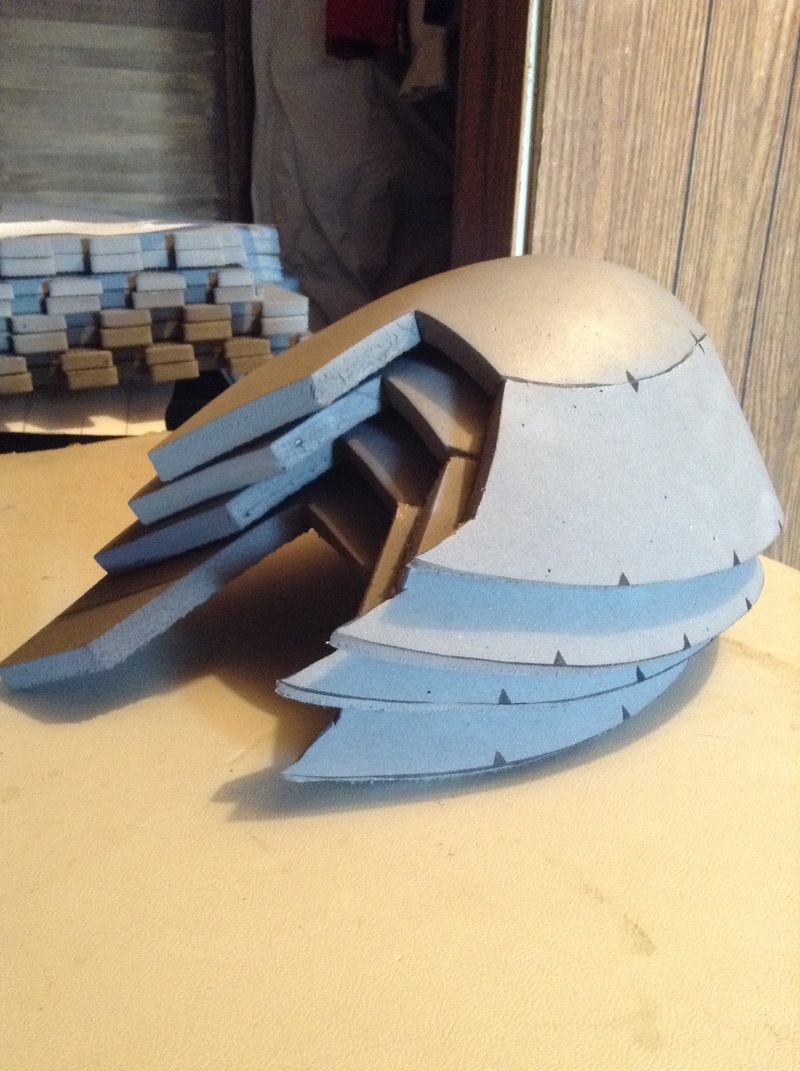
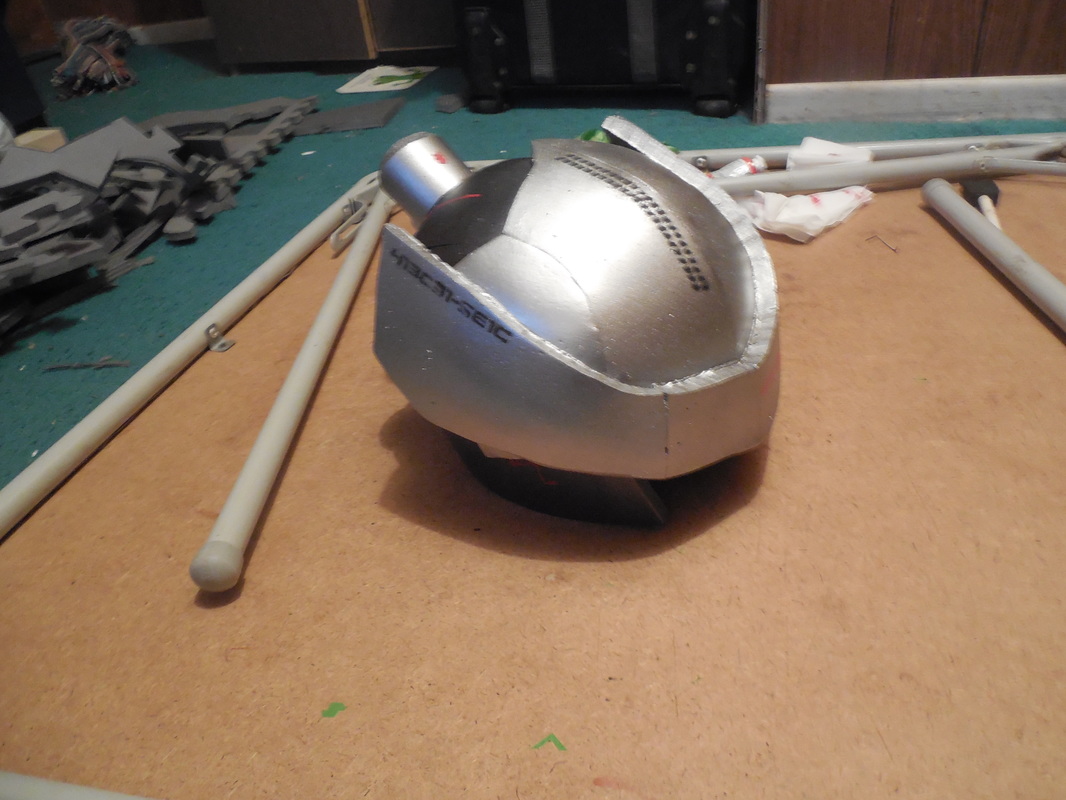
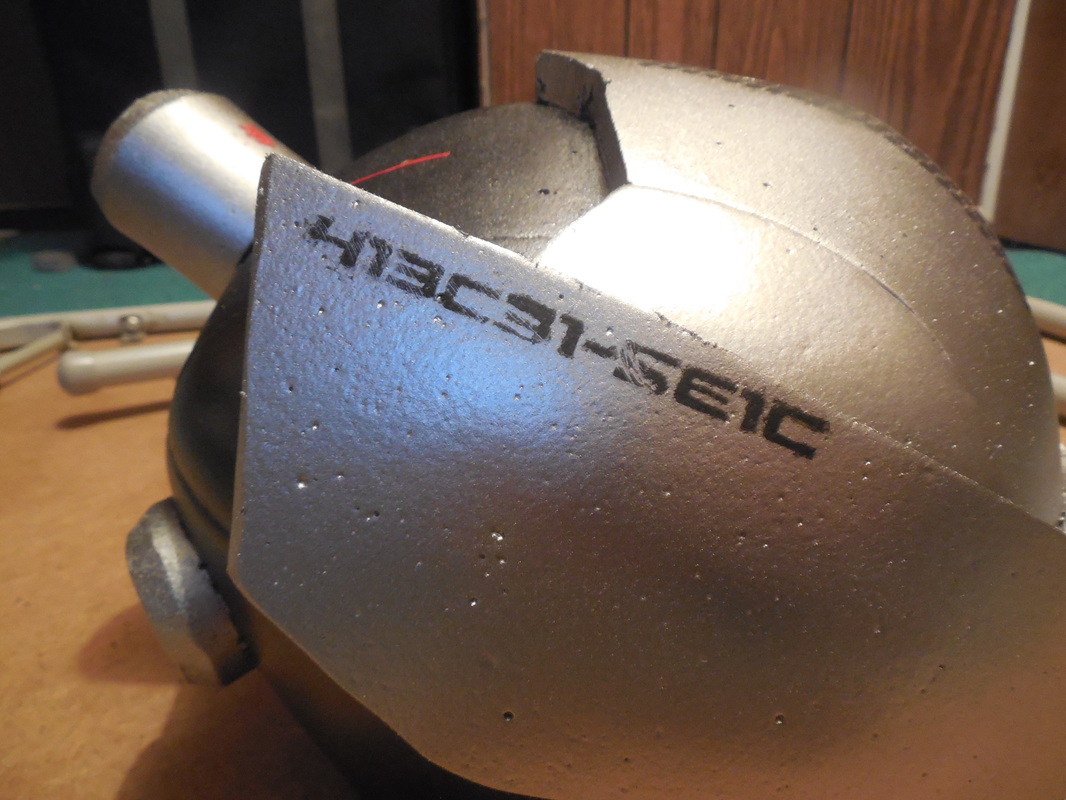
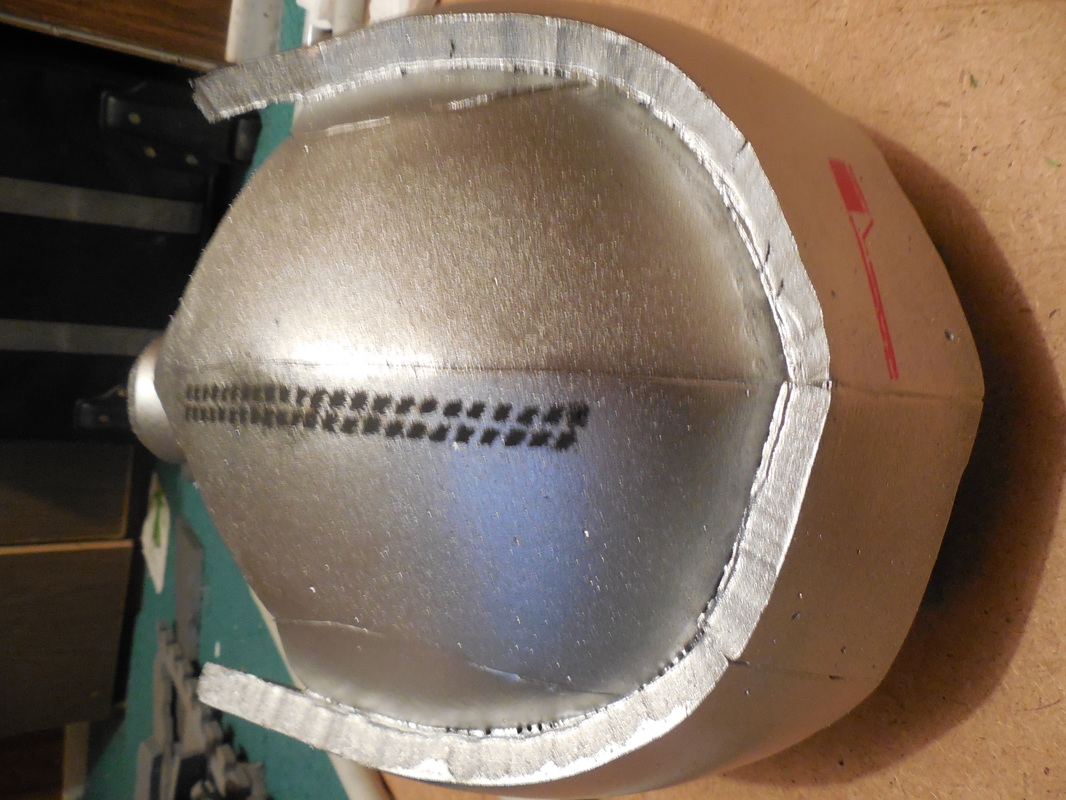
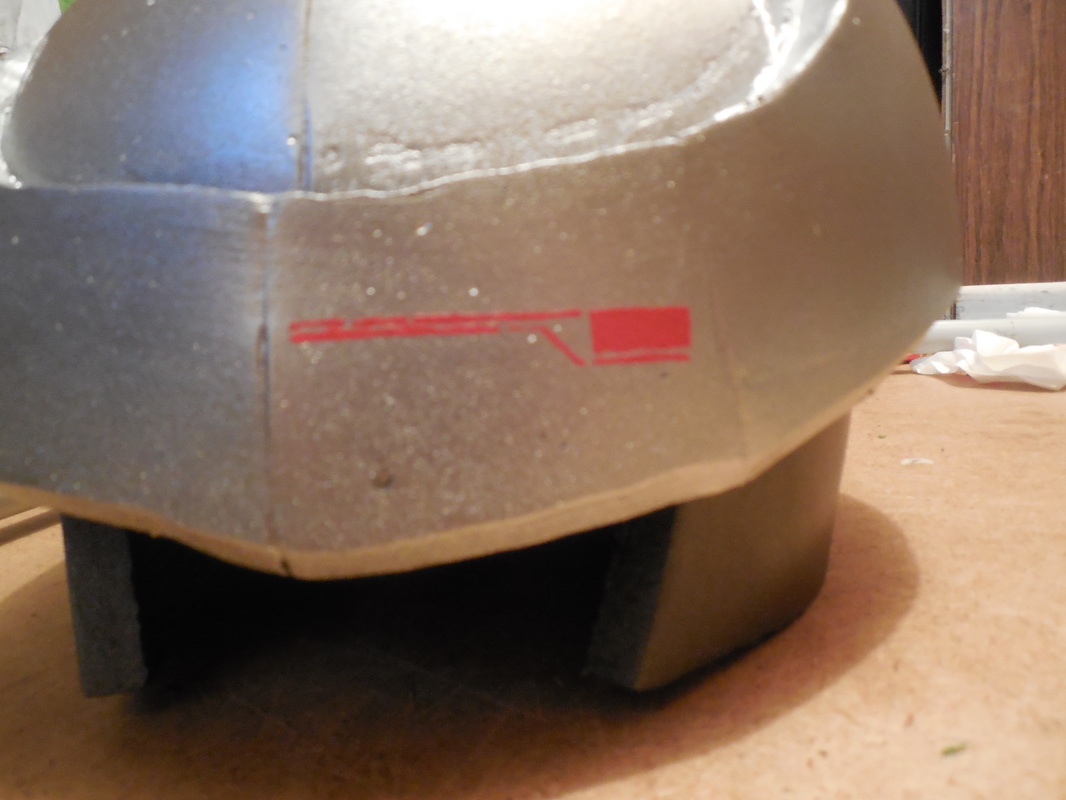
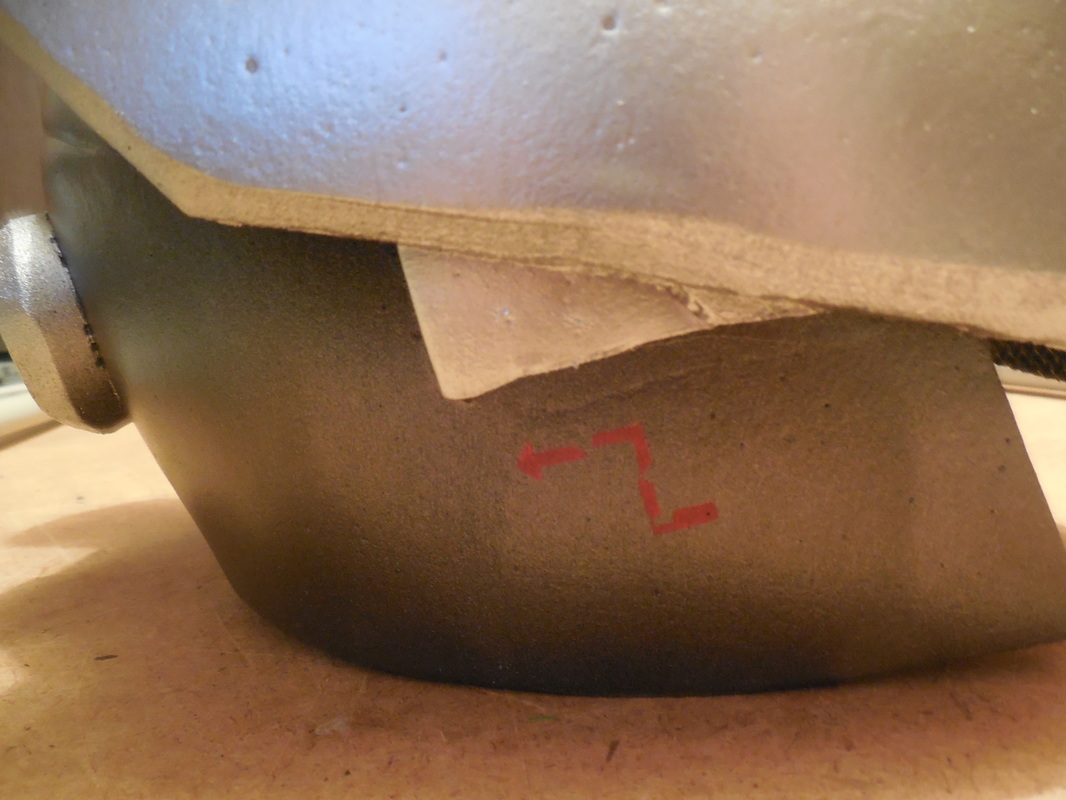
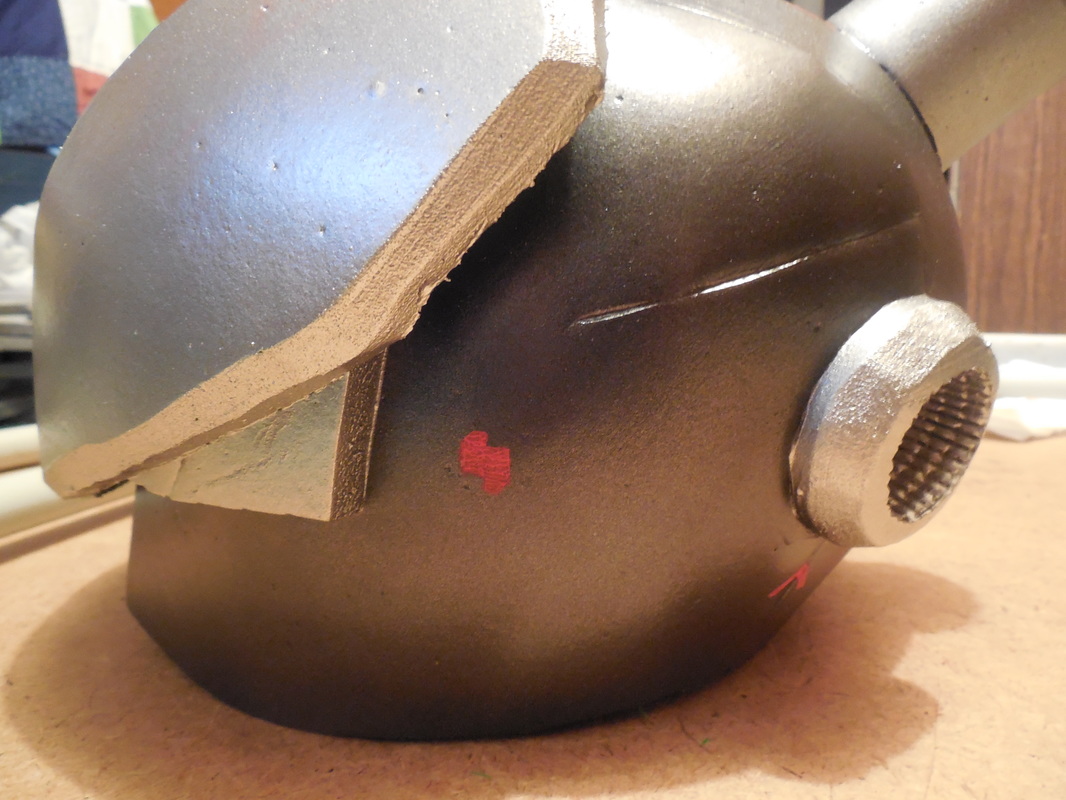
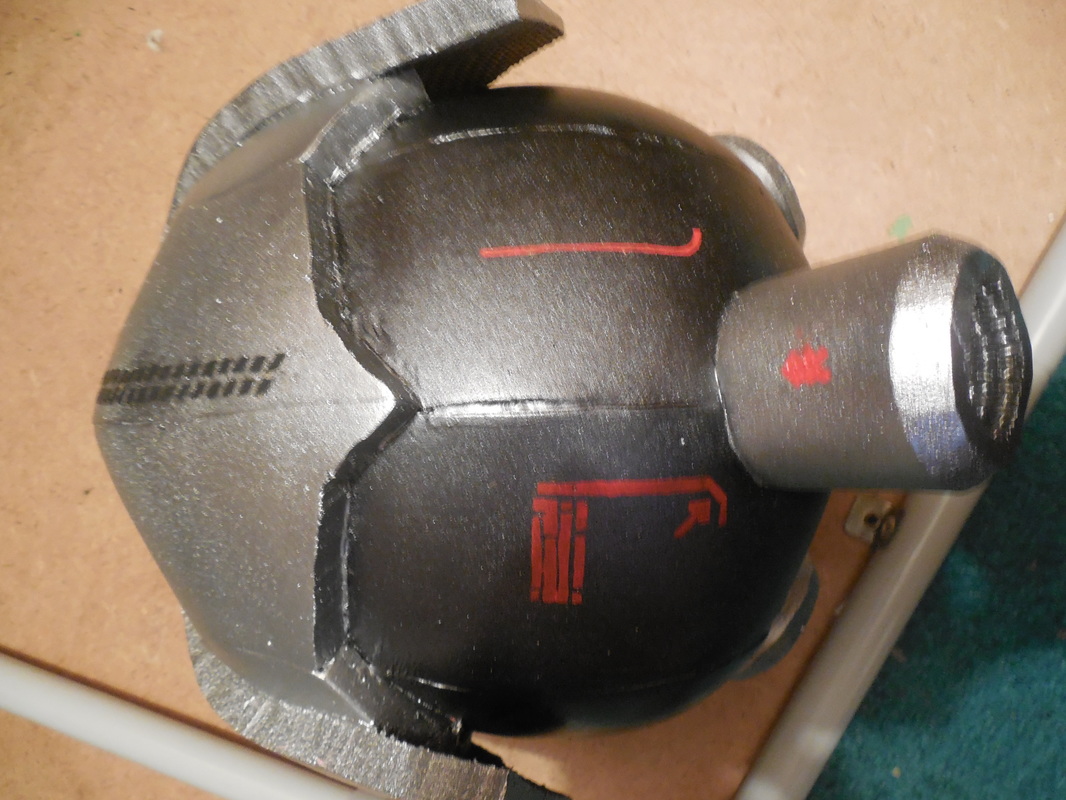
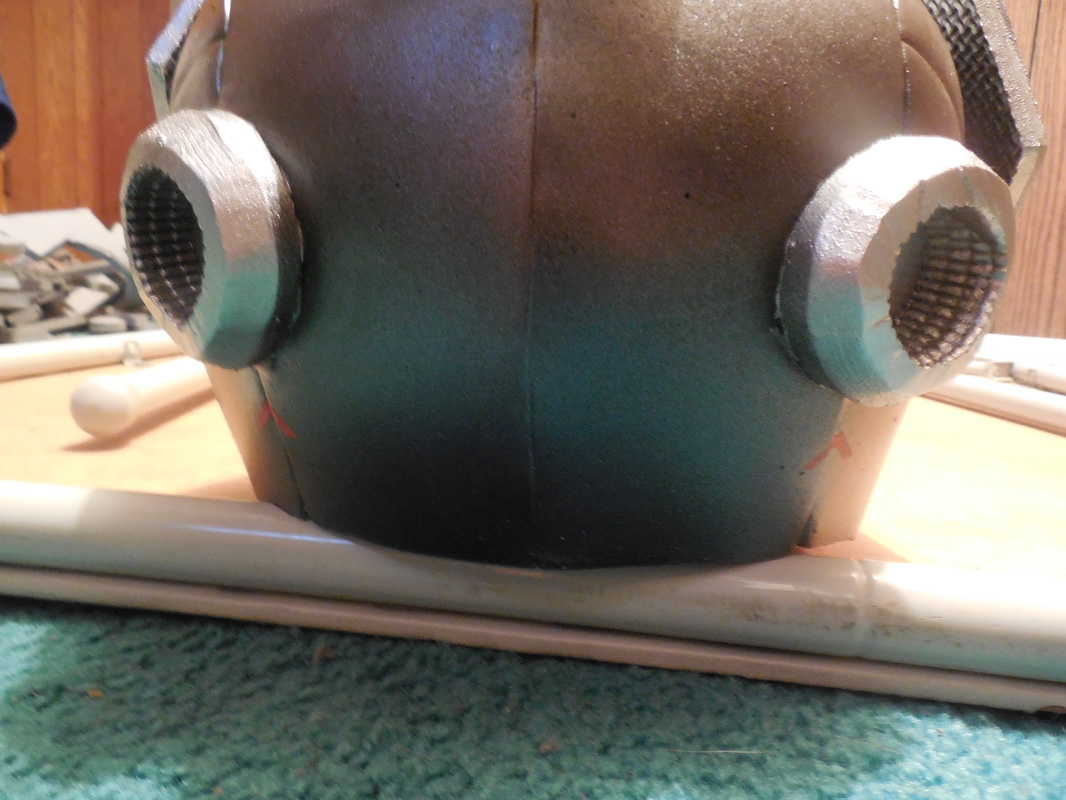
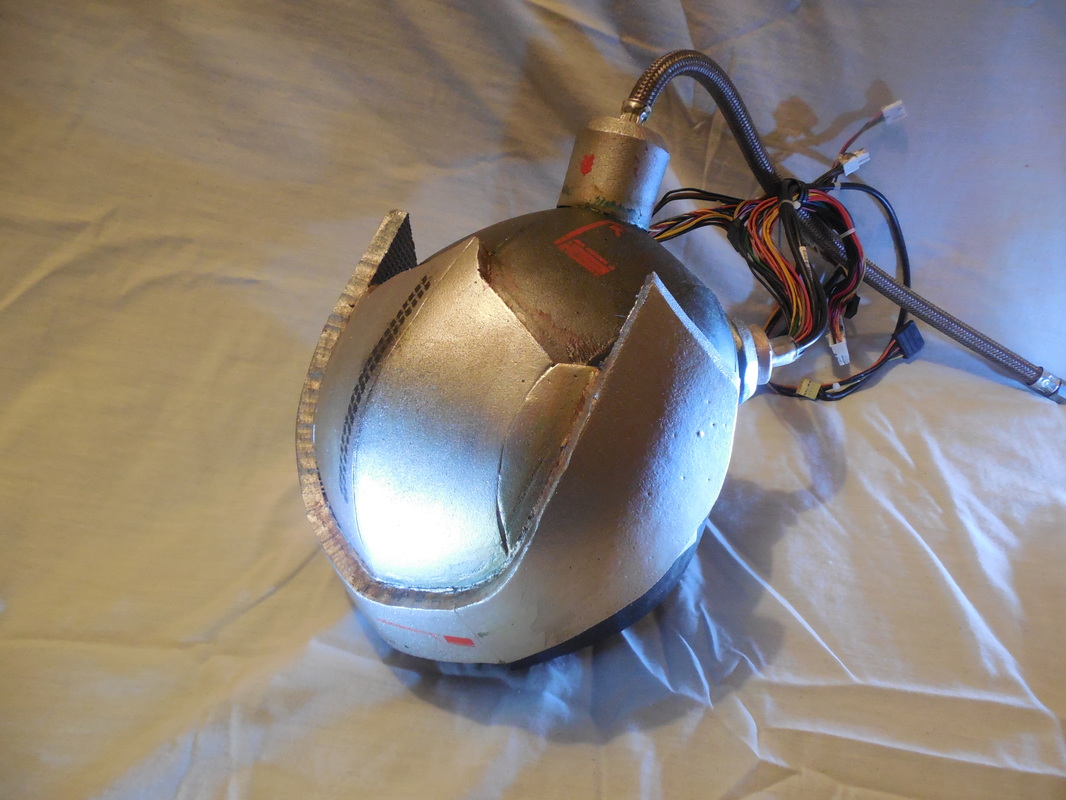
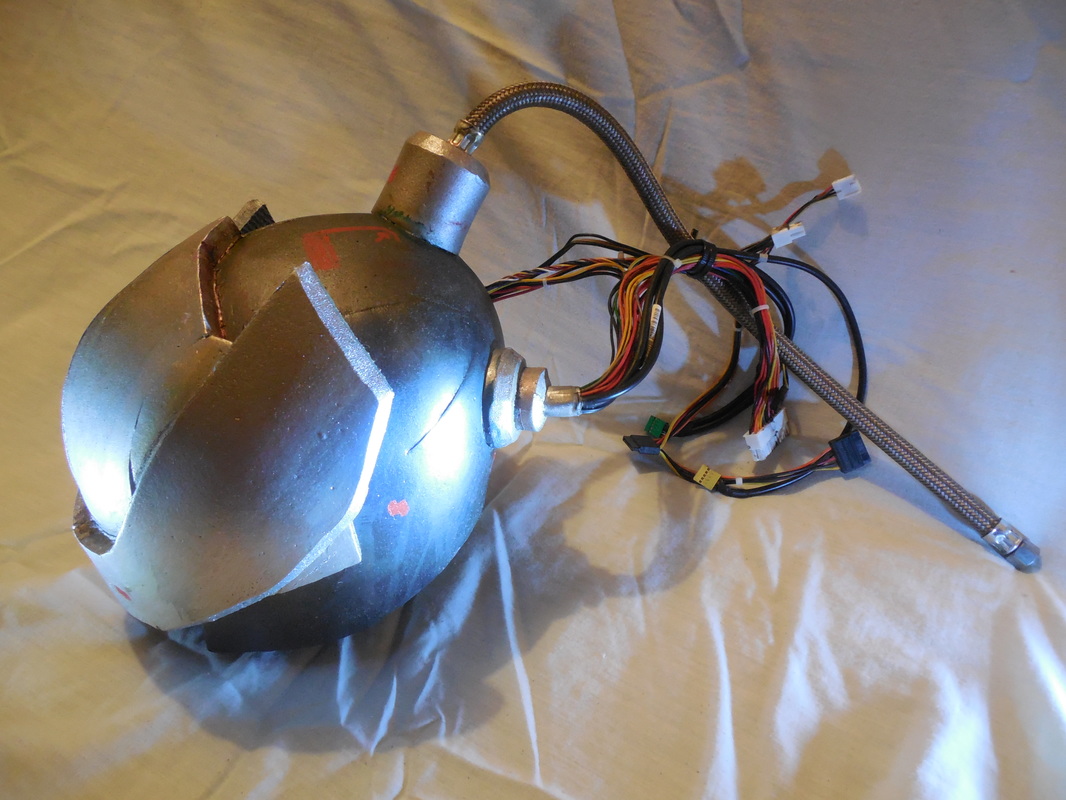
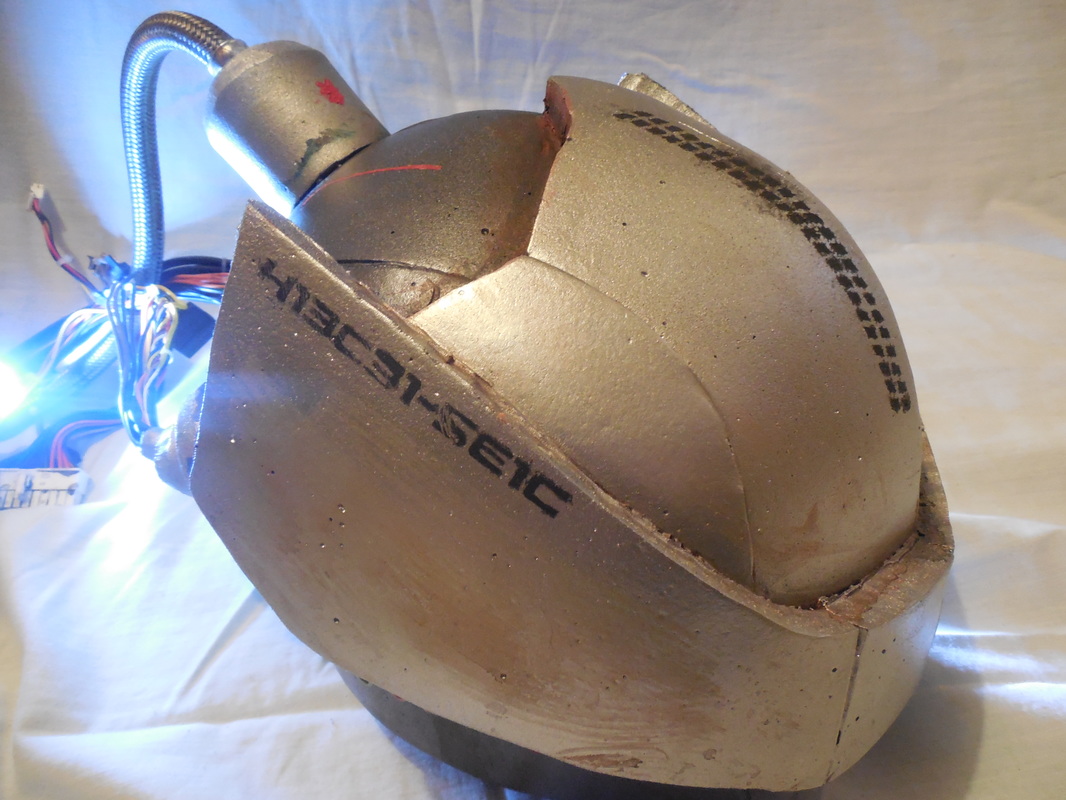
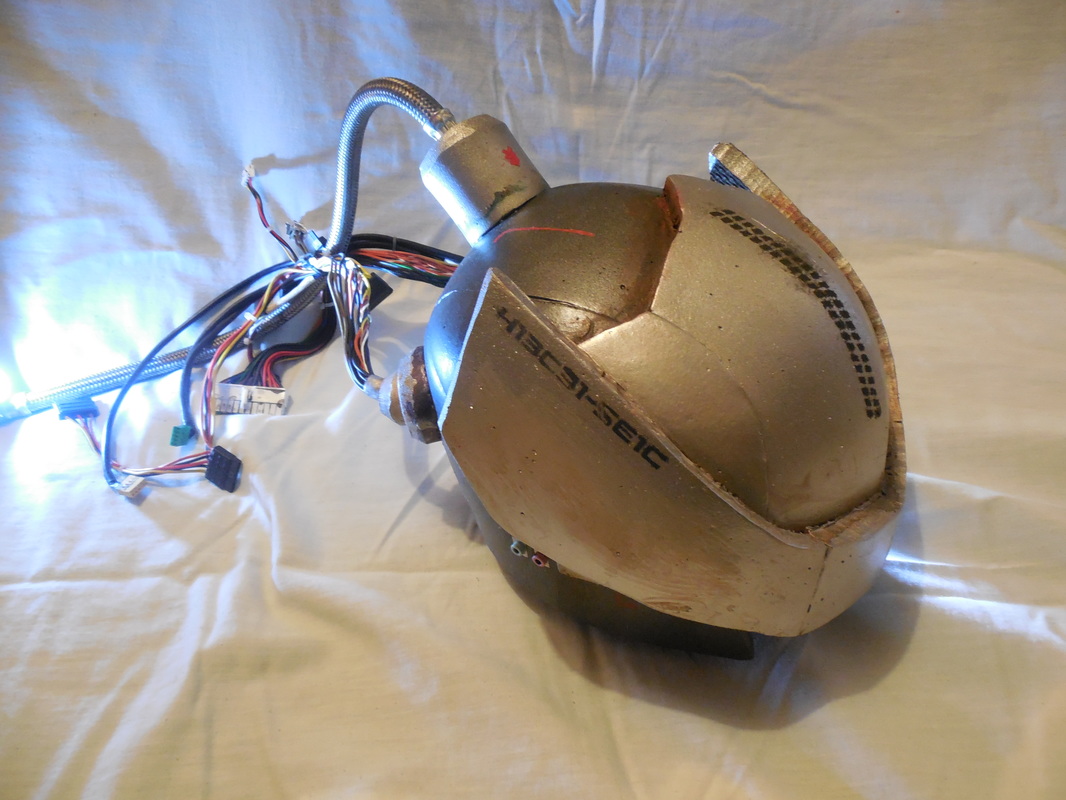
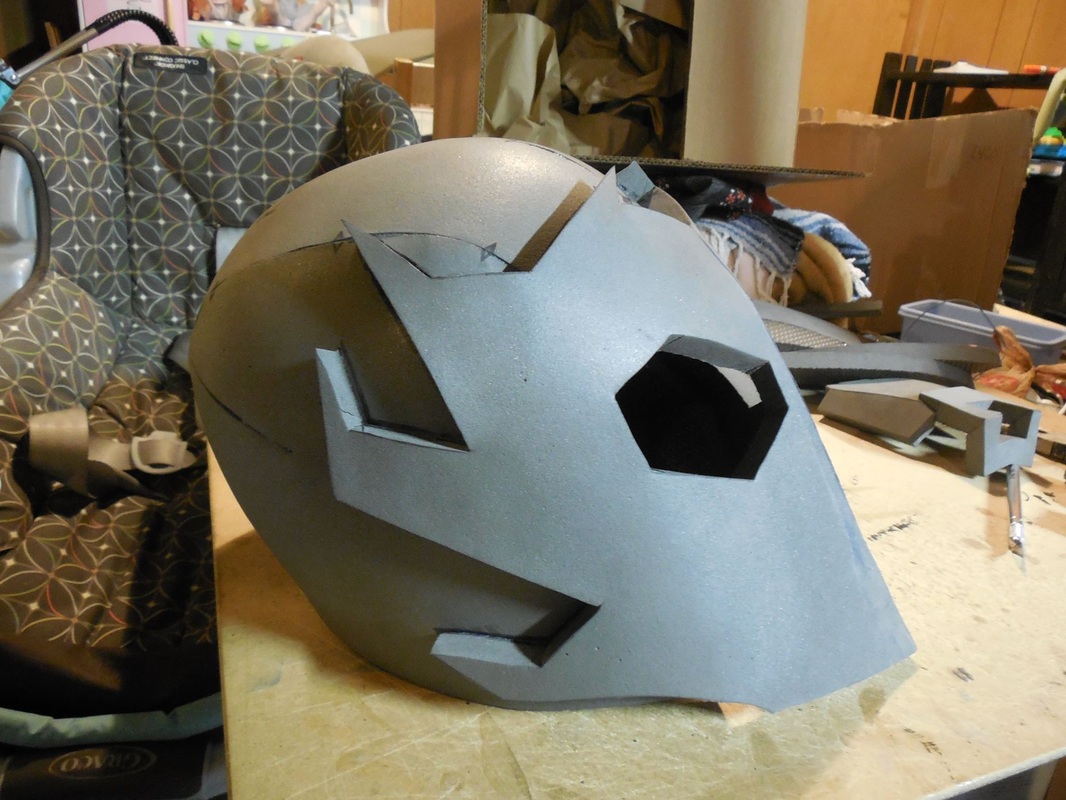
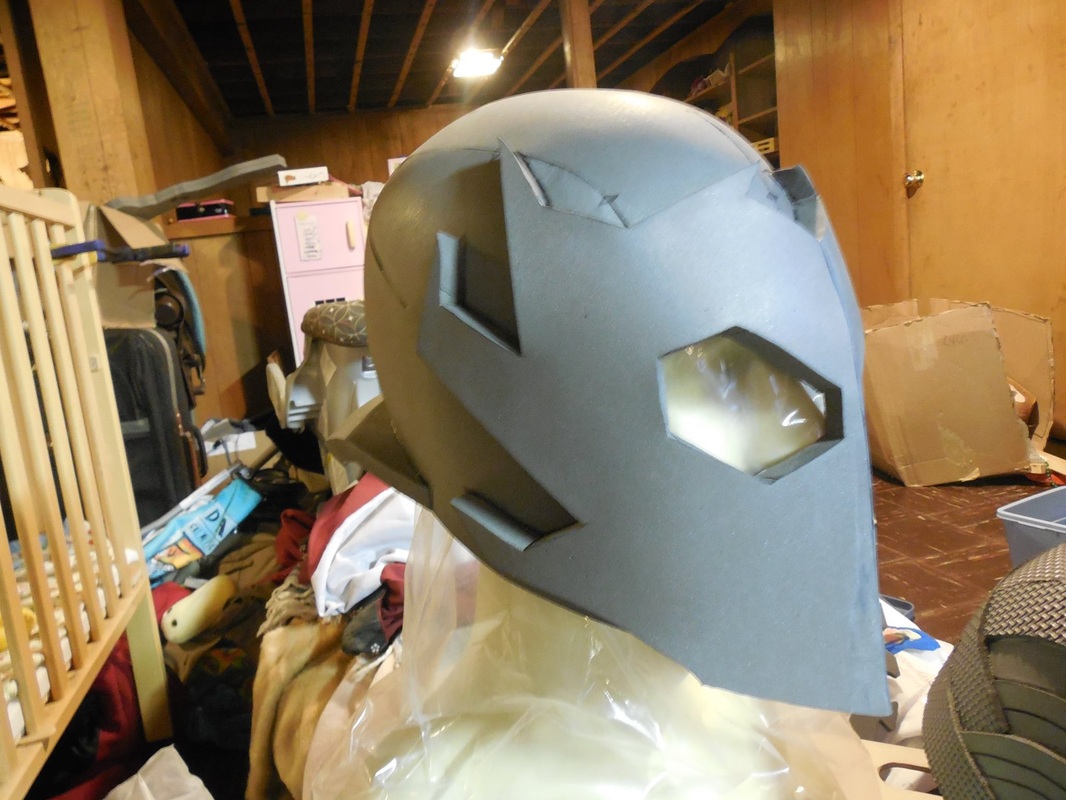
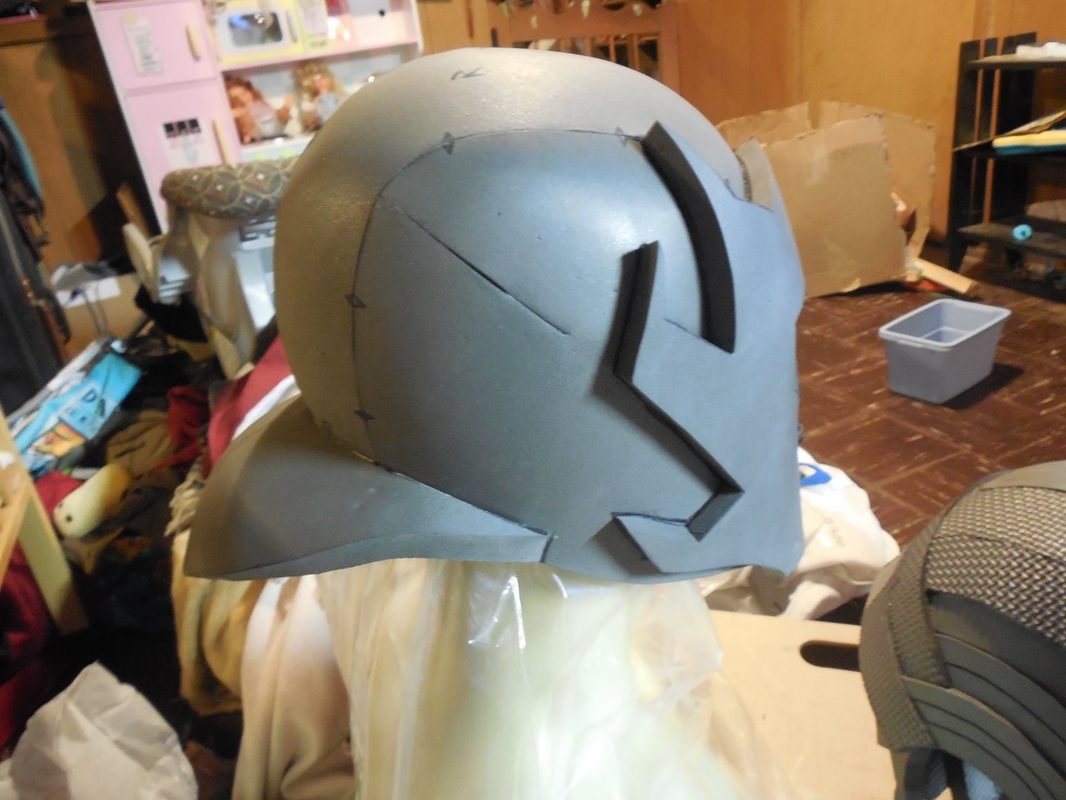
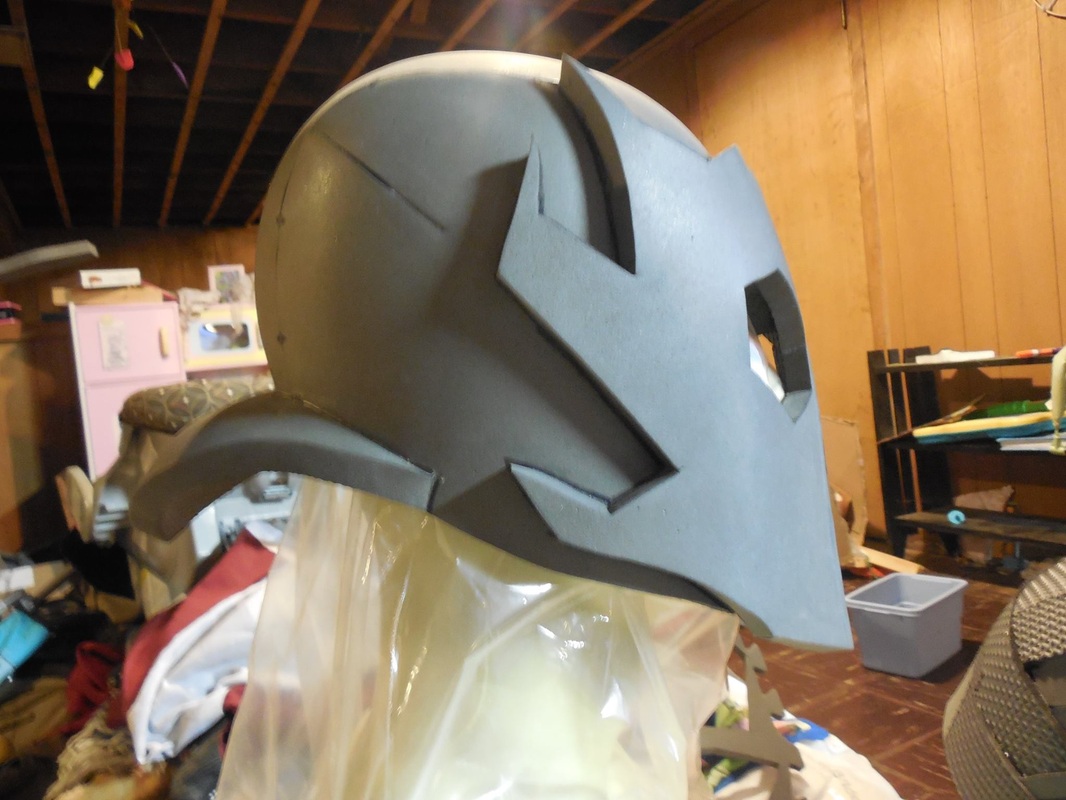
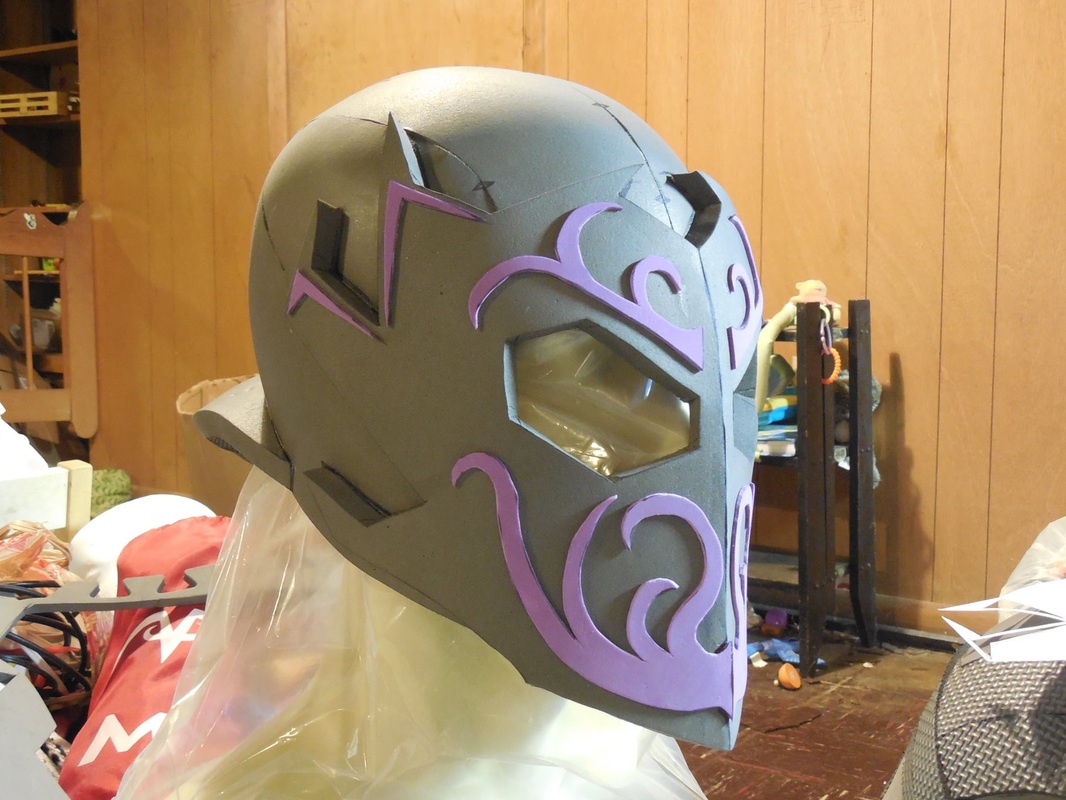
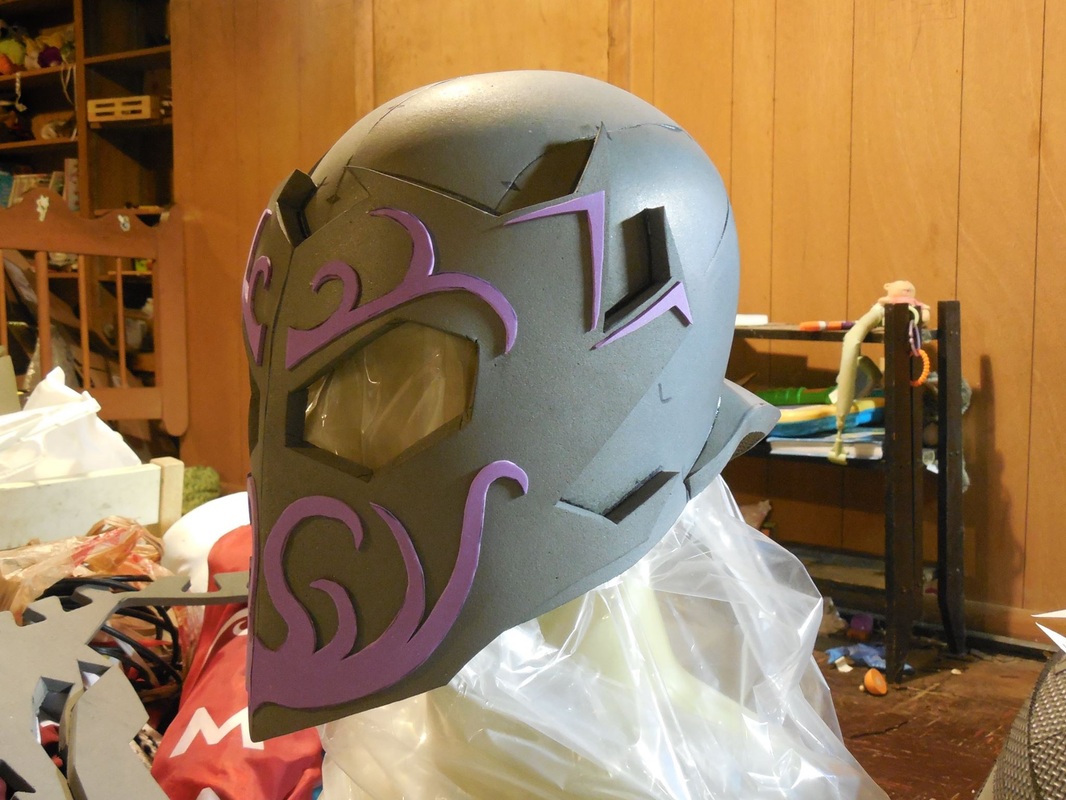
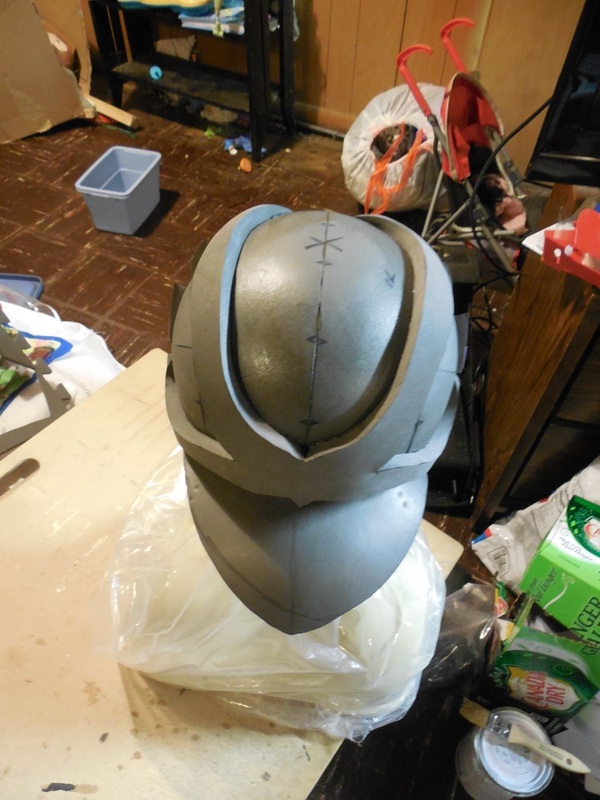
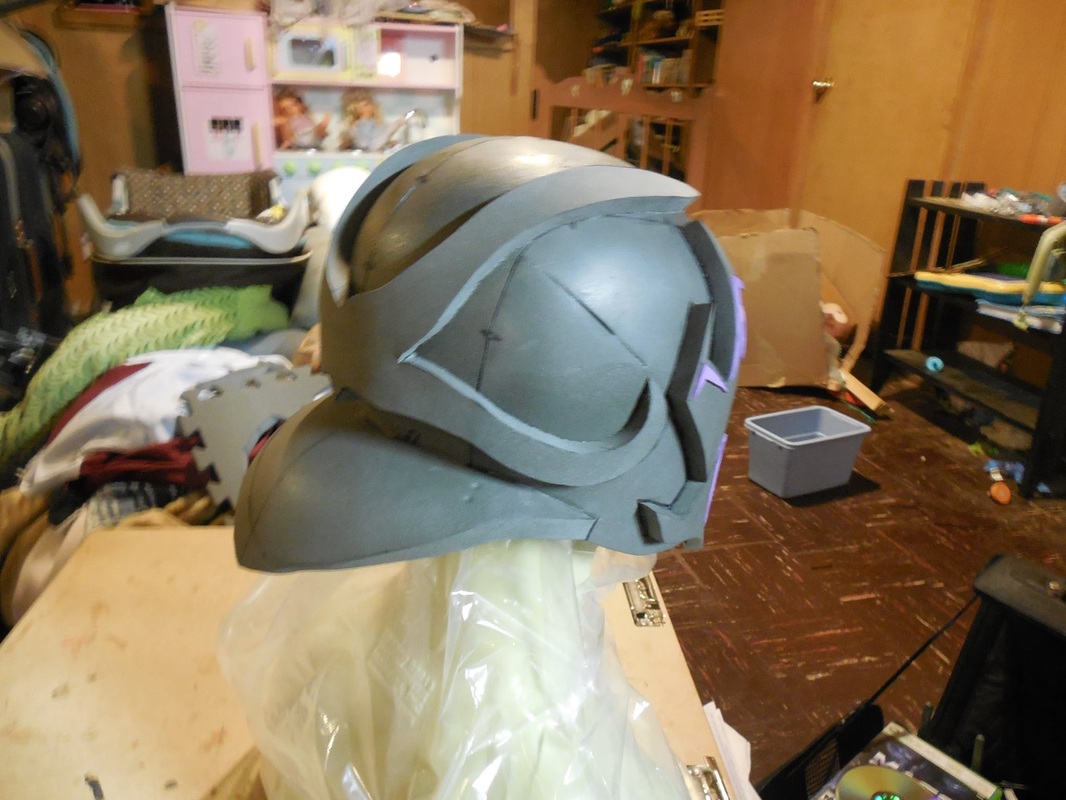
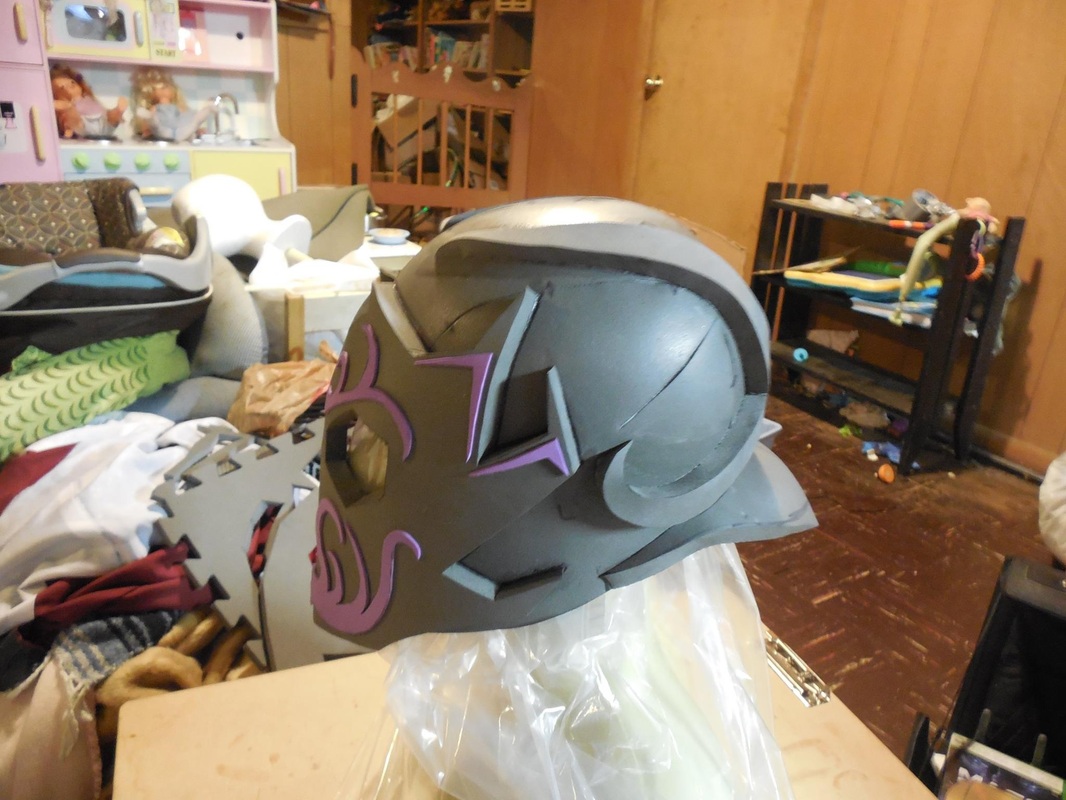
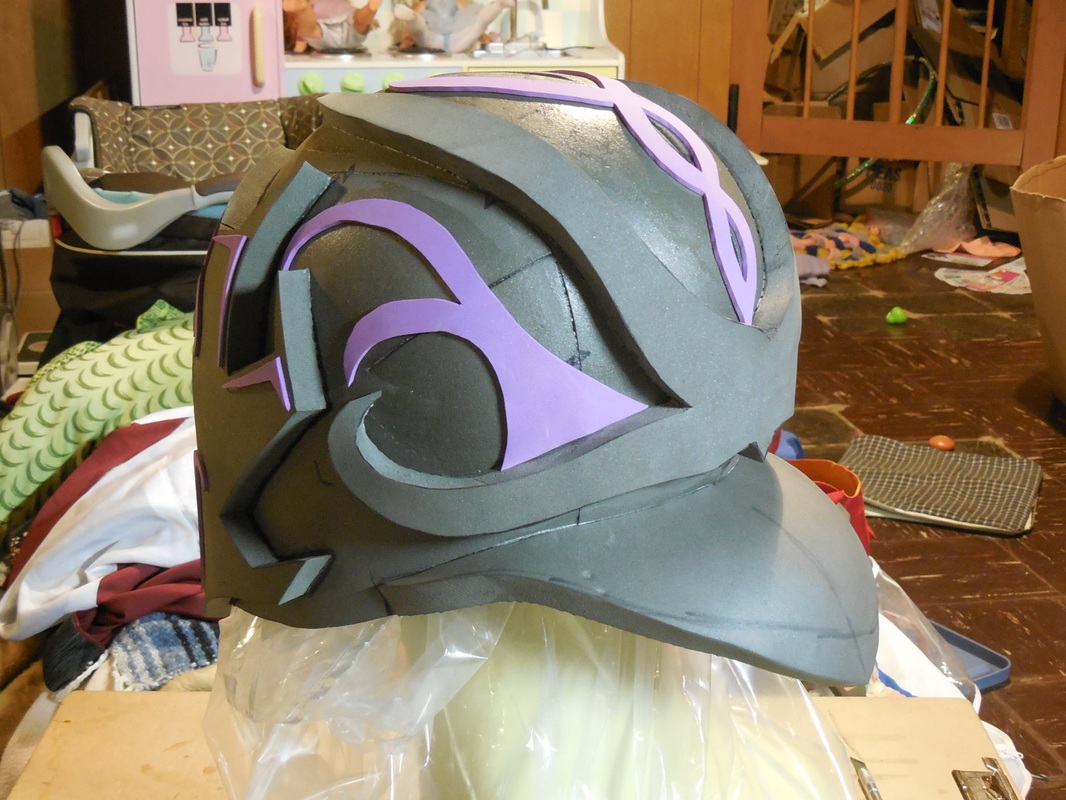
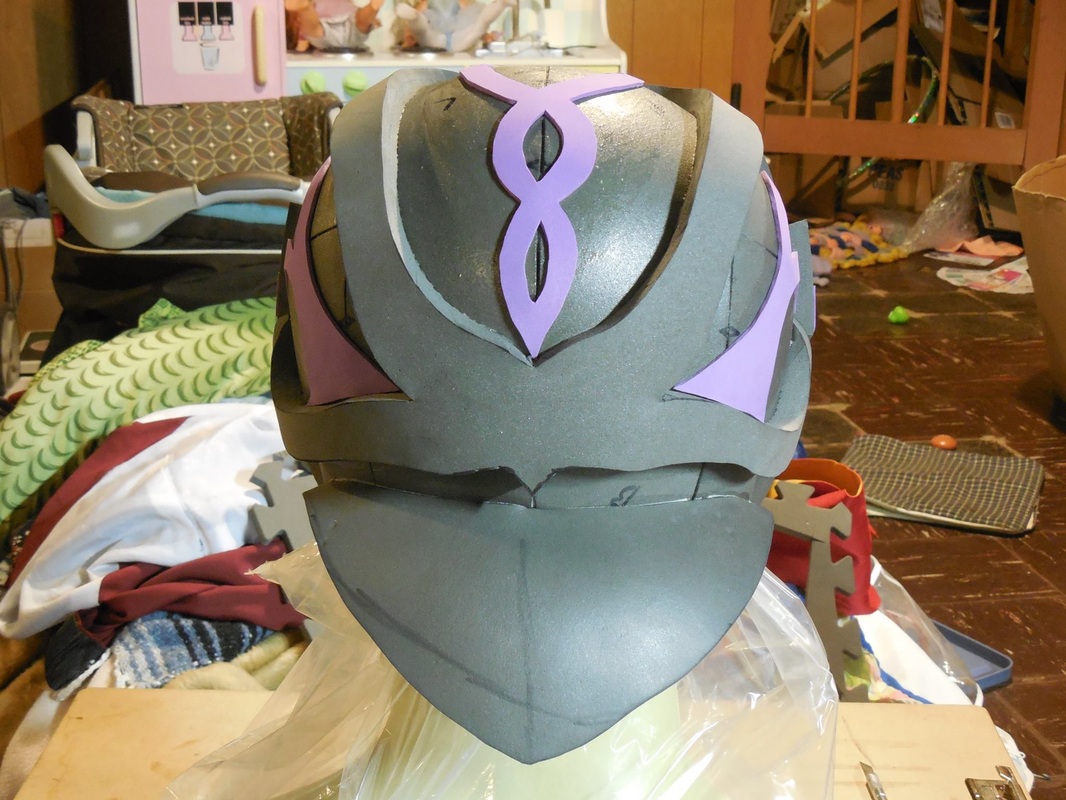
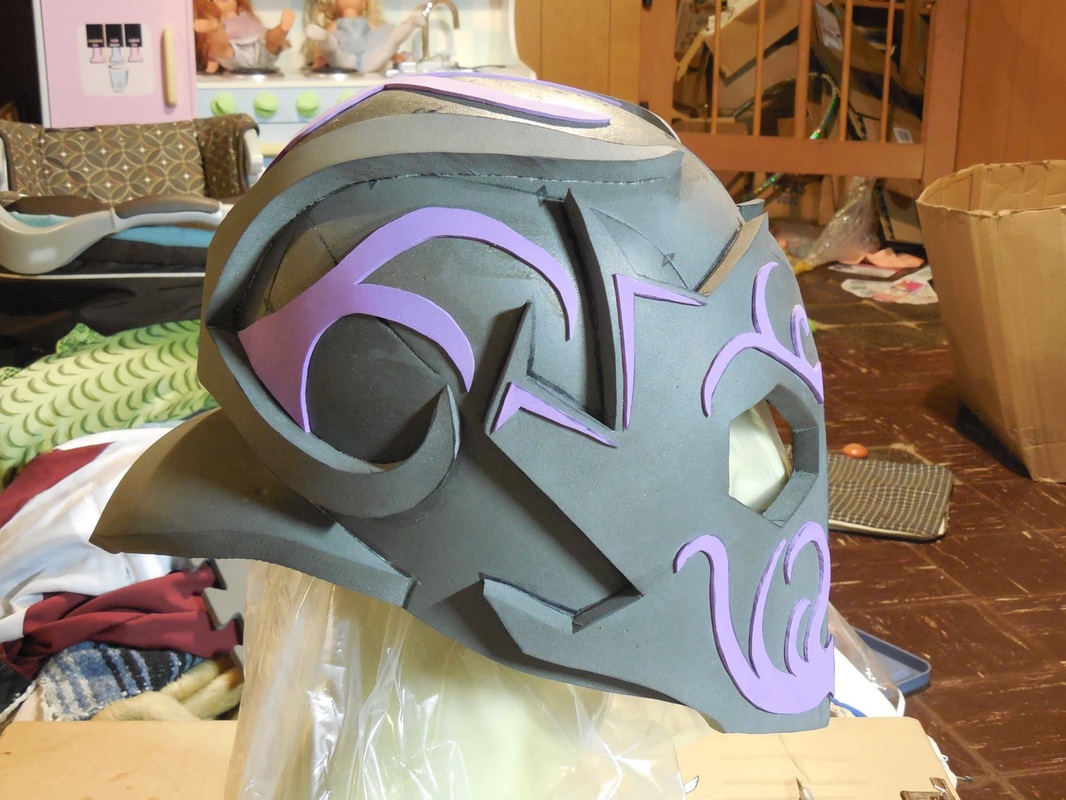
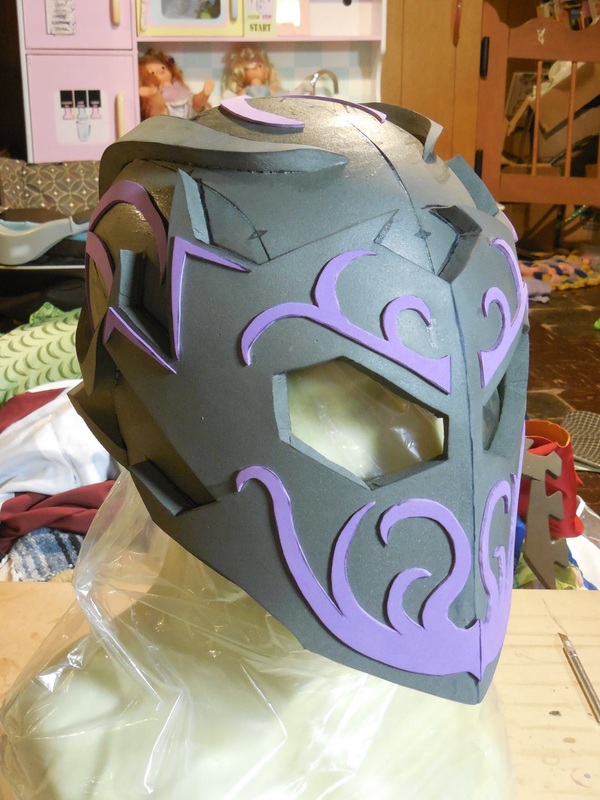
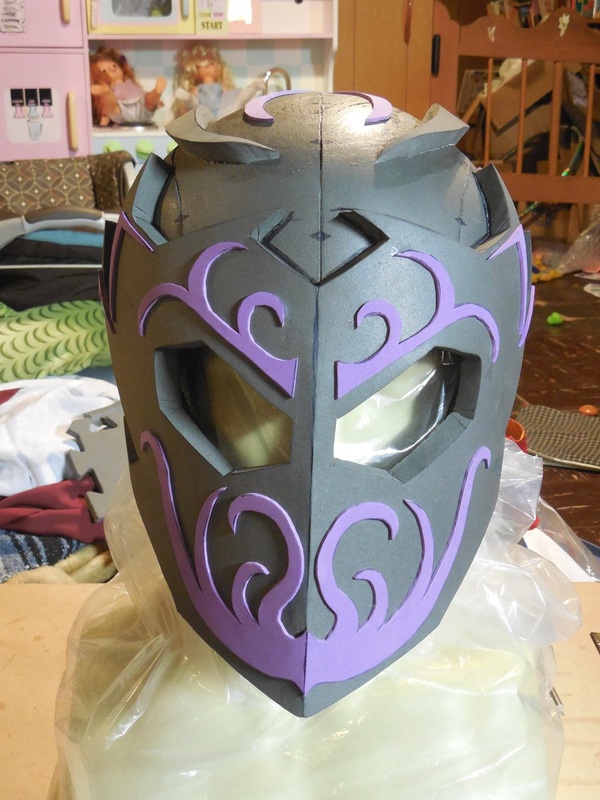
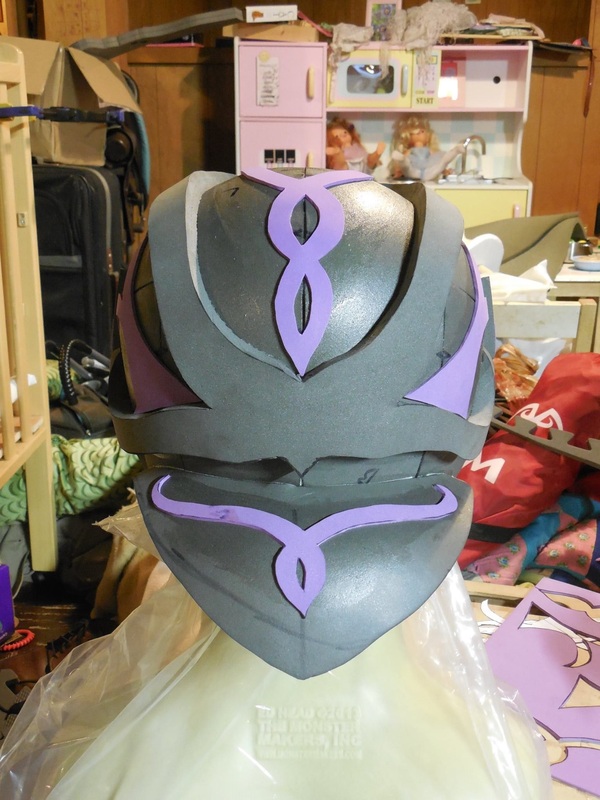
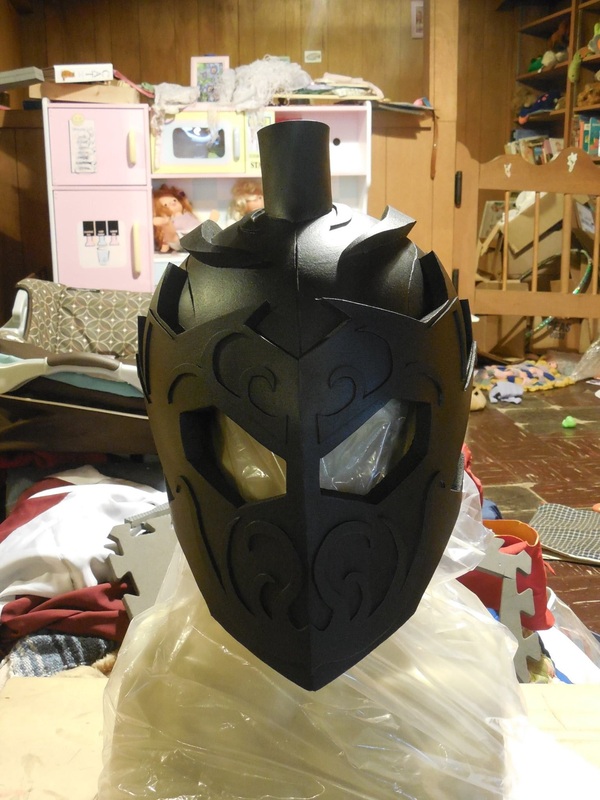
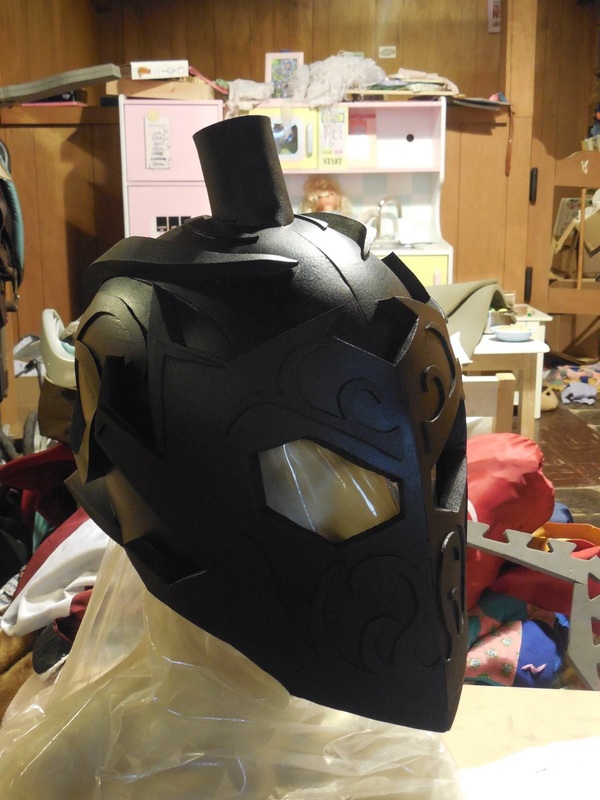
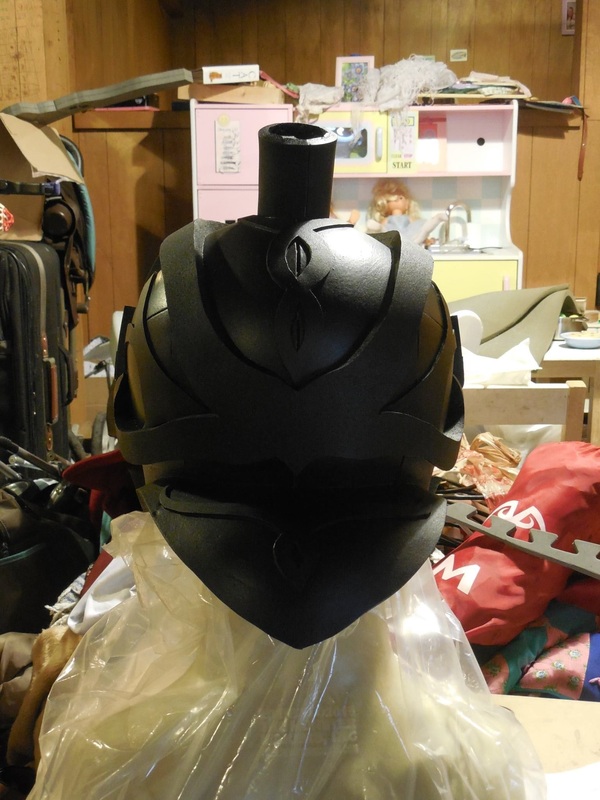
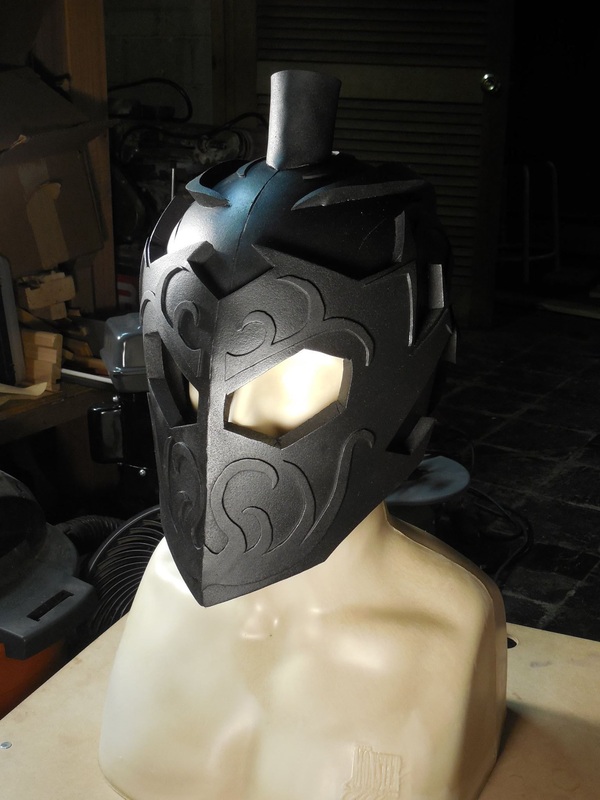
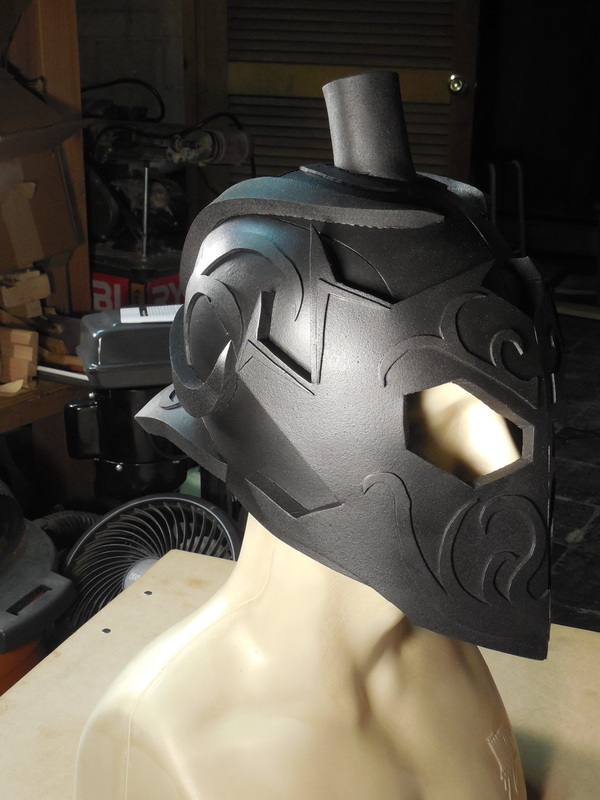
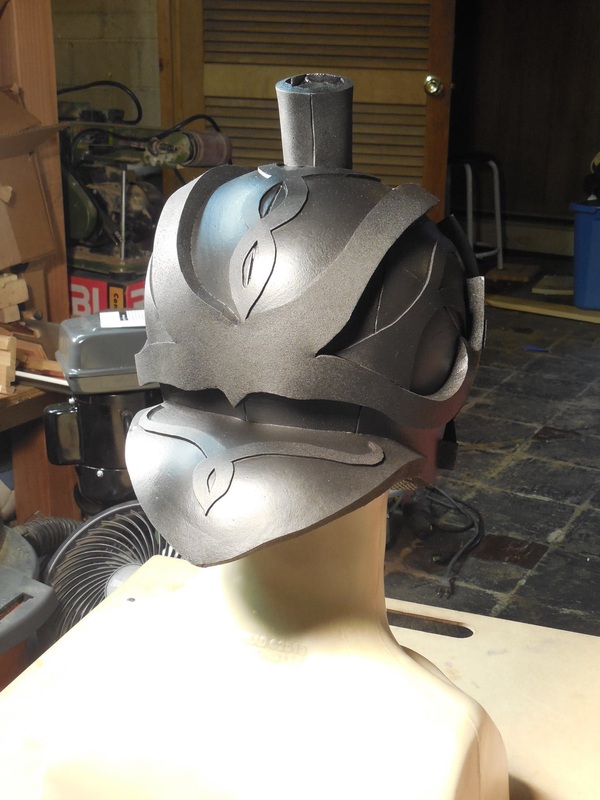
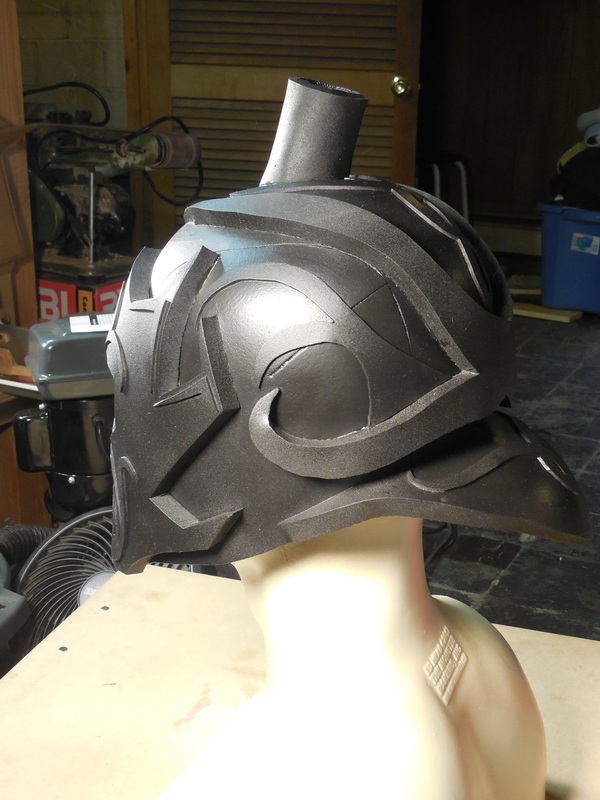
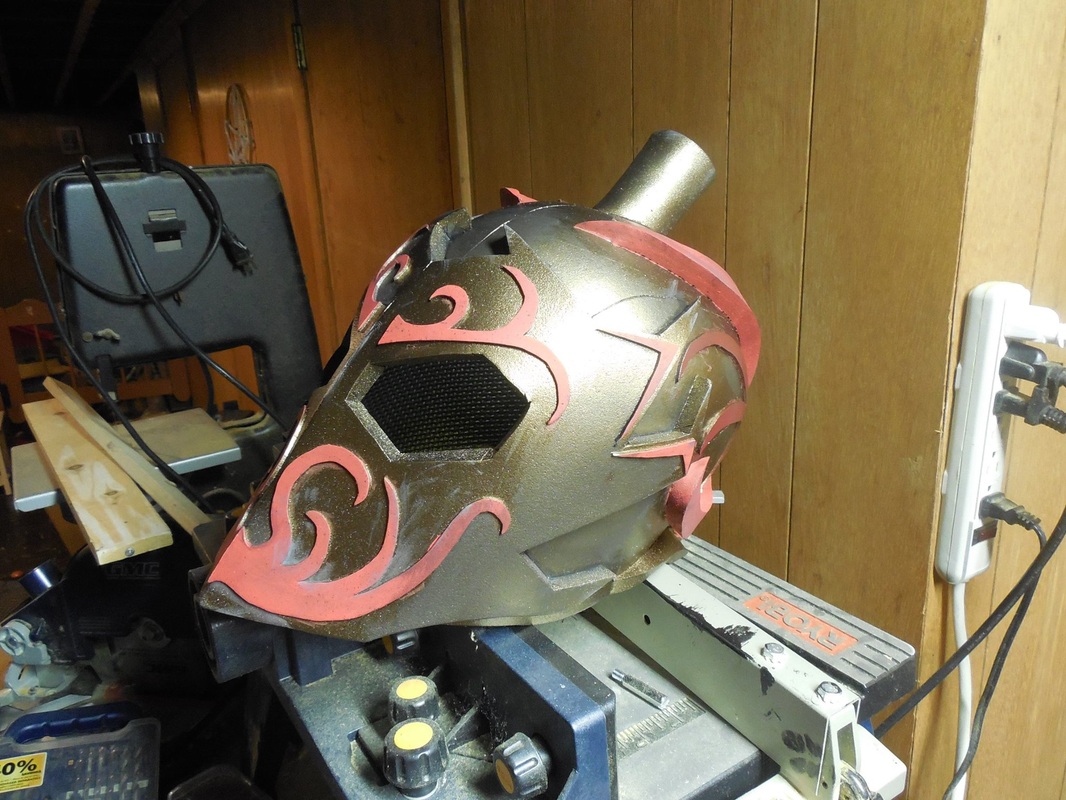
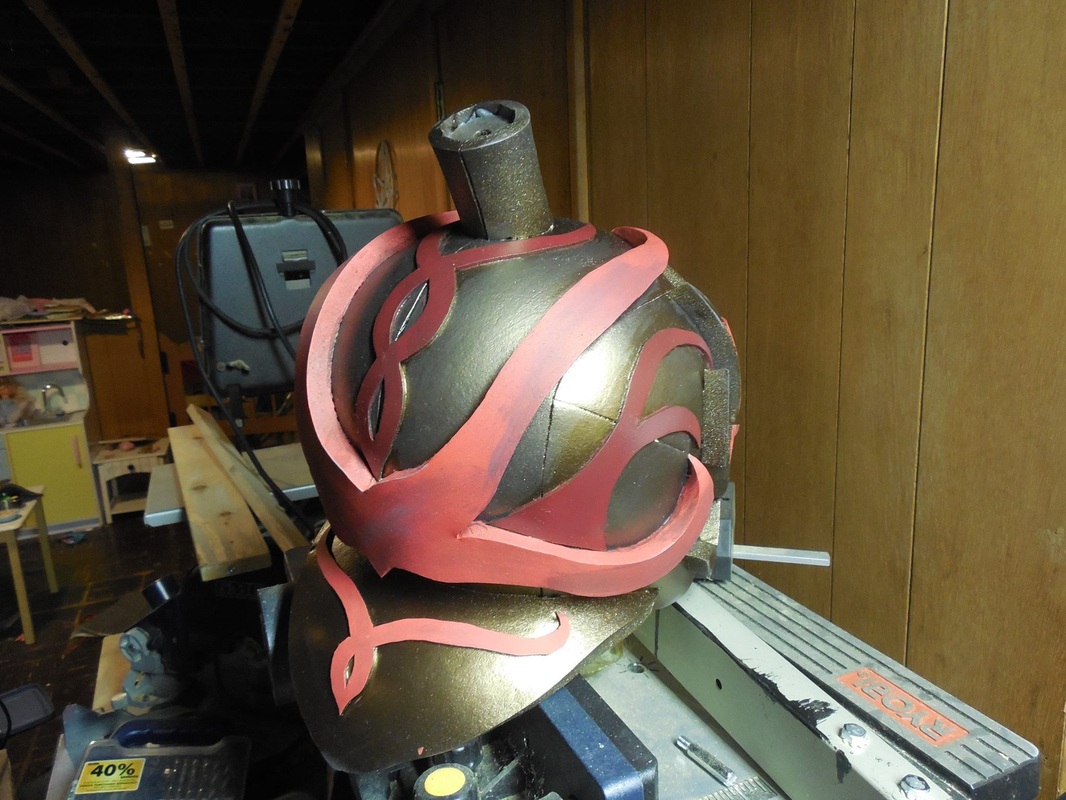
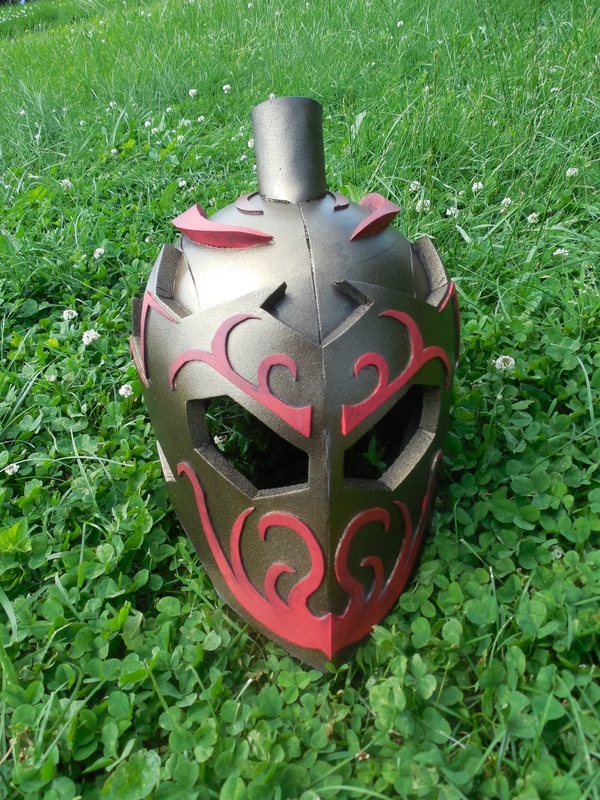
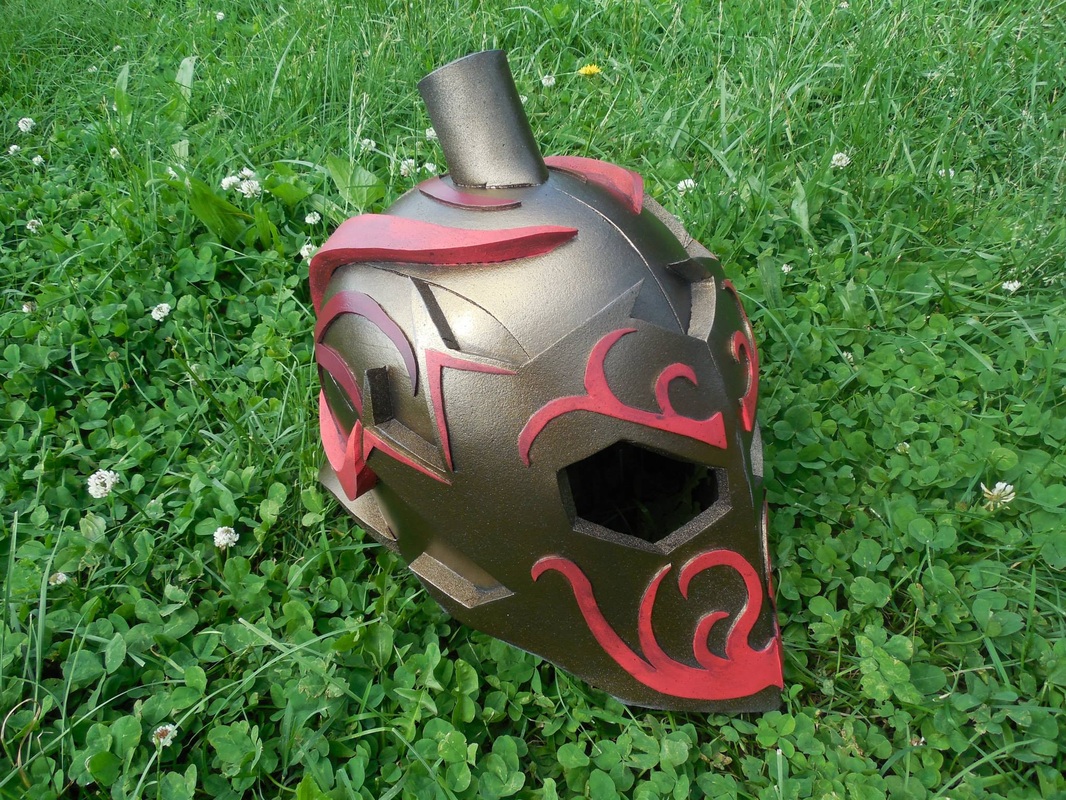
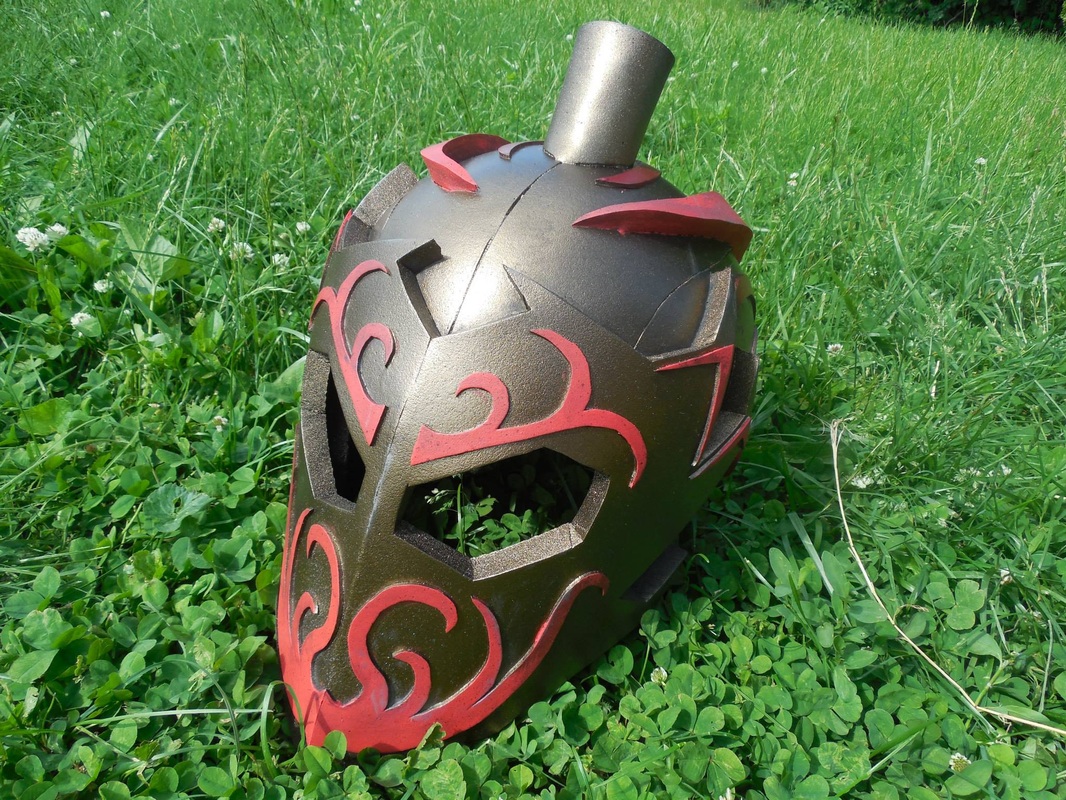
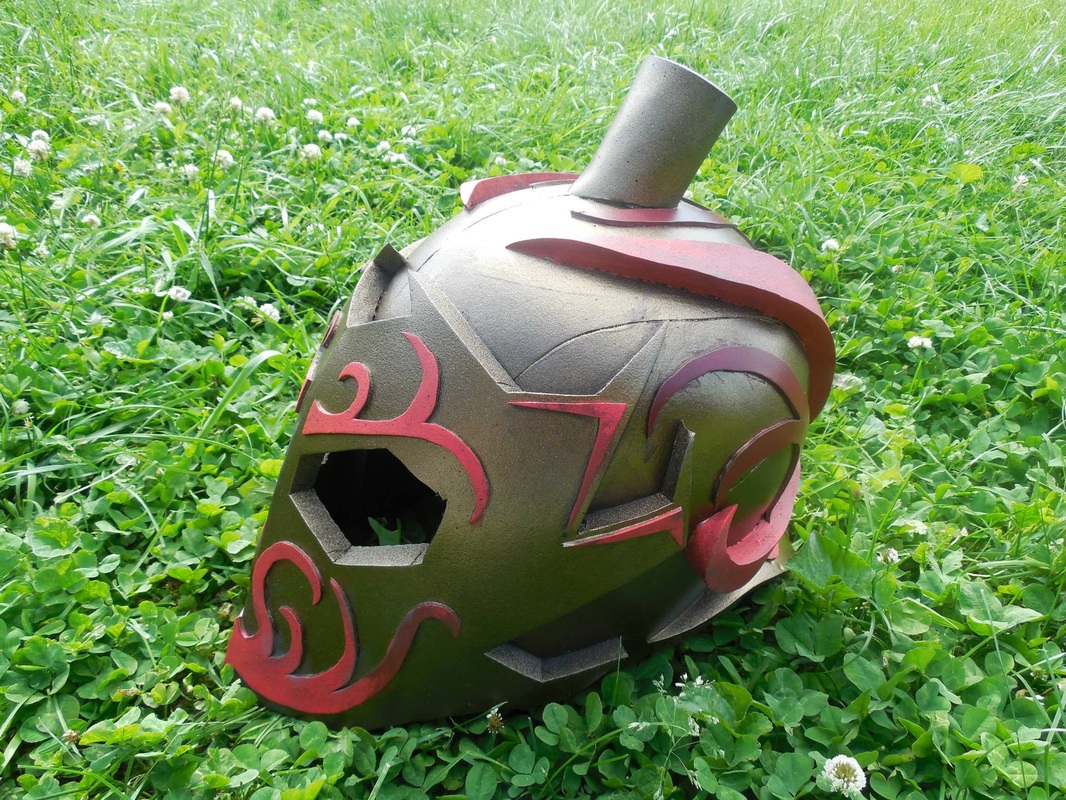
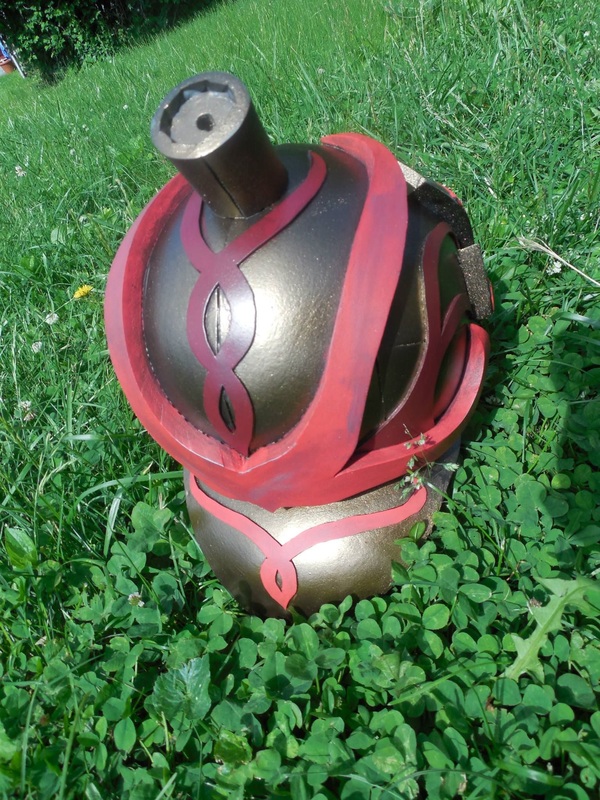
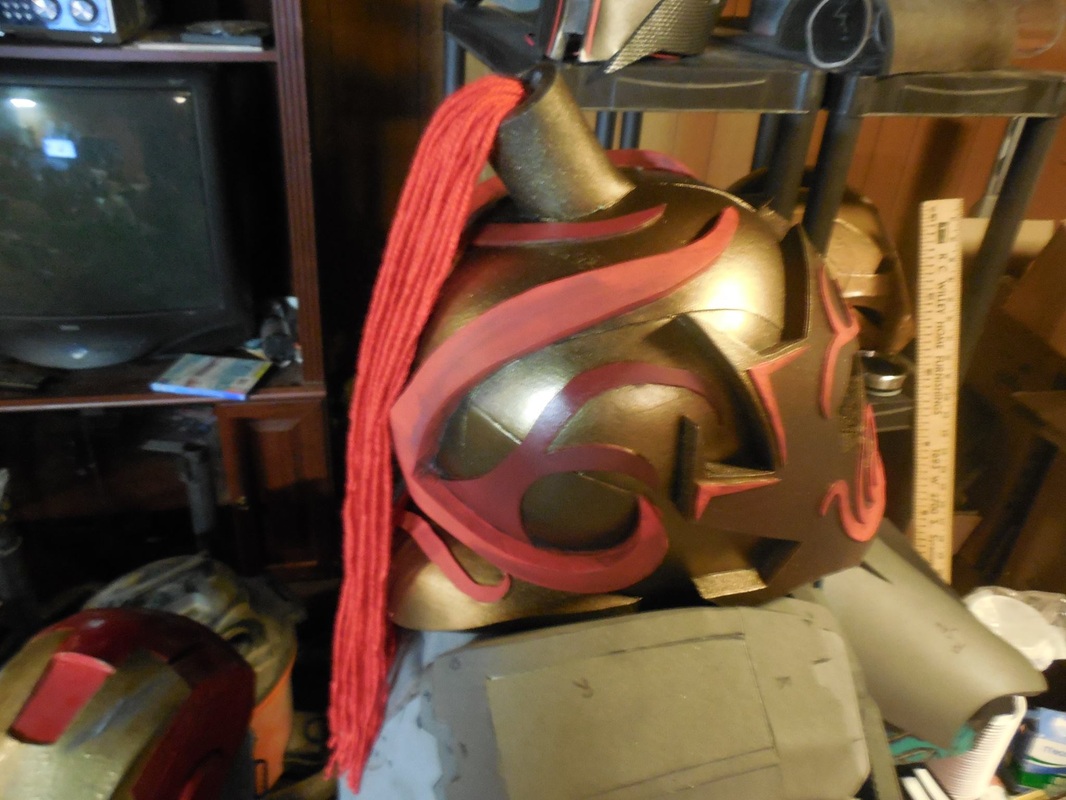
Once I get it back though, it's a nice casual cosplay that I can wear, carry, see out of, all that. I'll be putting the final touches on it just for that. It also needs some beveling and edge work, so expect a possible repaint when that happens. Either way, I think it turned out pretty great! Normally I start my write-up posts with a preview picture of the prop or armor I made, or an example of something similar I'm basing my build on. This time, however, other than the base helmet everything I did to make this custom build was by the seat of my pants, going off an idea I had in my head. I got started with the helmet base, which I give 100% credit to Evil Ted Smith and his foam fabrication videos. If you haven't already, go check them out and learn some neat tricks of the trade! Really helpful video series. Anyway, I started by grabbing my new Ed head, from Monster Makers. It's the right circumference, though the rest of the head is pretty skinny. We'll work on that, though! 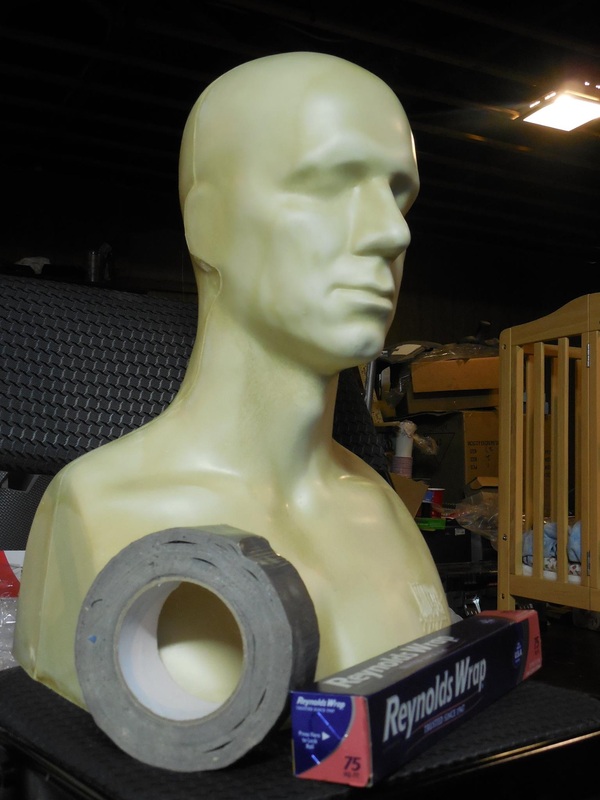 Great head for the cost, and they leave a hole at the bottom so you can fill it with something more solid to sculpt on it. Really is a quality head! Anyway, I covered the head in aluminum foil.  Then, I covered that in duct tape, making sure to keep the facial details there as best I could. Once that was all done, I traced two patterns: one on one side, and a different one on the other, then cut both off with a razor blade. 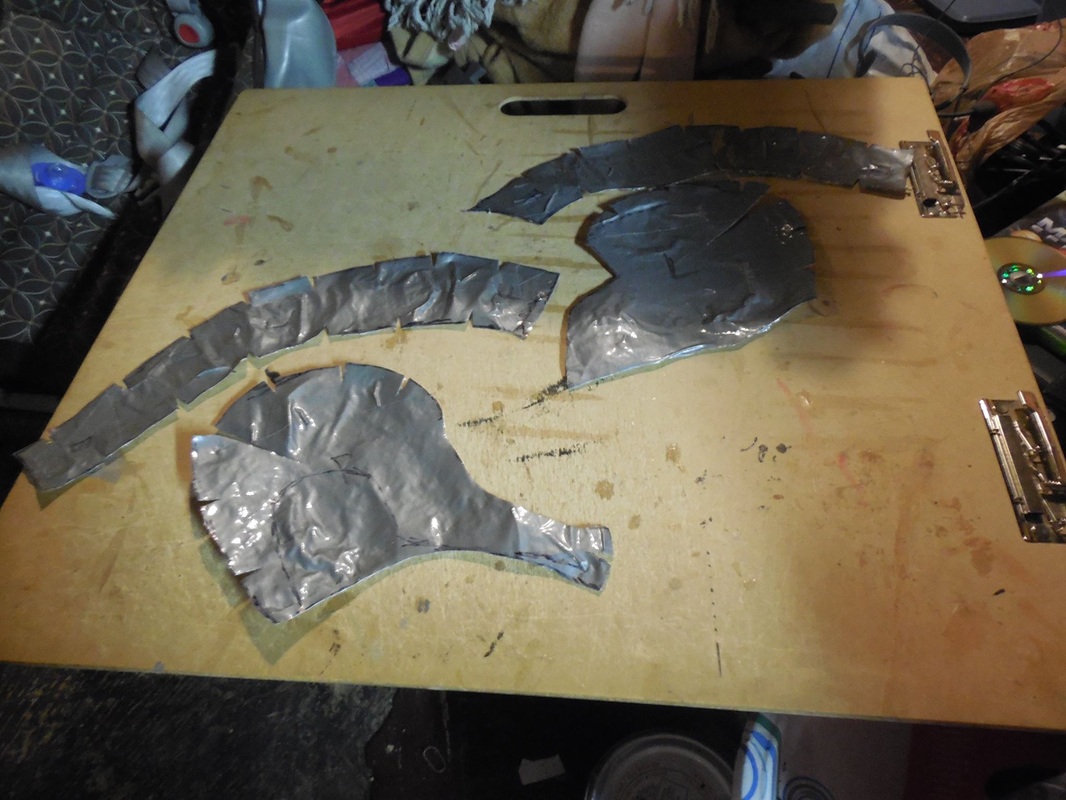 Since I was making a pattern that would be flipped and repeated on the other side, I figured making a second, different pattern on the other side would save time and materials. It also got me two patterns in one go, which sure was nice! Both varieties give me several styles of helmets I can make, so it works out well. Also, those cuts you see, the small darts? That's another trick I learned from Evil Ted's videos: alignment marks! Helps to make sure everything fits pack together the way it should. Literally a godsend. :D So I flattened out the pieces, then transferred them on to paper and enlarged them a bit, to account for the 1/2" thick foam (and the slightly small head). Once that was done, it was on to the foam!  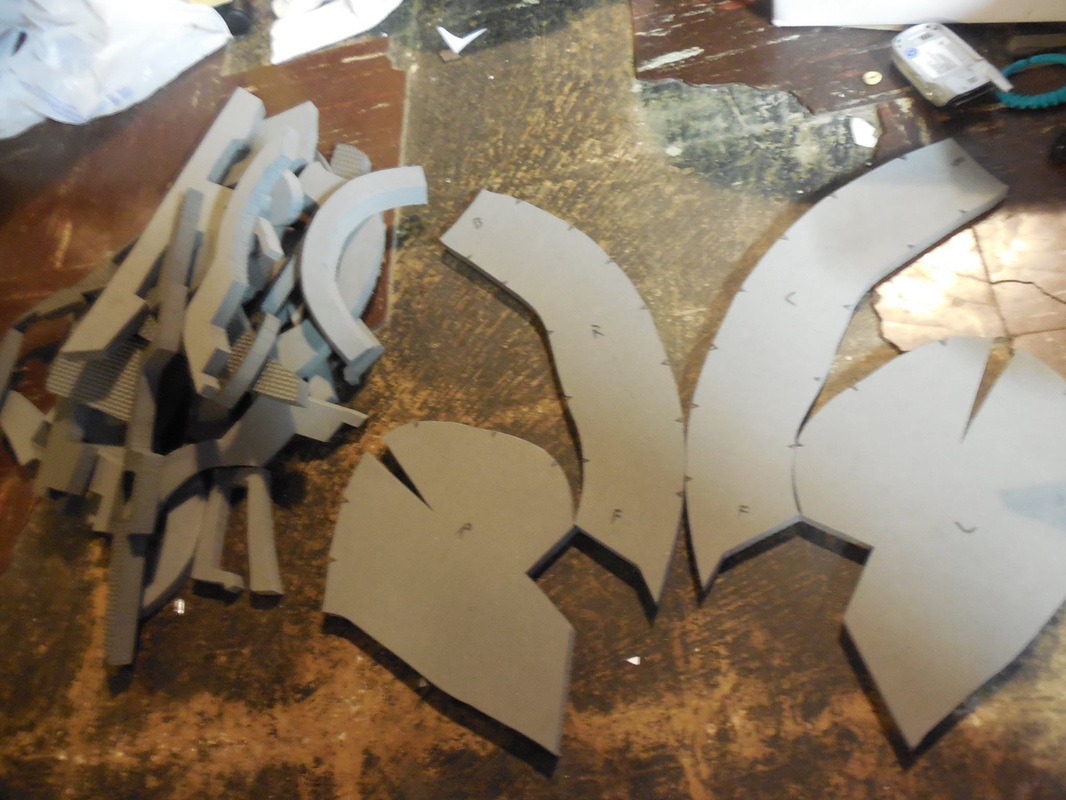 After that it was the usual heat gun to shape it, and I grabbed the contact cement to glue it all together. Love that stuff! 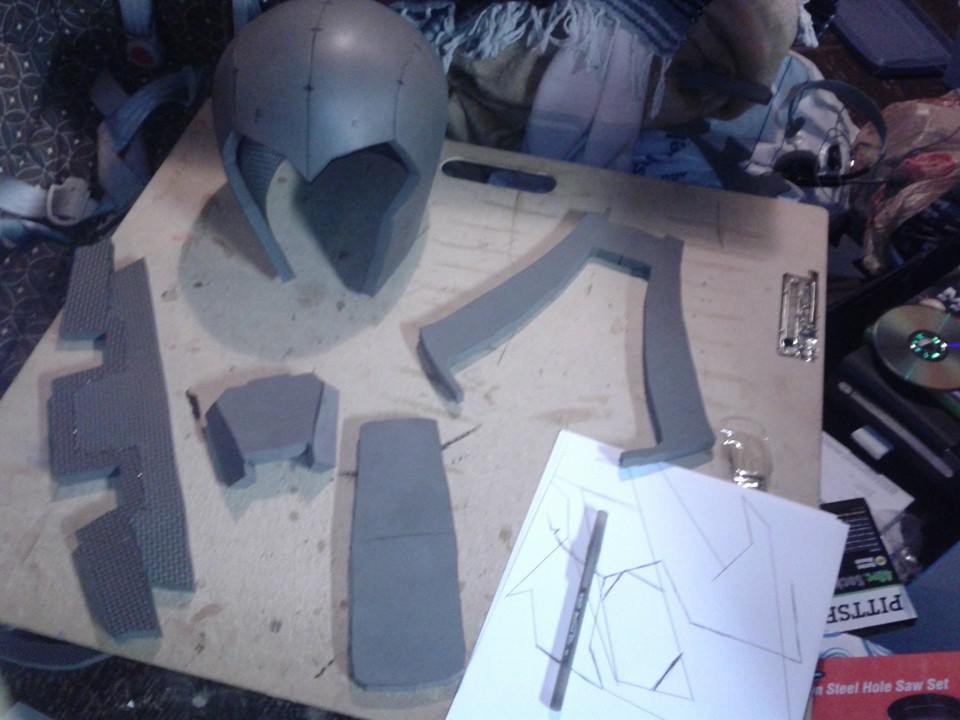 From here on out you'll be seeing lots of angle sets, because I wanted to get as many shots of it as possible from as many angles as made sense. Being an original item, I really wanted to show it off right. So, bear with me as I share a bunch of photos at once of each step! Next came the face plate, which you can see the early sketches for in the above picture. I drew out one side, then traced it, flipped it, traced the other side, and gave the inner seam a slight angle in the middle. The result: 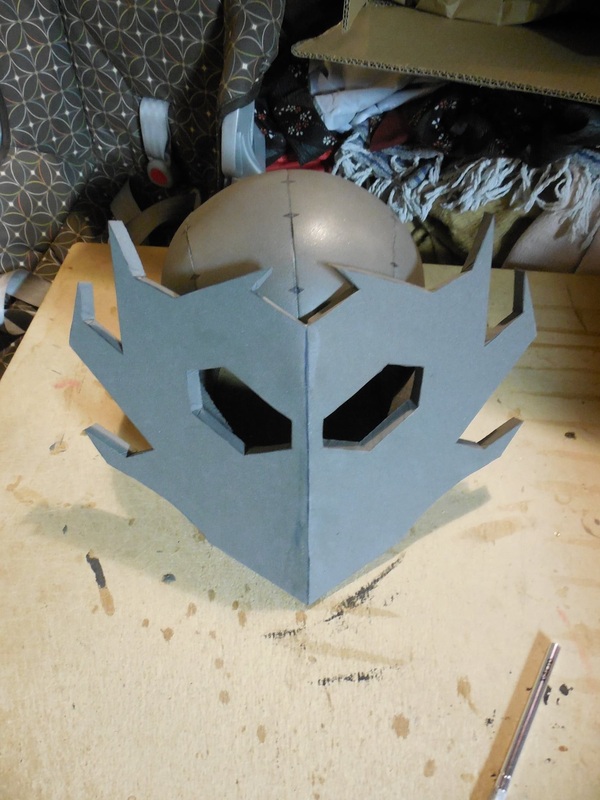 Thanks to the middle seam it was easy to line it up straight to attach it, though it was interesting gluing the rest on evenly. I bent each side one at a time and marked off where it would end up sitting, put down the contact cement, then glue the two together. And, naturally, then repeat with the other side. Then I threw a neck guard thing on the back, which ended up sitting a bit high - but I went with it anyway since I was making it up as I went along. It was fun, it looked neat, and I was on a roll! After that came some filigree, to fill in a lot of this empty space and cover up some of the seams. First I threw on some craft foam doodads all over the face plate. To ensure I wasn't making them too large, I used the original face plate pattern, drew the designs on that, then cut them out and traced them onto the craft foam. The mouth bit I cut an angle, like the main section, just to keep things as even as possible. Really proud of myself here, since I don't normally do the curly stuff very well when freehanding it. Next, I threw on some more 1/2" foam on the back, as more filler in the huge empty space. After that, more craft foam to fill it in even more, plus an extra bit on the neck guard. And, finally, I decided to add a conning tower to the top at a slight angle, because I decided it needed a plume. 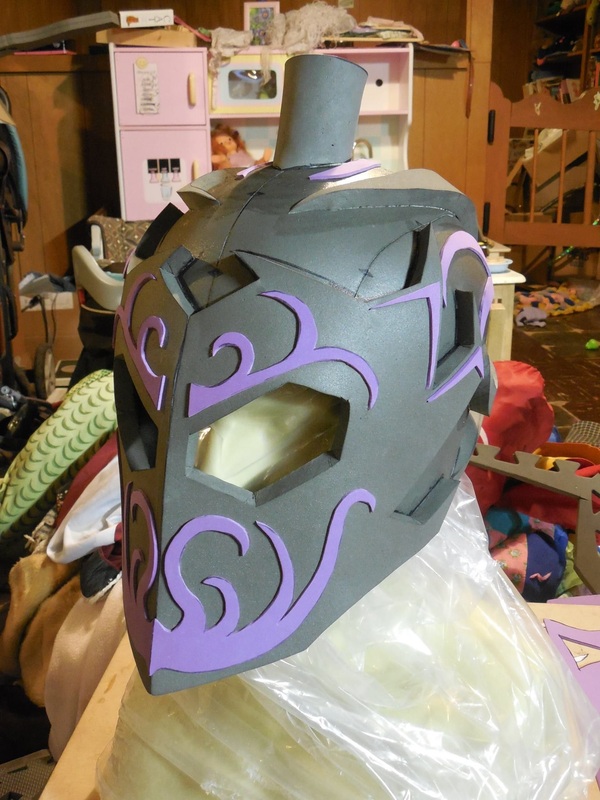 Once again, this was all a freehand, flying by the seat of my pants, no idea what I'm coming up with next kind of build. I had no idea what I was going to next when I hit each step, but by this point I was finally happy with it. It looked awesome! That meant it was Plasti Dip time. Put it up as a giveaway on my Facebook page, and took some better pics of this stage then while I waited for some bites. Never panned out, but was fun all the same. Here's the better shots: Since the giveaway didn't end up happening, that meant I got to choose the color scheme and final look. I decided on gold and red, with a red plume. Started off with the gold as the base: 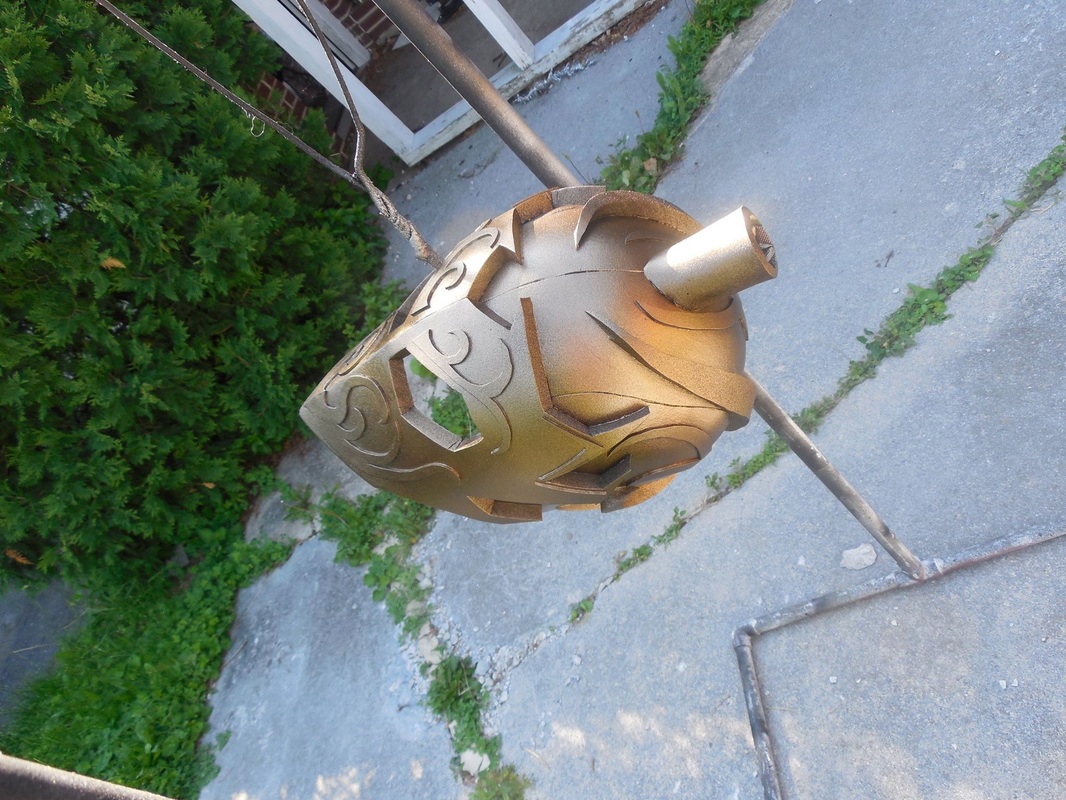 ...taped off areas for a deeper, darker red: 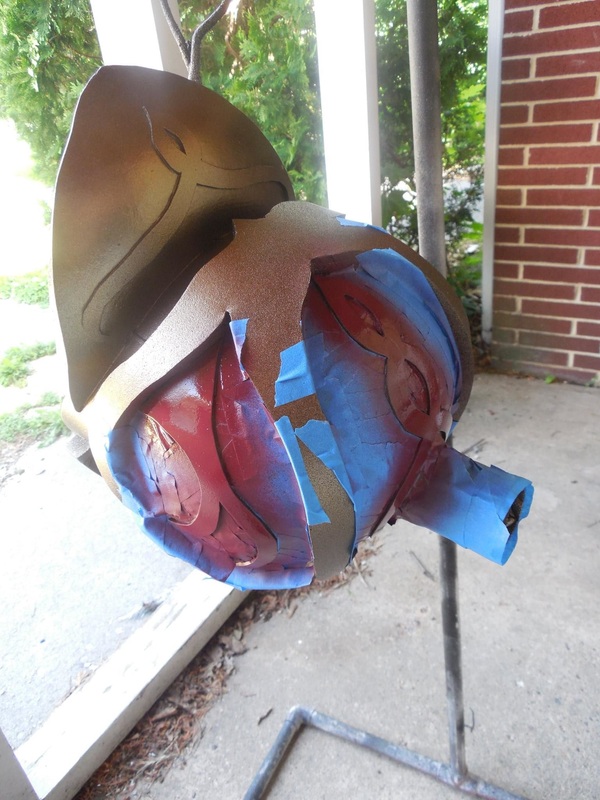 ...and hand painted the lighter red on the rest: 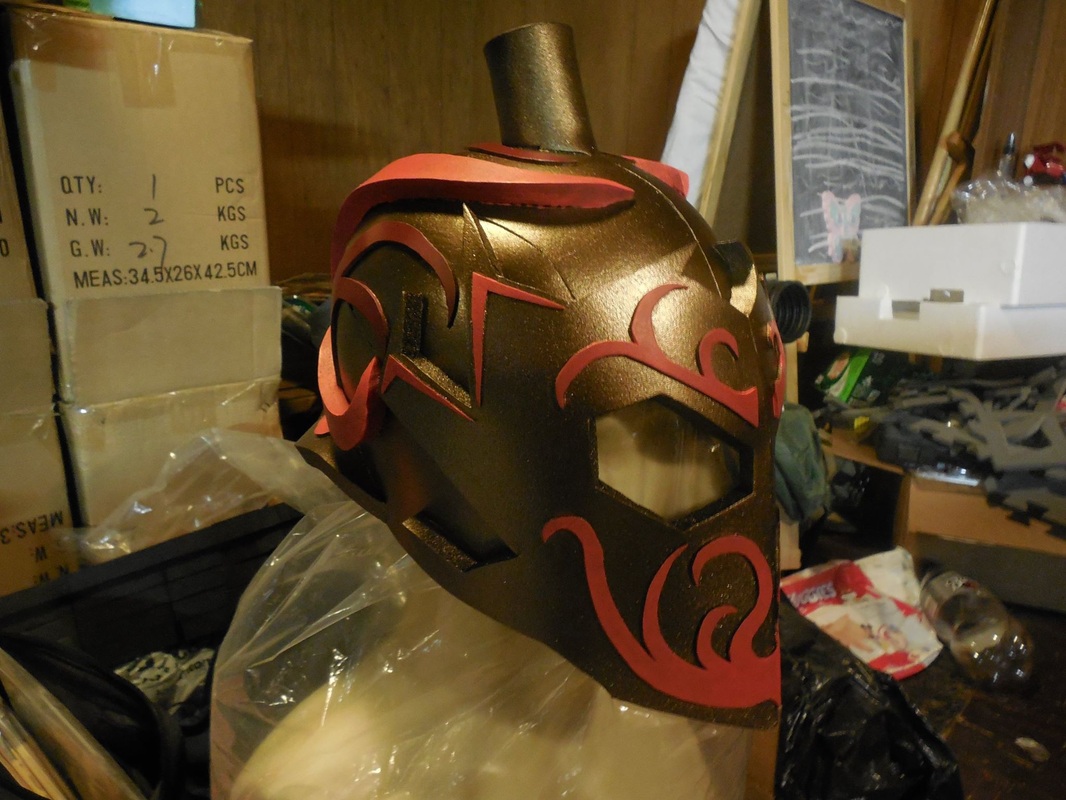 After that came the usual weathering. I did the acrylic wash all over it, no dry brushing this time, and I did it pretty heavy at first because I knew that the clear coat would take some of it away again. Then I took it outside, did the clear coats, and took some nice pictures of it with some good old natural light. Had to put the next part on hold for a bit, since I needed to get to a craft store but didn't have a way to get there for another week. Was originally going to go with a red wig, but couldn't find one that would work like I wanted so I decided on another tip from a good friend of mine: yarn. I'd have to brush out all the twists and whatnot, but it would work pretty well for what I wanted. A week passed, finally got the yarn, gathered a bunch of strands and cut the ends apart, then tied one end and secured the knot in the hole on the conning tower. Then I brushed the strands as best I could to separate them. Left: before, right: after. Turned out pretty nice! Not perfect, but hey it was still that seat-of-pants build. :) Here's the final product! Hope you enjoyed that one as much as I did. 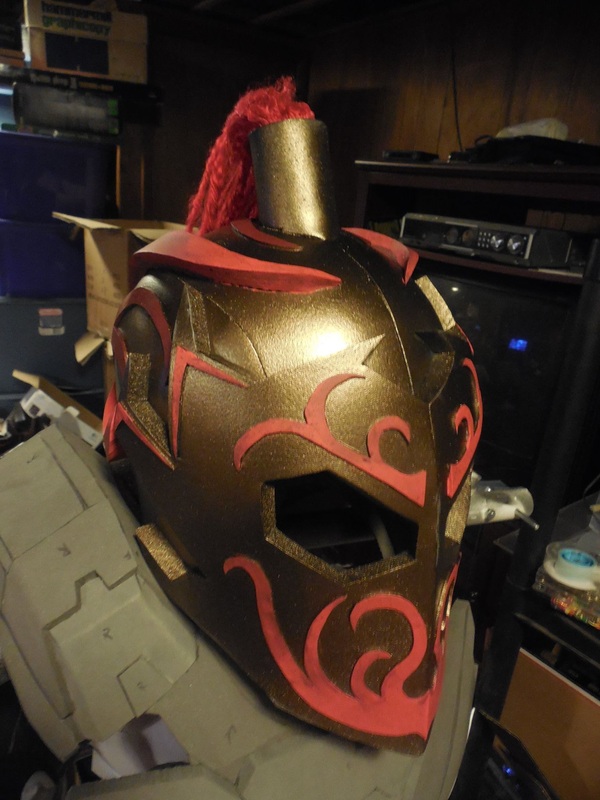 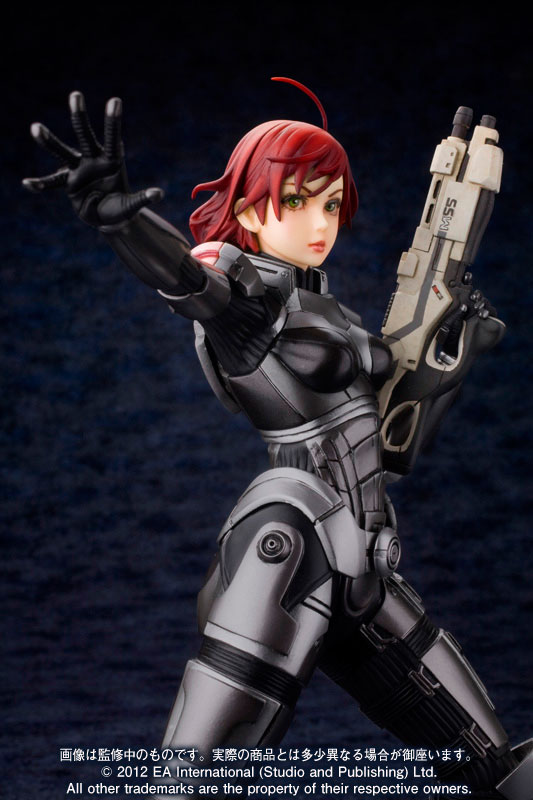 Shortly after finishing the first set of Female N7 armor I've ever made, I was commissioned to make a second set. This one was special though, as it was going to be based off the Japanese bishoujo statue that had recently been released. Super sleek, very clean, and very metallic. Due to the sleek look, I had to make some changes to the overall patterns. I also didn't want to use craft foam for the raised sections on the thighs, back, or anywhere else I could get away with it, just to add to the look and also not have to use as many parts. To start, though, since the design was based off the ME3 look, I decided to start on the shoulder bells. 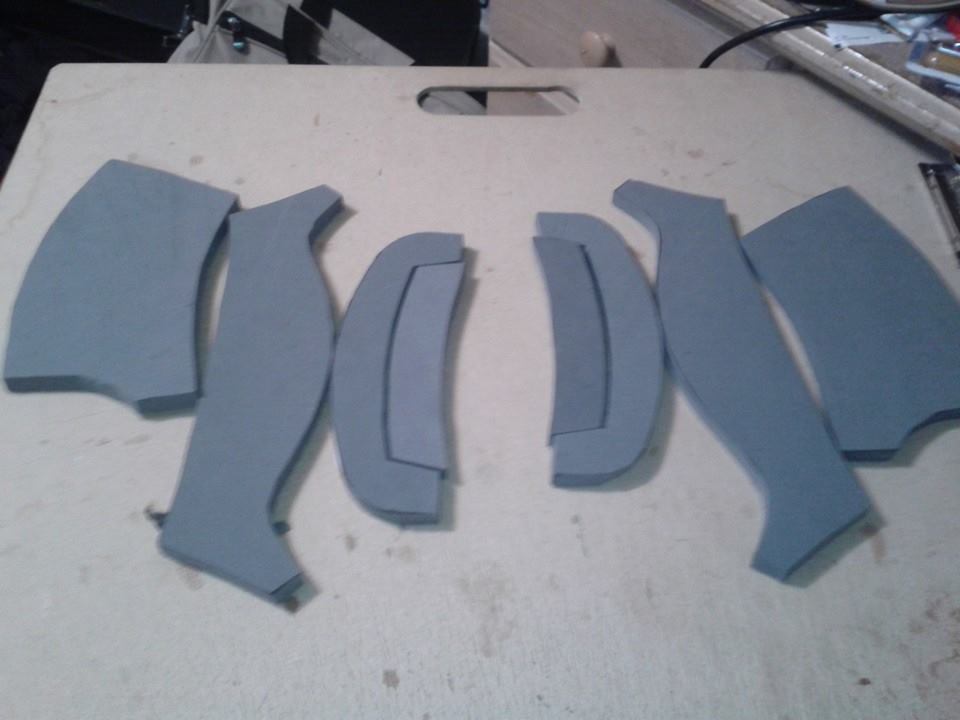 You'll notice that, like with the Terminus armor, I used the smooth side of the foam exclusively. Since the statue was entirely smooth, I didn't want to change that look at all. 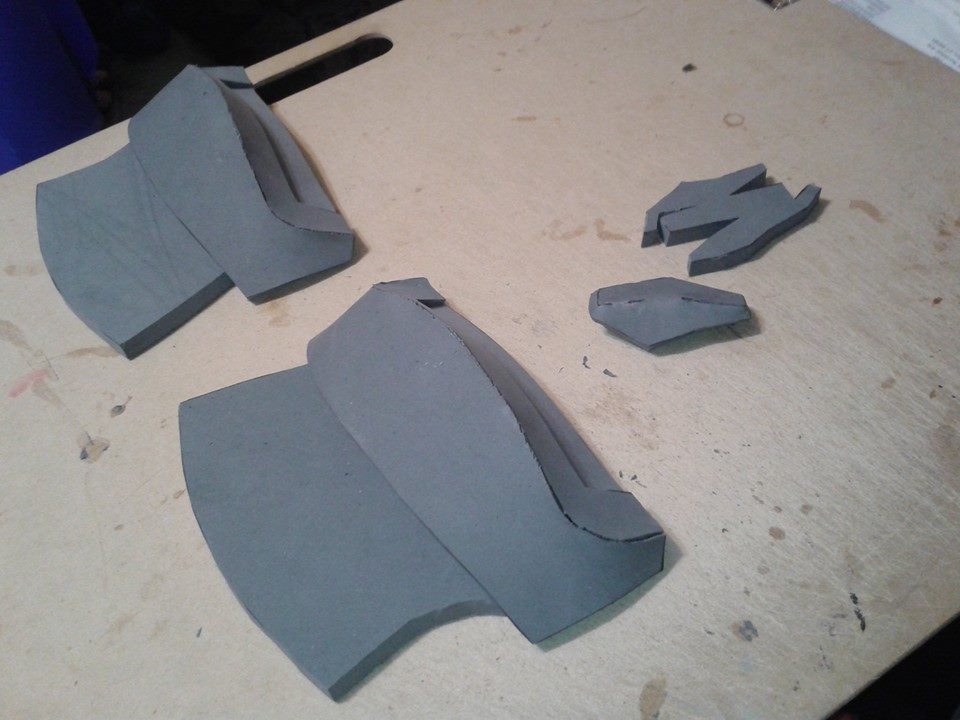 Connecting the bell pieces together was remarkably easy, though heat forming them to the proper shape was an experience. I couldn't bend them too far, lest the glue separate (this was before I knew about contact cement, I was using super glue), which meant they continually tried to revert back to a flatter shape if I didn't get them quite hot enough. You can also see my latest attempt in getting the elbow diamonds to look cleaner. 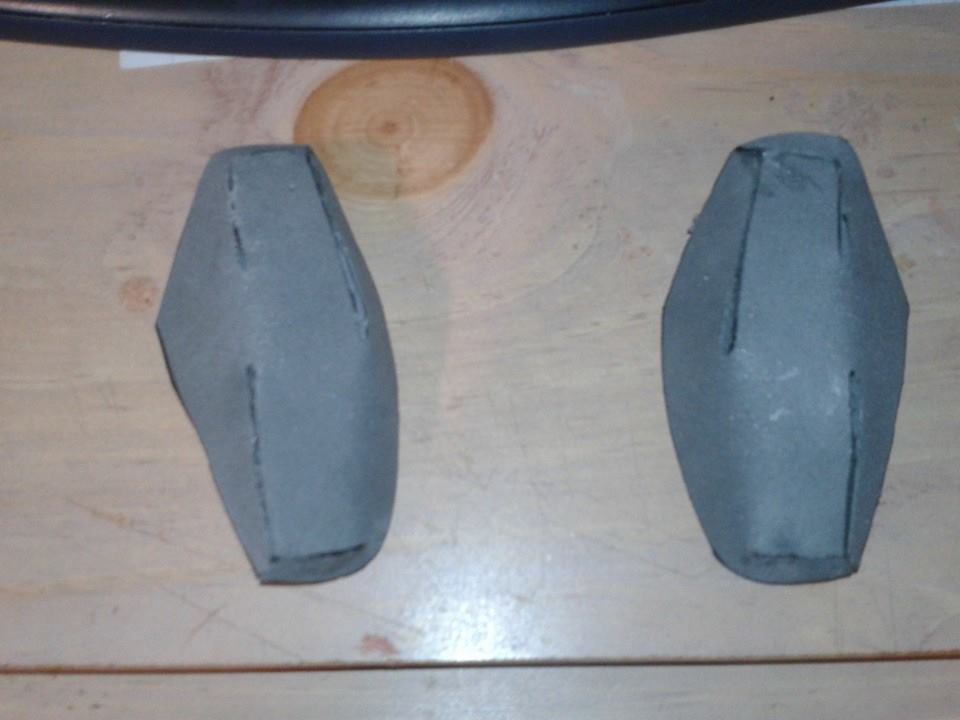 Once those were ready, I finished the rest of the arm pieces and got to work on the legs. The hip section was definitely the most interesting to make, since they were basically made out of the same piece of foam. I would cut out the base layer, use a hobby knife to cut out the next layer from the base piece, then again for the top layer from the second. I then raised each section slightly, and glued them back together. I also cut out the belt section, which would attach to the top of the hip piece. 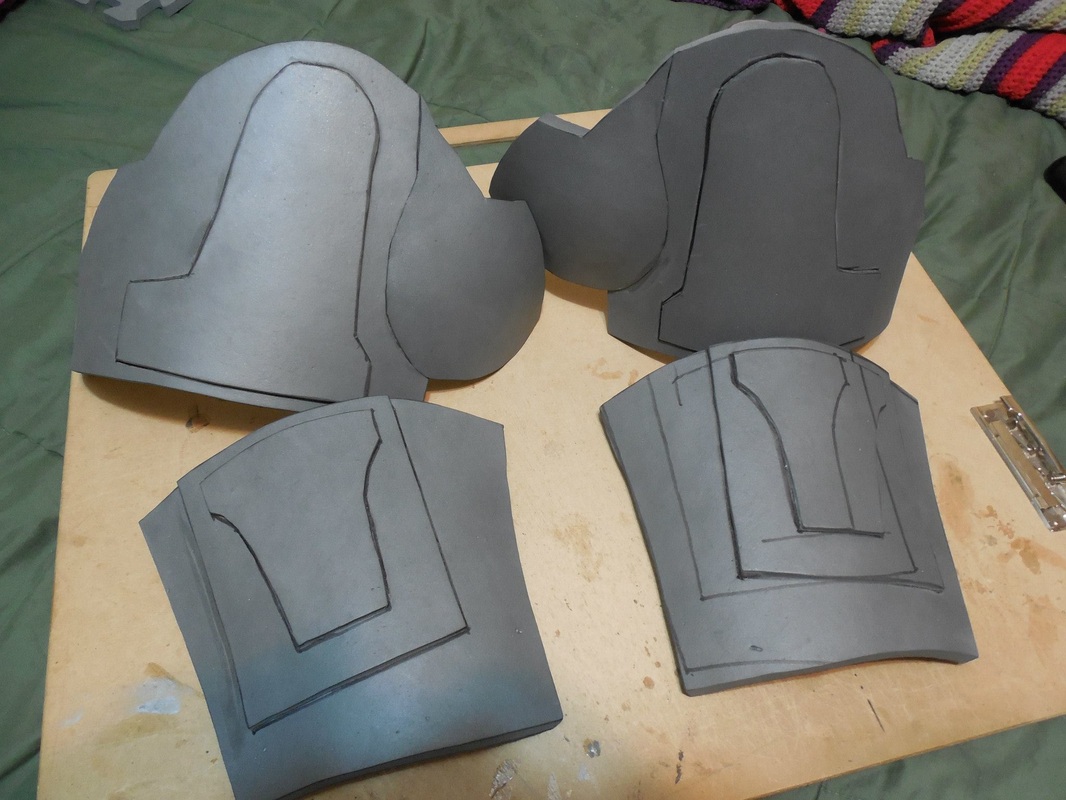 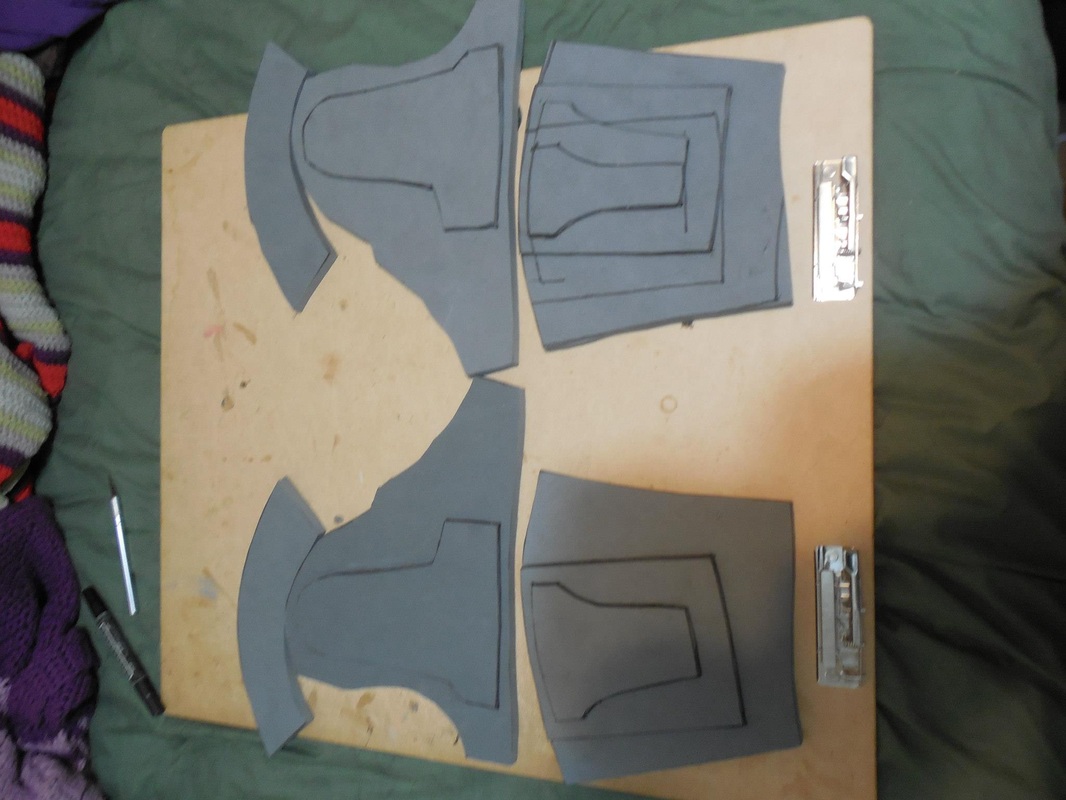 After that came the shins. I cut out a large piece in kind of a cone shape, to form to the leg muscles better, then attached the knees. I also cut out the coolest pieces of the whole build: the shoes. Once those were done, the torso came together as quickly as ever. 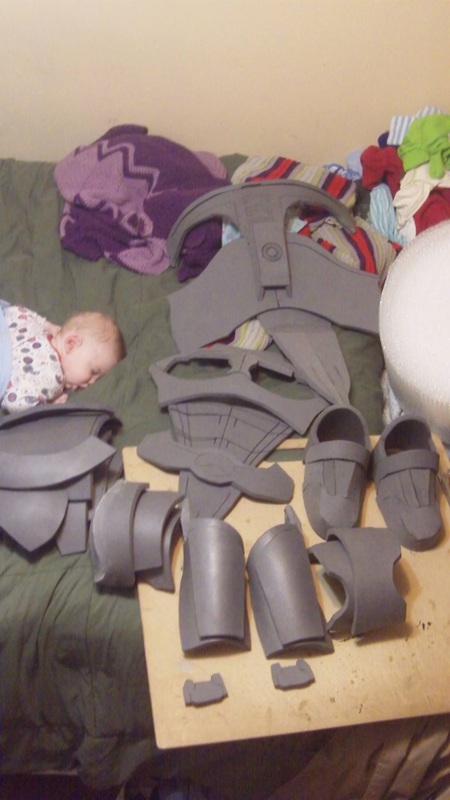 (Sleeping baby photobomb!) Finished up the chest piece, and the weapon/shield thingies, then Plasti Dipped everything.  Given the metallic sheen of the whole armor, and the multi-colored layers, I opted to go through each piece one by one, painting then taping and repeating. The progress shots of the shoes show the whole process each piece went through. First, I sprayed a black metallic: 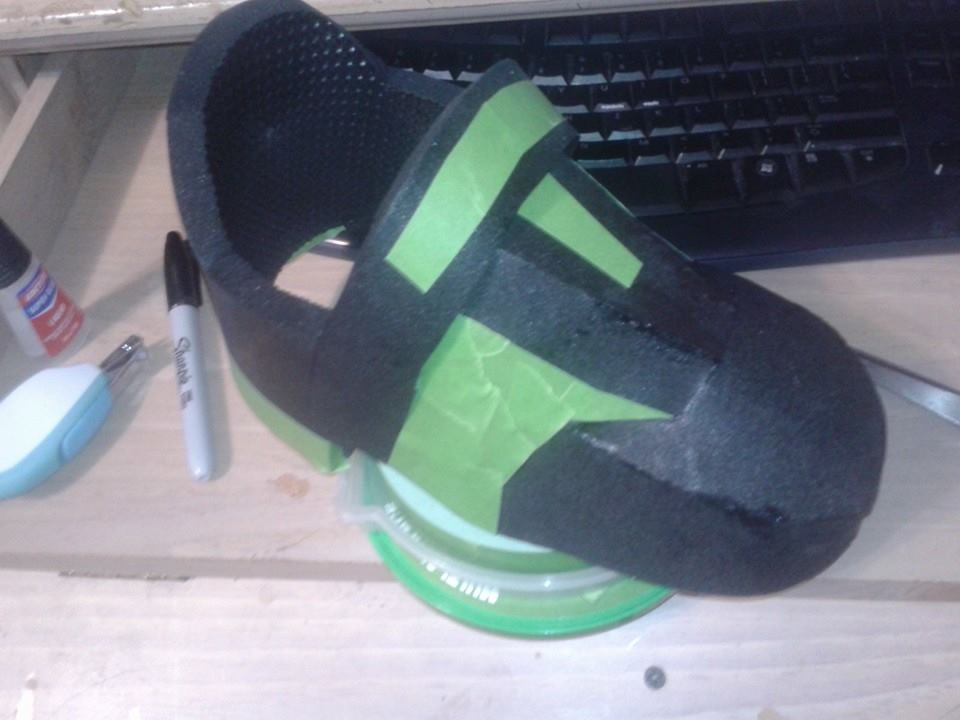 Then after it had set I taped off the sections that would be remaining black. Next, I sprayed on the darker grey, waited, and taped it off again. Last came the silver: 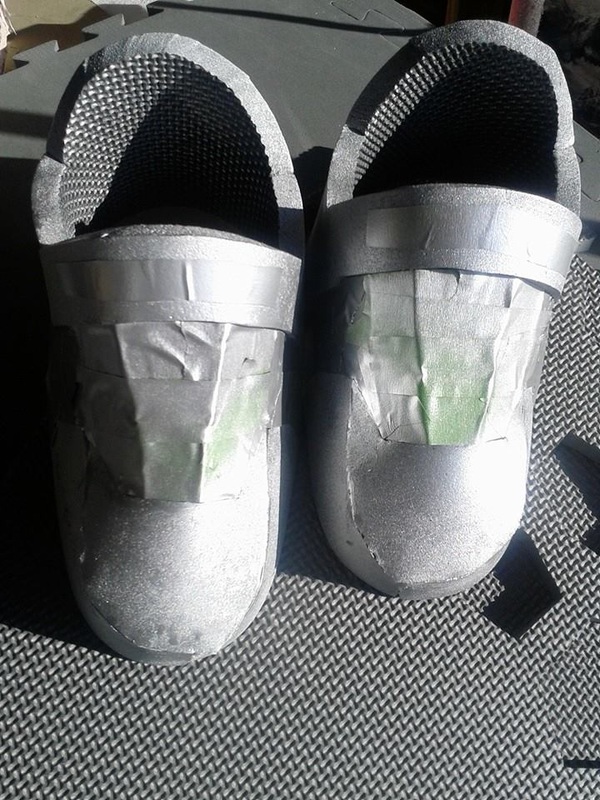 And more waiting. Of course, while it was drying I would move on to another piece, but I didn't have much room so even then goings were slow. As always though, the wait was totally worth it. 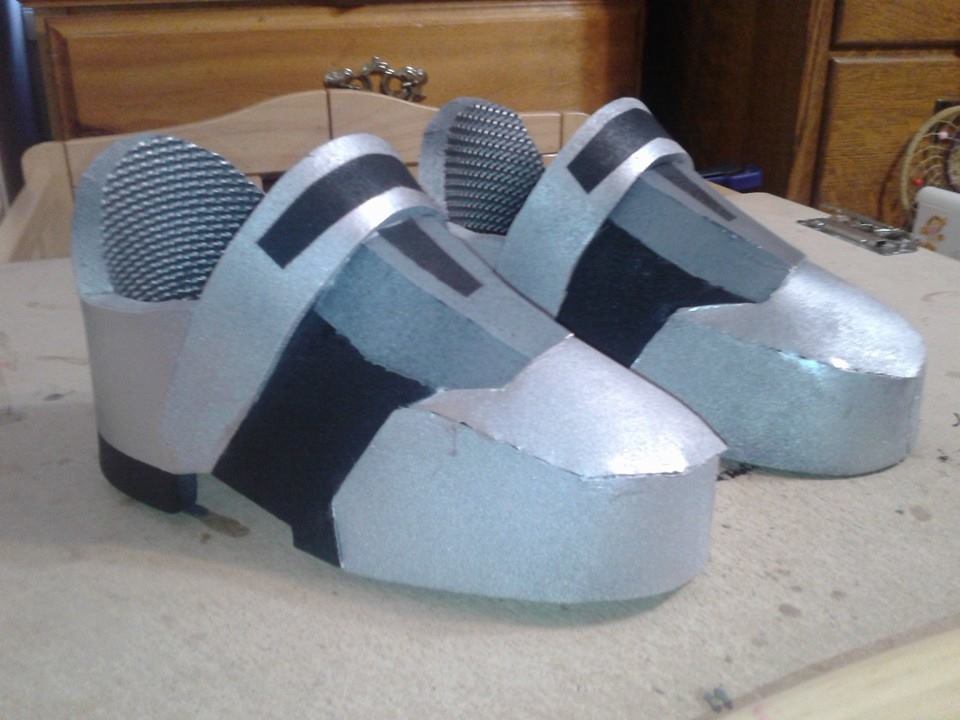 After I removed all the tape, I would hit it with a coat of adhesive promoter, a clear spray that helps everything keep from rubbing off too quickly. Since the statue's armor was smooth and sleek, I ended up not weathering anything to keep with that same look. Each leg piece went through basically the same process, which was easier as I went up each layer and taping off the layer below. 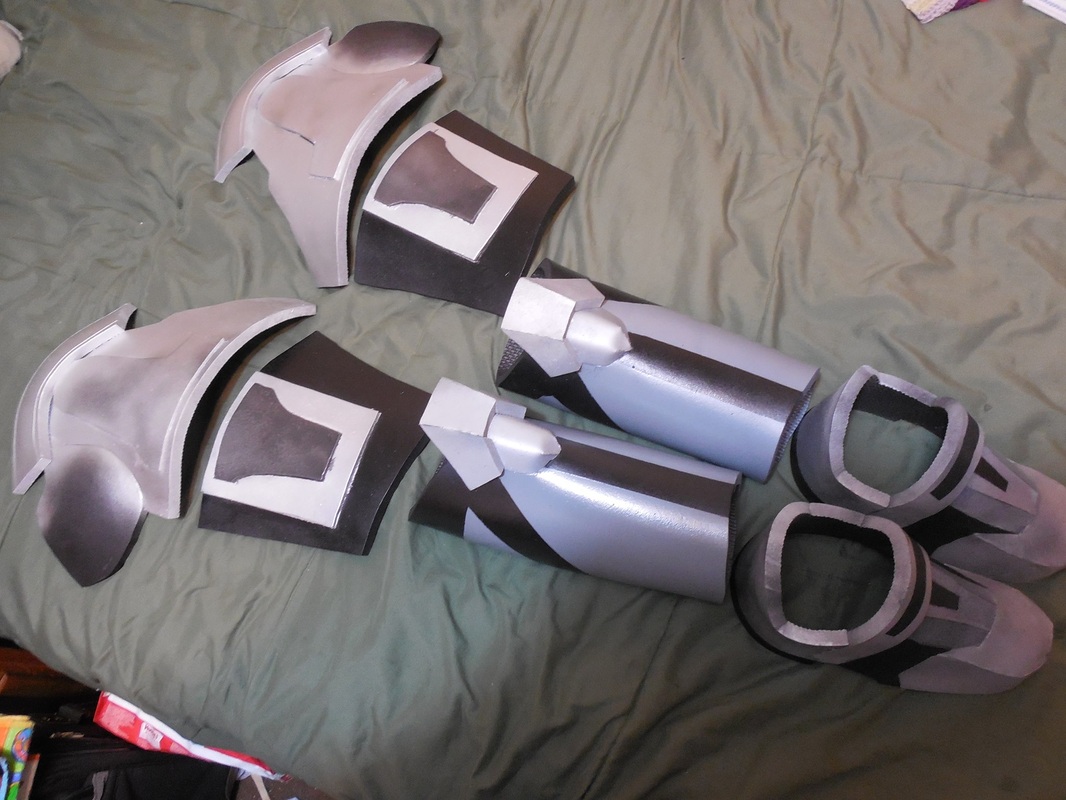 The arms were simple as well, since they were pretty much the uniform dark grey. 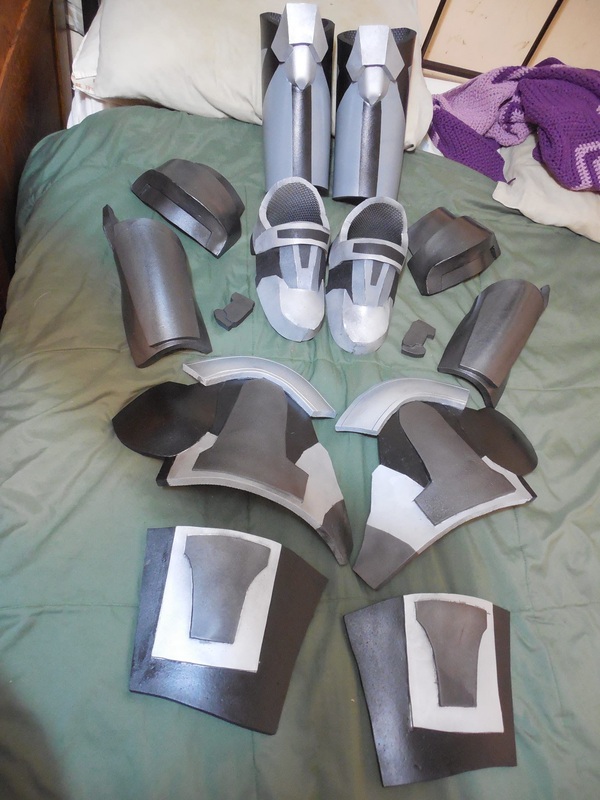 Of course, the right arm needs its telltale stripe! Rather than the standard white/red, the statue sticks with the silver/red, so that's what I went with too. First came the tape, then the base silver. 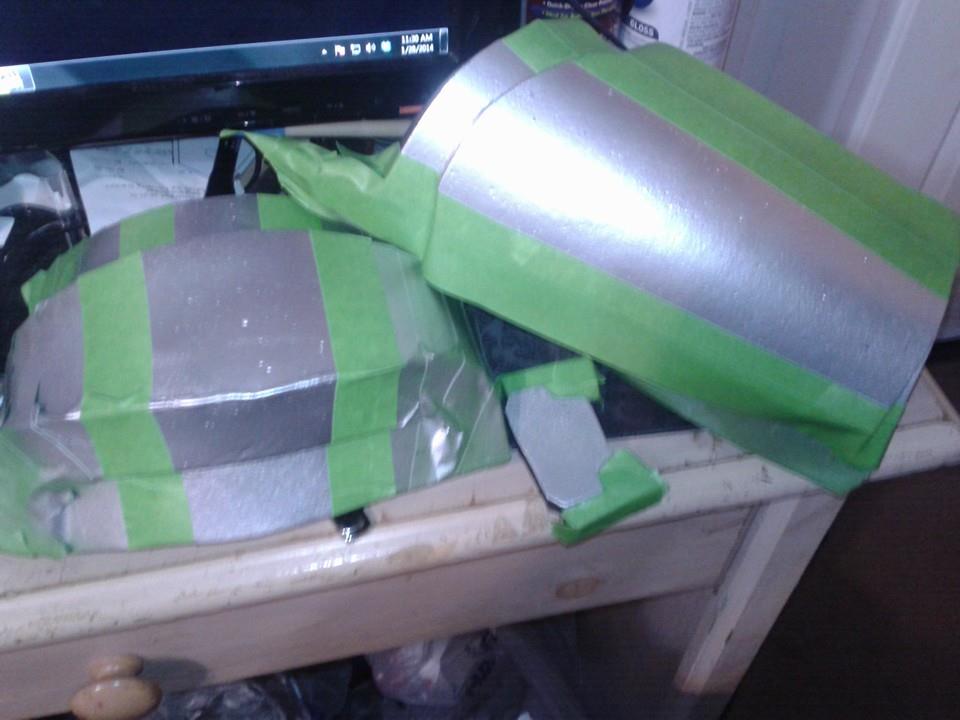 Then wait, then more tape, then the red. Nice and straight forward. 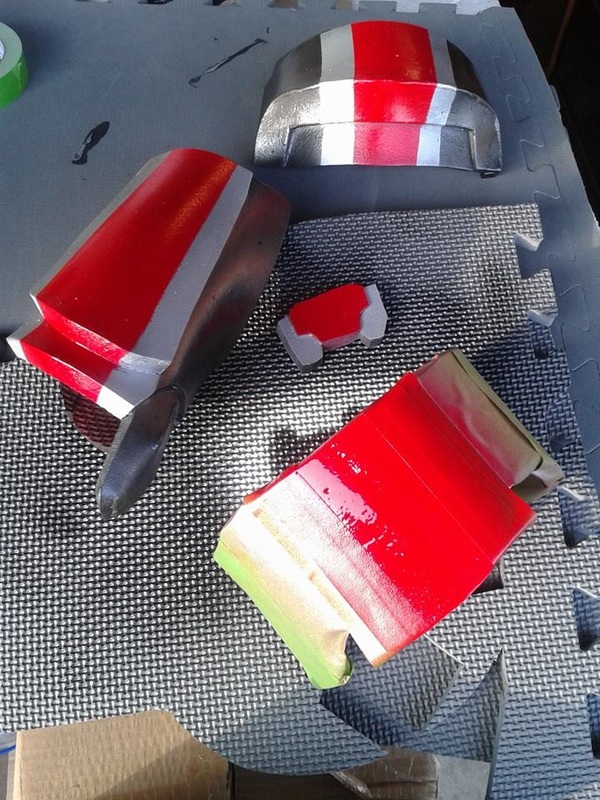 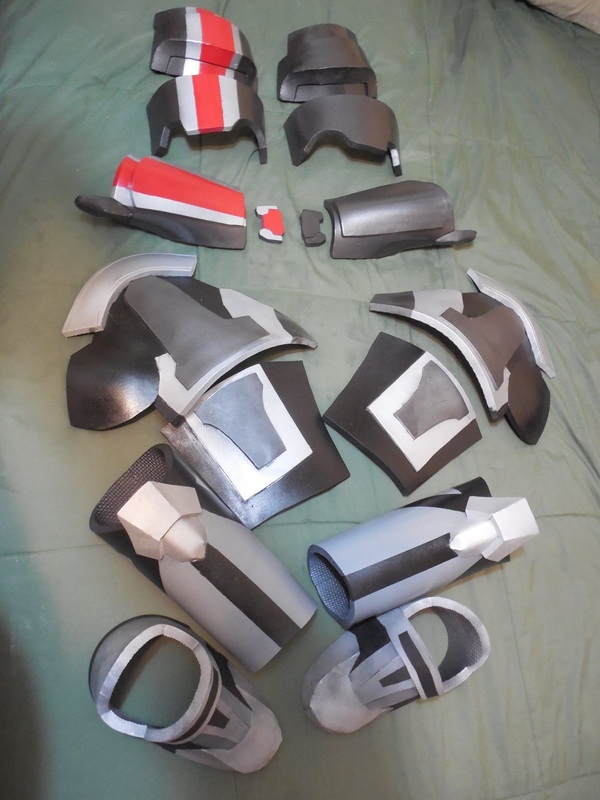 And, finally, I taped up the torso and did it all over again. Third shot kinda has a nice, super-heroine look, doesn't it? :) Well, all that was left was strapping, but at this point I revealed on my Facebook page the overall design. Seemed to go over pretty well, which was a relief! I had been second guessing myself at the brightness of the colors, but everyone seemed to like it anyway. 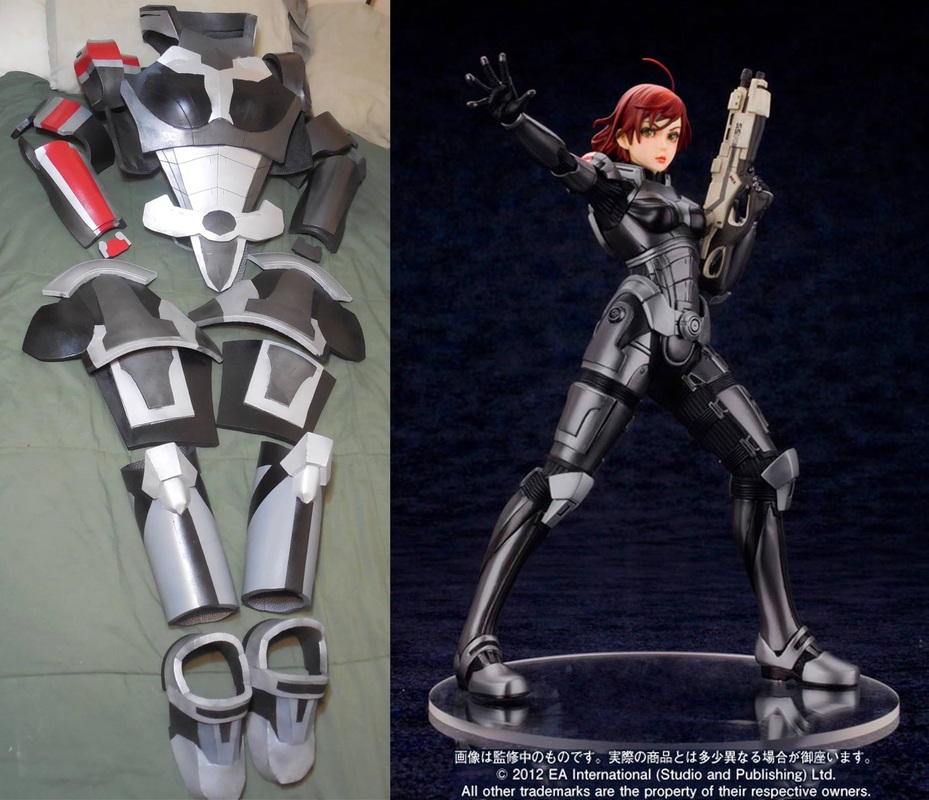 Unfortunately I had to rush to get the straps on and send it out, so I've only got one other progress shot left to share. For reference, though, I attached elastic bands on the insides of the biceps, to make it stay on comfortably but to also be easy to remove. I also kept the hip sections separate, attaching the upper ones to the belt and the lower ones just to the leg, to facilitate movement. Other than that, just the regular side straps and belt on the torso and wrist strap on the forearm, again leaving room for adjustment by the client once they received it. 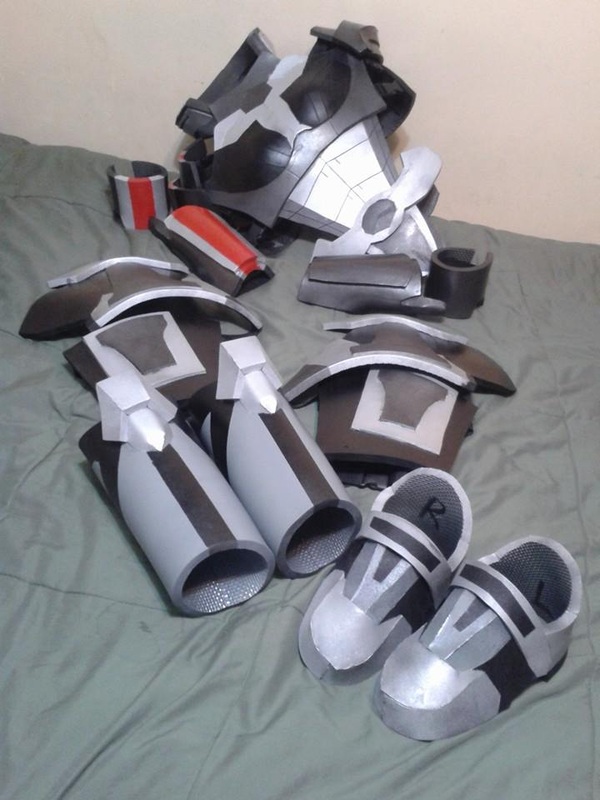 I think it turned out pretty well, considering, though if I did it again I'd make some changes to it. Still, it's pretty close to the statue at least! :)
|
|


 RSS Feed
